Sealing is an important step in the mosaic process as it waterproofs the piece, improves the sticking power of the adhesive and stain proofs the final piece.
SEALING THE BASE
Why Seal?
Sealing your work is important as it keeps moisture out of the backing board and gives the glue something to adhere to.
What Sealant?
- If your work is exposed to weather or water you need to choose a sealant that is waterproof rather than water resistant.
- Waterproof acrylic sealants are best for outdoor projects or ones that are exposed to water, and a water resistant acrylic product for indoor projects.
- Your local tile store should be able to advise you on the right product for your project.
Do I Need To Seal All Types Of Surfaces?
- Sealing your work with a waterproof product is essential if you are using timber, ply or MDF as these surfaces are extremely porous and prone to water damage.
- With concrete, terracotta and compressed fibre cement (CFC) use a single coat of sealant or primer to ensure good glue contact (the sealant is acting as a primer rather than a sealant).
How To Seal Your Base?
- Seal your base 24 hours in advance of when you plan to work on your mosaic
- Ensure that the surface is cleaned of all debris.
- Score smooth surfaces (such as wood or fine plaster) with a sharp implement. This will create a surface to which an adhesive can easily attach.
- Use a paint brush and apply the sealant to the front, back and sides of your board. Pay special attention to the edges and any imperfections in the surface.
- For timber, ply and MDF apply 3 coats for indoor use and 4-5 coats for outdoor areas (much better to over do than under do)
- Allow each coat to dry completely before applying the next coat (30 minutes to 1 hour)
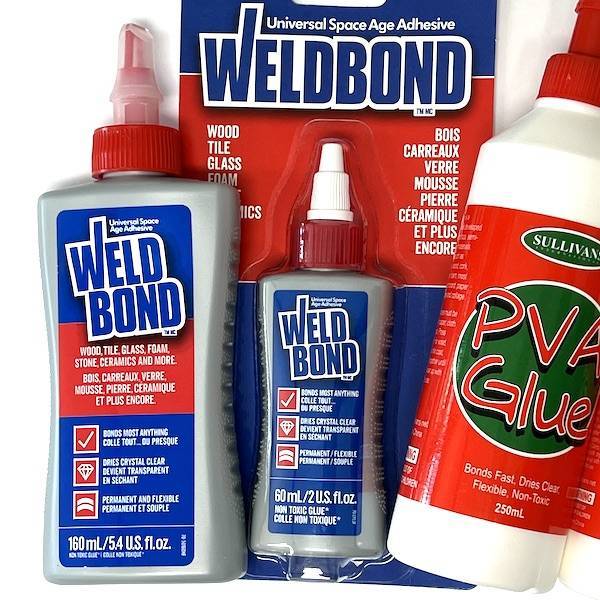
- A common sealant is PVA glue diluted in water (1 part PVA glue to 4 parts water). You could use PVA as sealant on terracotta (e.g. pots) but it's not suitable for surfaces that requires waterproofing (timber, ply or MDF).
Sealing Your Finished Work
- If using ply or MDF as the base you could either grout over the edges or coat them with acrylic paint.
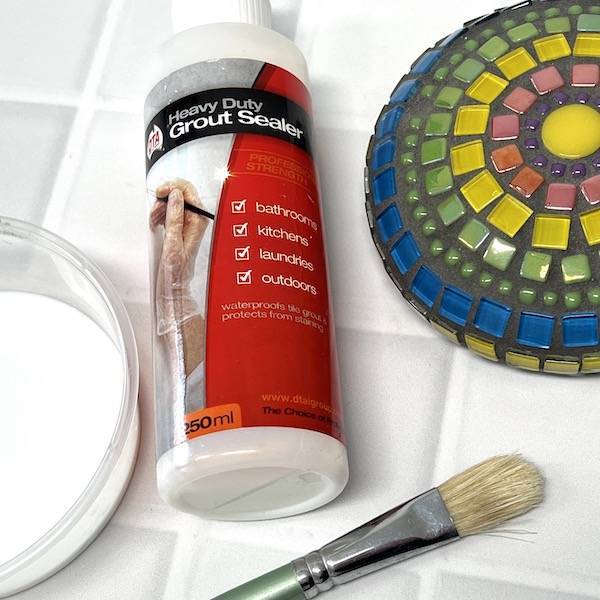
- The same sealant you used to seal your base can be used to seal the grout after your mosaic has been completed.
- If you have waterproofed your work correctly than sealing the grout is not necessary. It will however make it easier to clean and stain proof.
- How to seal your finished mosaic
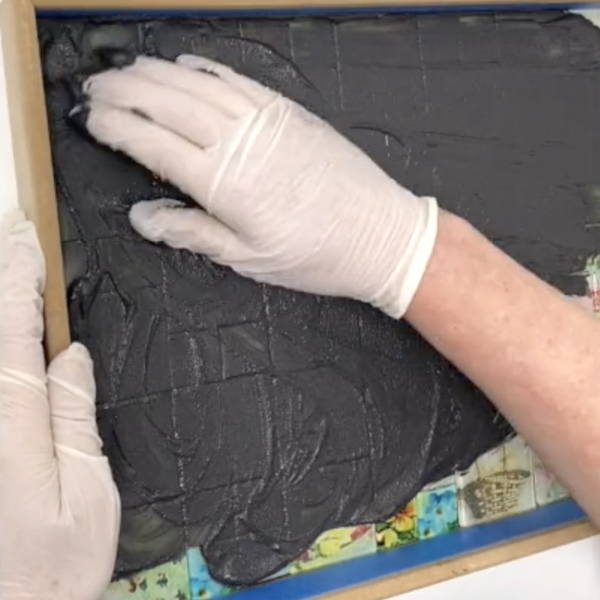
- Paint the sealant directly onto the piece, allowing it to soak into the grout. You want fill the grout with sealant.
- Before the sealant dries wipe the sealant off the tiles with a towel, ensuring that you remove all sealant.
- Repeat process so two coats of sealant are applied.
- Paint the back of your mosaic with acrylic paint.
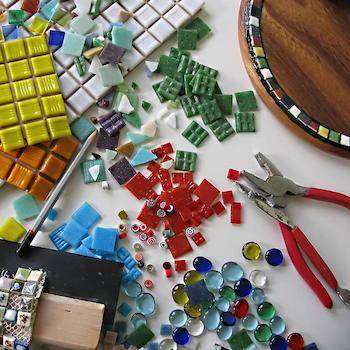
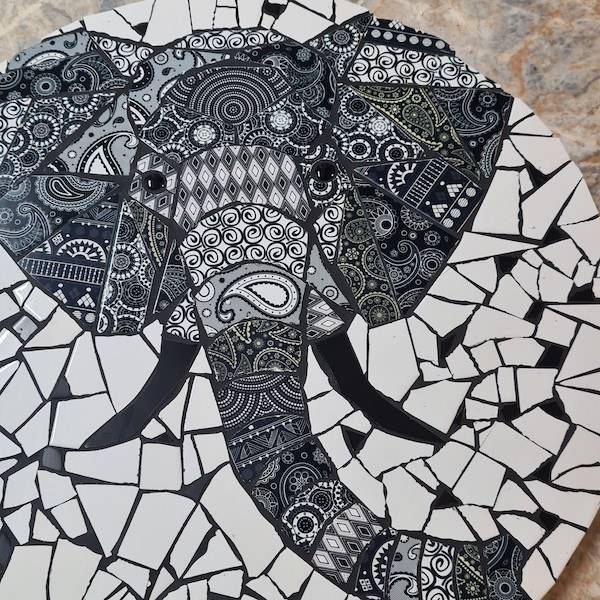
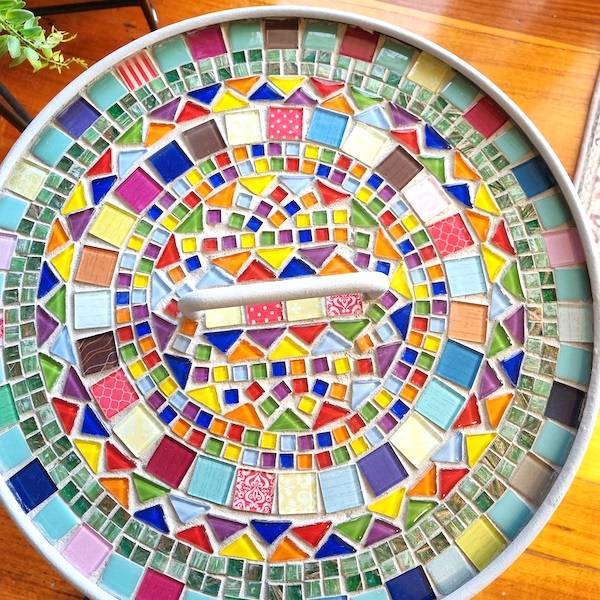
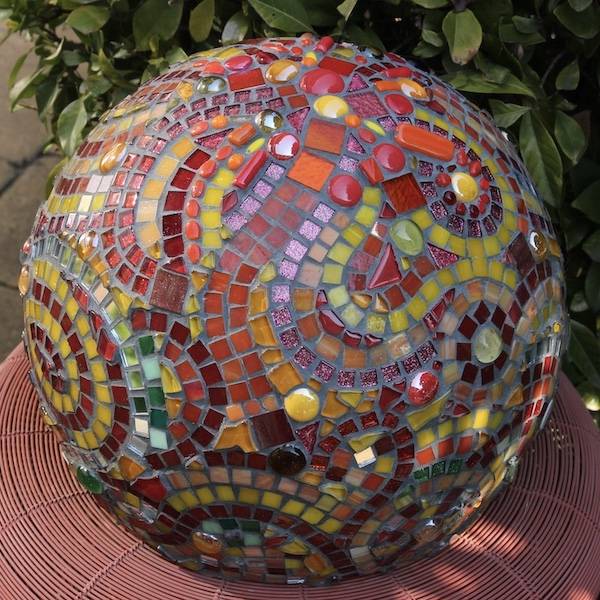
The beautiful mosaic project featured in this blog was made by Karen Griss.
 1300 320 392


