The starting point for this topic is to understand why you use mesh to create a mosaic. Mesh can be used to create a mosaic in instances where the installation is difficult or you have to or would like to work away from the installation site. It can also be useful when a number of individuals are working together on the same project.
There are essentially two different types of mosaic mesh, Self Adhesive (Sticky) mesh and Non Adhesive mesh.
Self Adhesive (Sticky) Mesh
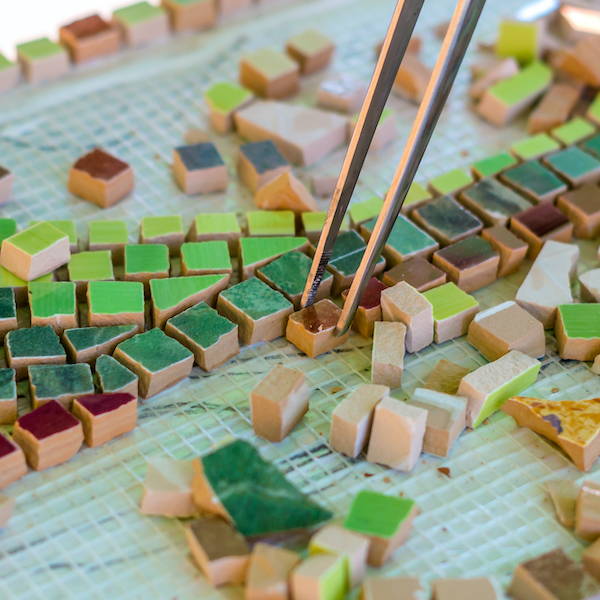
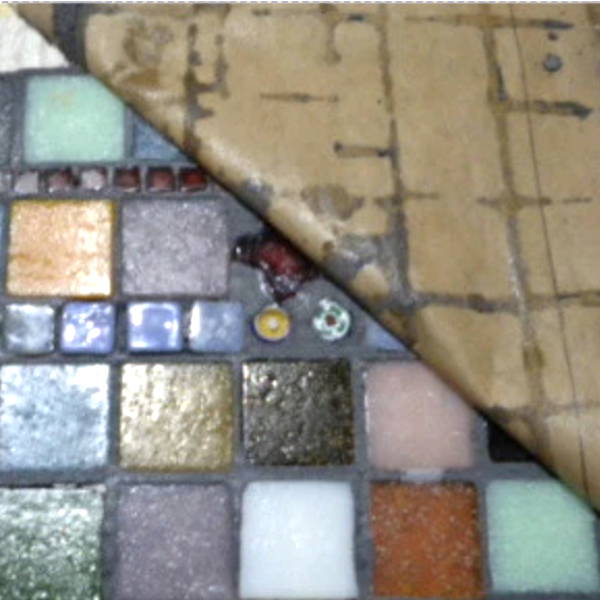
Self adhesive mesh has a coating of adhesive on one side of the mesh, which allows you to stick your tiles to its surface. This type of mesh is only suitable for indoor applications and areas which aren't subject to moisture. The purpose of this is to allow you to arrange your design easily before permanently adhering it into place with a cement based adhesive.
Steps for the Self Adhesive (Sticky) Mesh Method
- Cut the mesh so that you have a straight line which can work as a grid for your design.
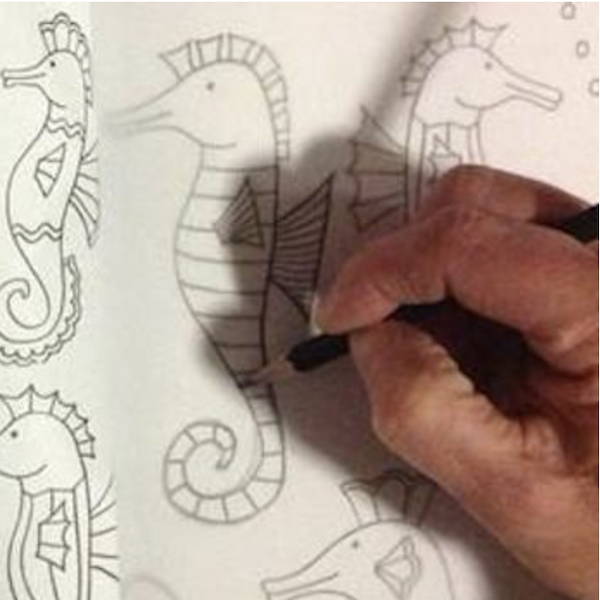
- Draw your design onto paper to the actual finished size of the mosaic.
- Use a permanent marker to draw an outline of your design onto the mesh.
- Press the tiles or materials into the sticky mesh
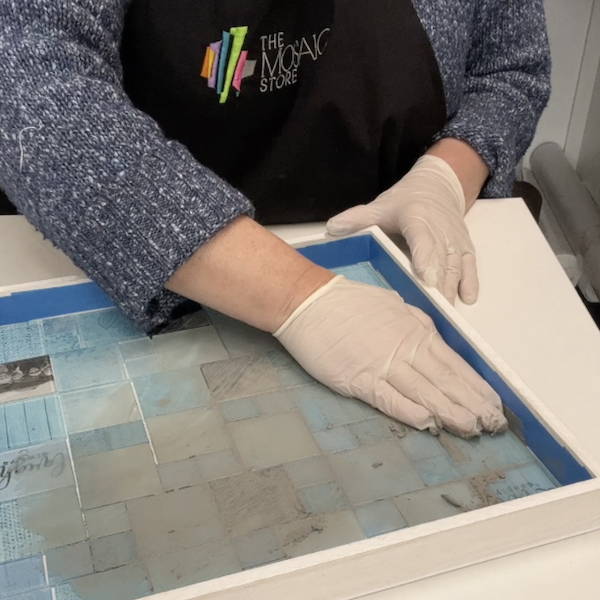
- Once you have finished laying your design, transfer it to the substrate by adhering it with thinset (cement based adhesive). Making sure that you have good contact between the adhesive and your tiles & materials.
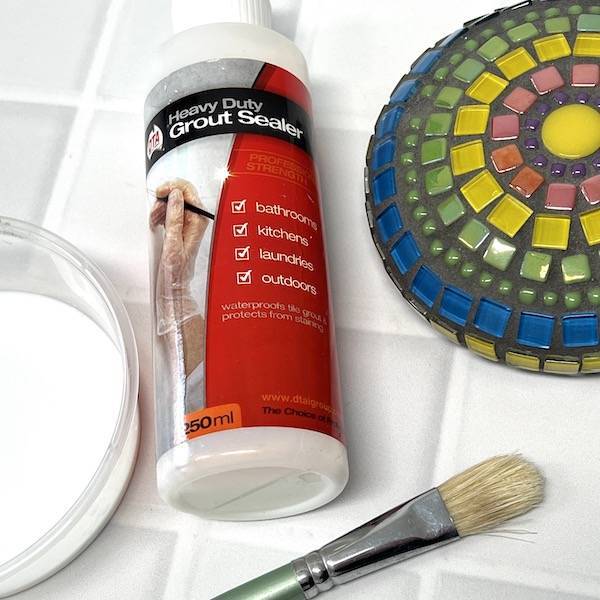
- Grout and seal your mosaic
This works well when your tiles or materials have a completely flat back. When using tiles that are curved or have a hollowed out back, apply some cement based adhesive directly to the back of the tile for greater adhesion.
Always test the sticky mesh and mosaic materials prior to commencing your project to ensure the adhesion is adequate for your project.
>> Click here to go to our Self-Adhesive (Sticky) Mesh >>
 1300 320 392


