Steps
-
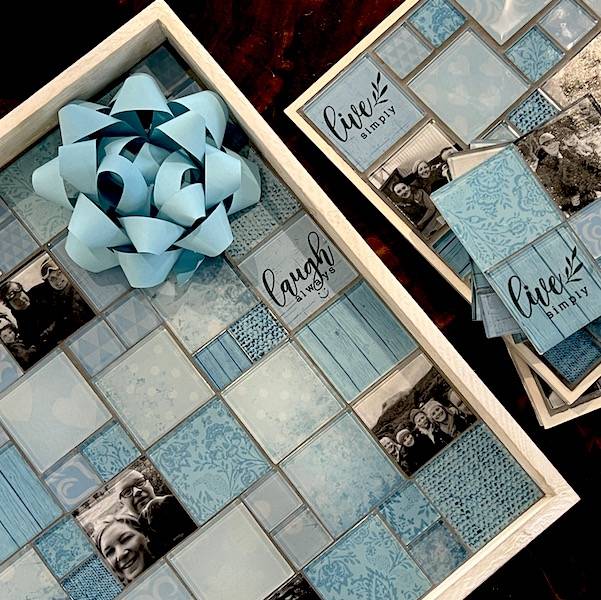
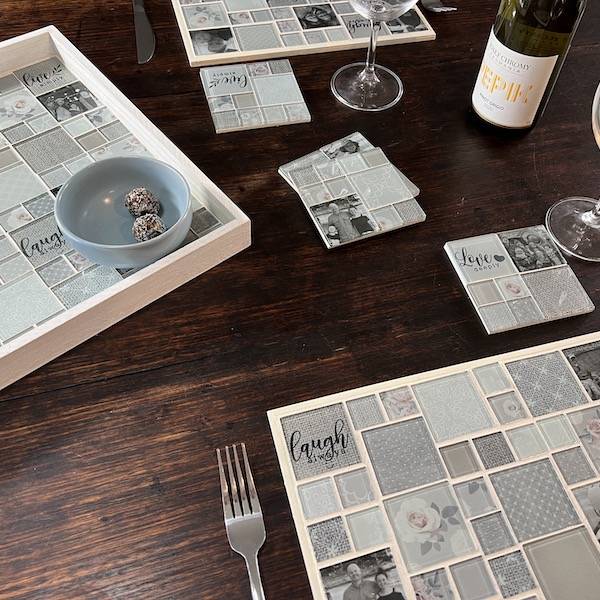
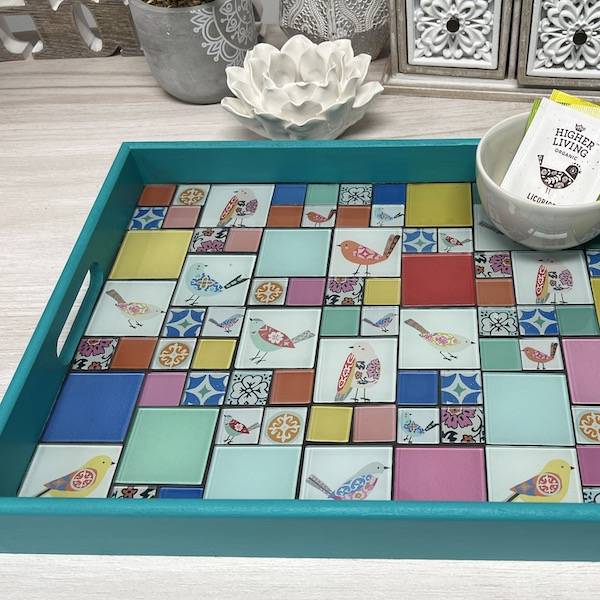
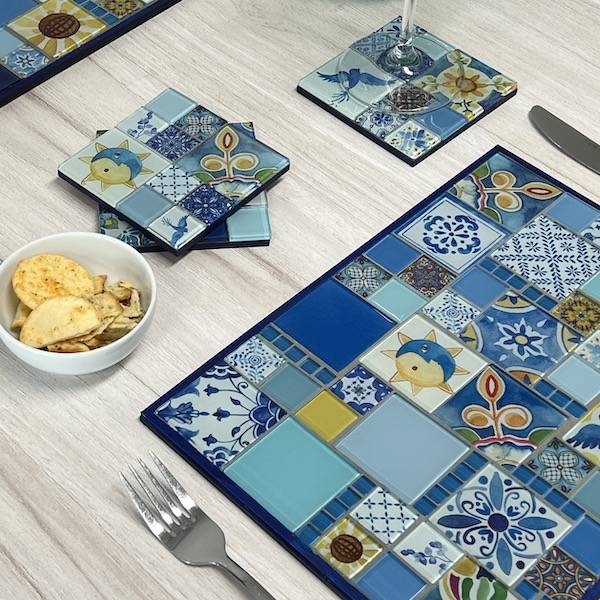
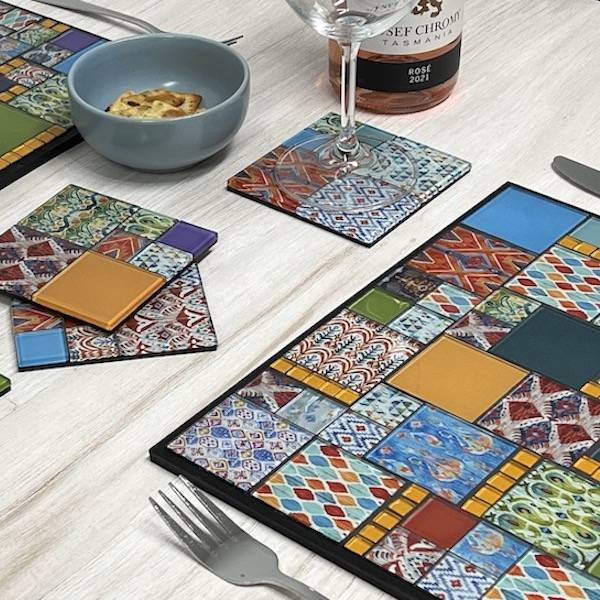
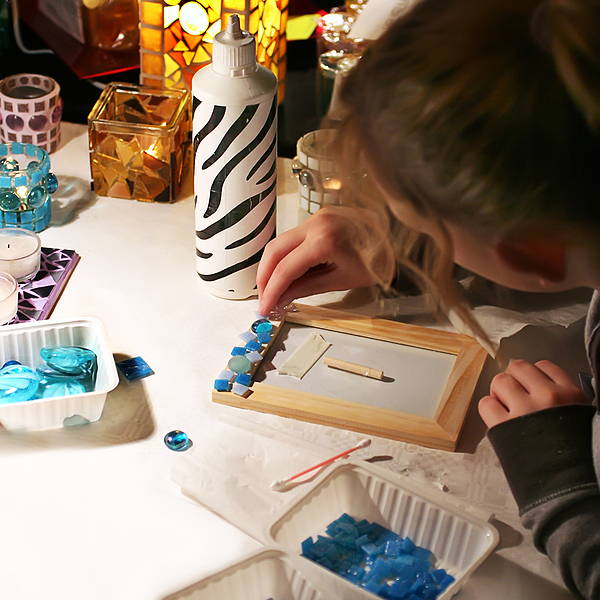
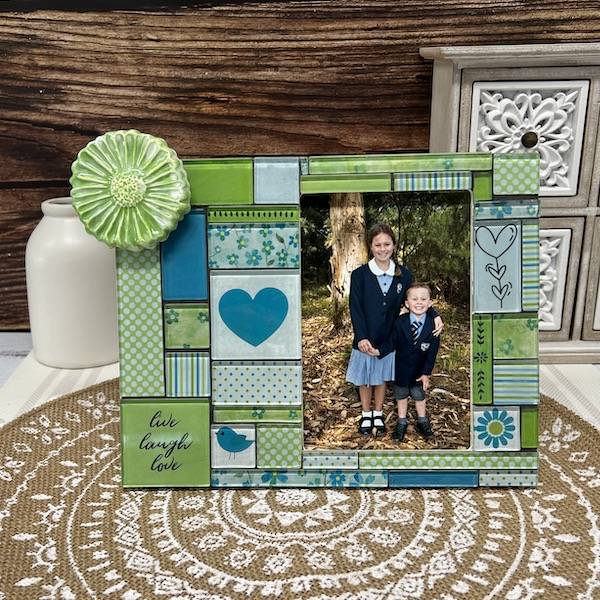
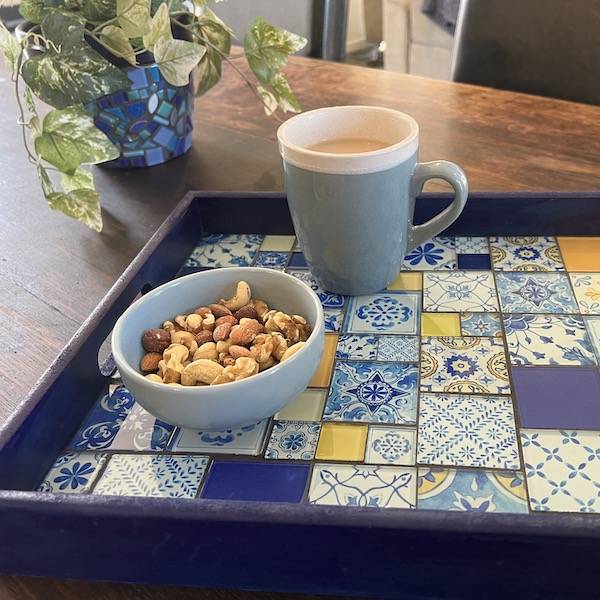
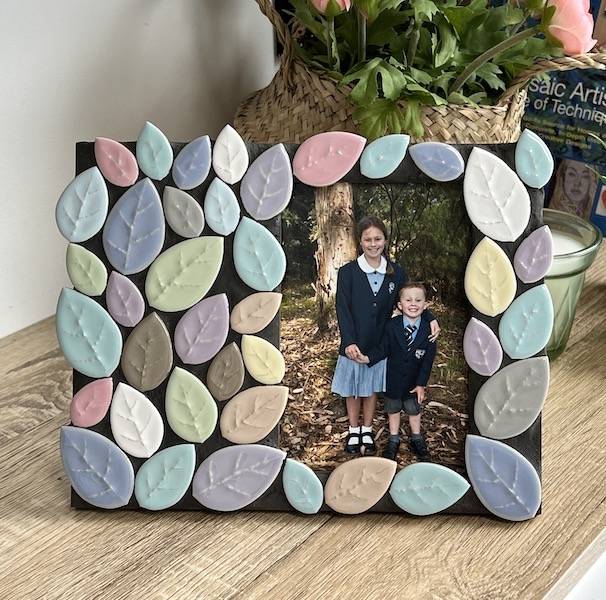
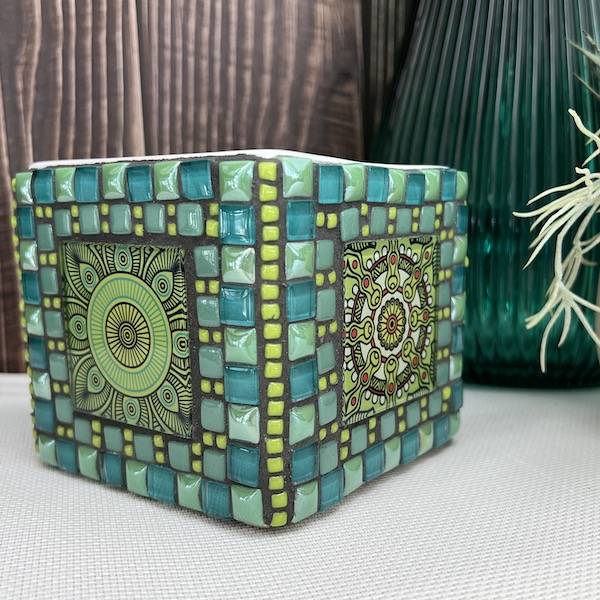
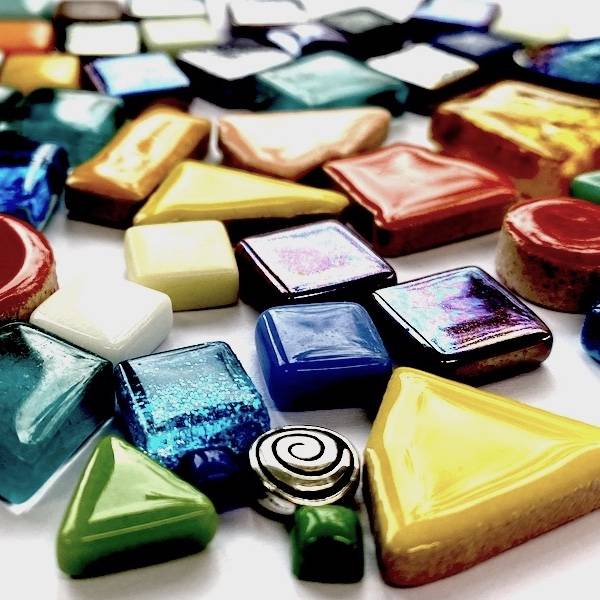
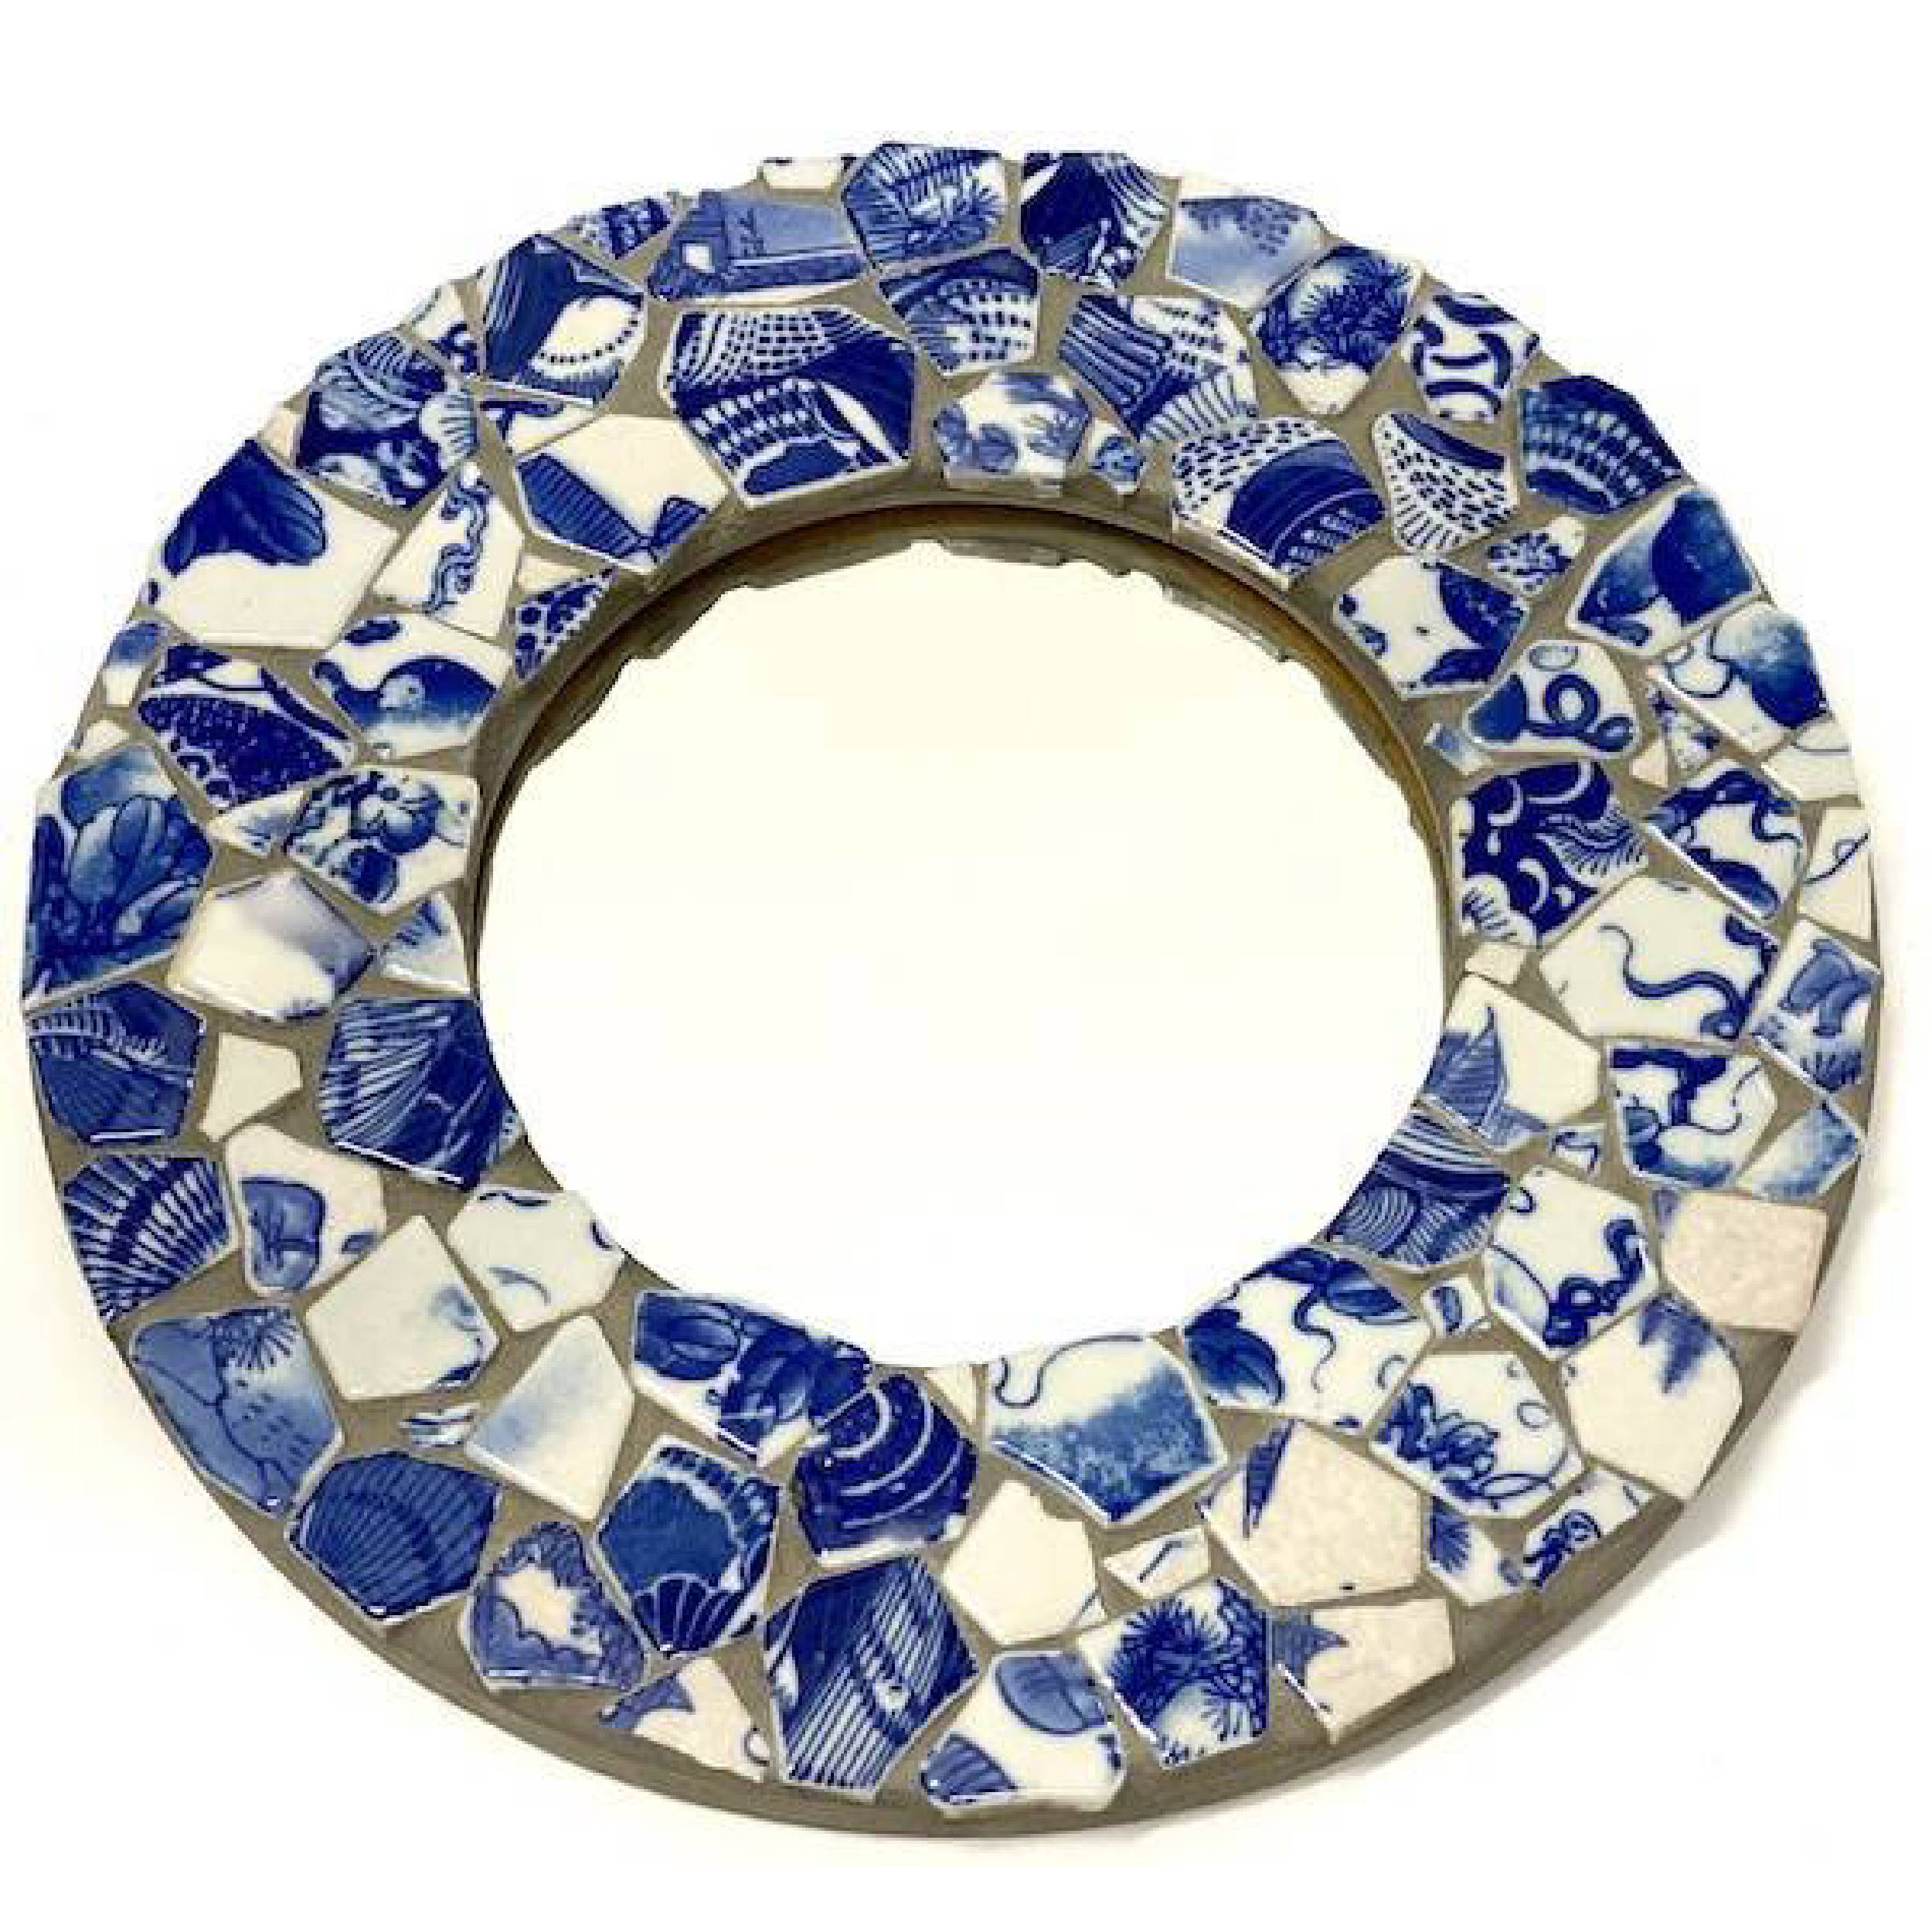
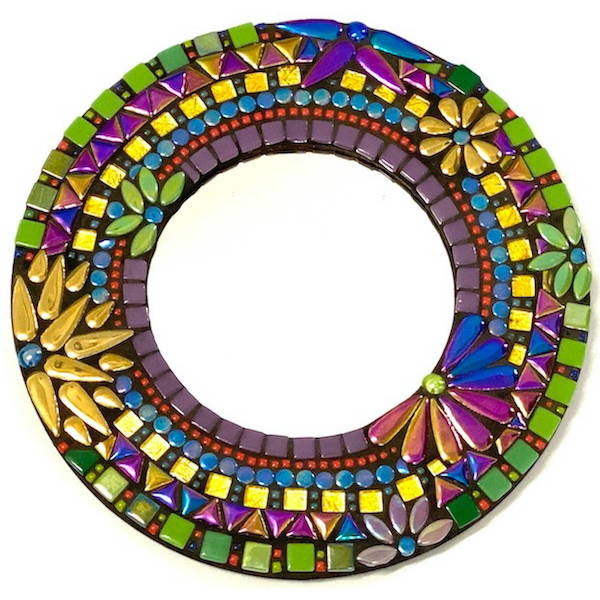
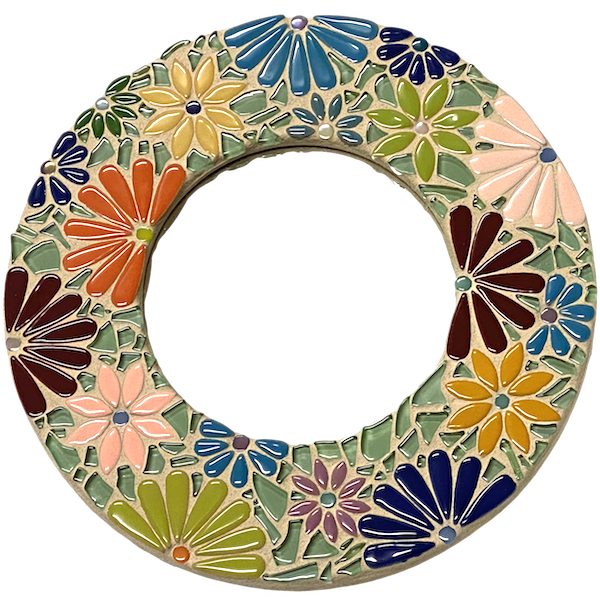
Lay the tiles out on the surface of the photo frame in a design that you're happy with. A handy tip is to take a photo of your design, so you remember the placement.
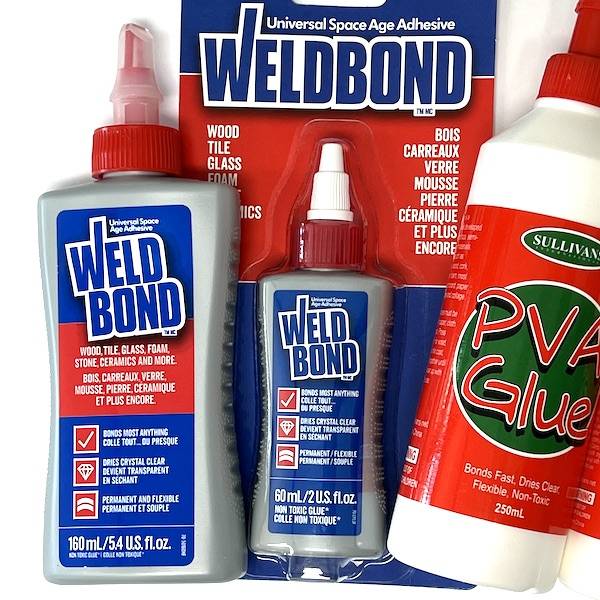
- Adhere your tiles. You can either apply the adhesive to the back of each tile or lay the tiles on adhesive. By far the quickest method is to paint the adhesive onto the base. When using this method apply to small sections at a time to avoid the adhesive drying out.
- When the tiles have been laid allow the adhesive to cure for 24 hours before applying the grout. Run you hand over the tiles to ensure they are all firmly adhered before grouting. If any are loose, remove them and re-adhere.
- The grouting of this project is a little tricky because of the space between the tiles. If you don't wish to grout the frame, you can paint the frame with black acrylic paint before adhering the tiles.
- If grouting:
- Spread grout between the tiles using your gloved hands or a palette knife (see our detailed guide to grouting below). Grout the sides of the photo frame, ensuring a smooth even surface.
- Wipe down the tiles using a damp sponge. Allow to dry until a hazy develops over the tiles and gently buff off the excess grout.
- Allow to dry for 24 hours
- Enjoy!
Beginngers Guide To Grouting
When mixing the grout, it should be the consistency of thick oatmeal before it is applied. If you accidentally add too much water, let it sit for a few minutes, and it will thicken up, or you can add more grout. Stir until smooth. If mixing your colour be sure to mix enough grout to cover the mosaic to ensure colour consistency. Allow the mix to stand for 10 minutes, re-stir and then the grout onto the tiles.
We suggest that you use gloves when working with grout; while it is non-toxic, it can dry your hands. You will go through a few pairs whilst grouting. Apply the grout in a diagonal motion, ensuring that the grout goes into the entire depth of the joint. Sculpt it on your edges to make a nice smooth edge, and remove the excess grout with your gloved hands or sponge. Keep a water container next to you to wash off the sponge as you go.
Once you have covered your entire piece and filled in all of the spaces, wipe off as much of the excess grout as you can with your gloves or hands. After doing this, allow the piece to sit for 20-30 minutes or until the grout becomes hazy. Then take a slightly damp sponge or cloth and wipe off the haze. Buff and shine the tiles with a dry cloth. Remove as much grout as you can from the tile surface, as it will be much harder to remove later. Do not use paper towels as they flake off and stick in your grout.
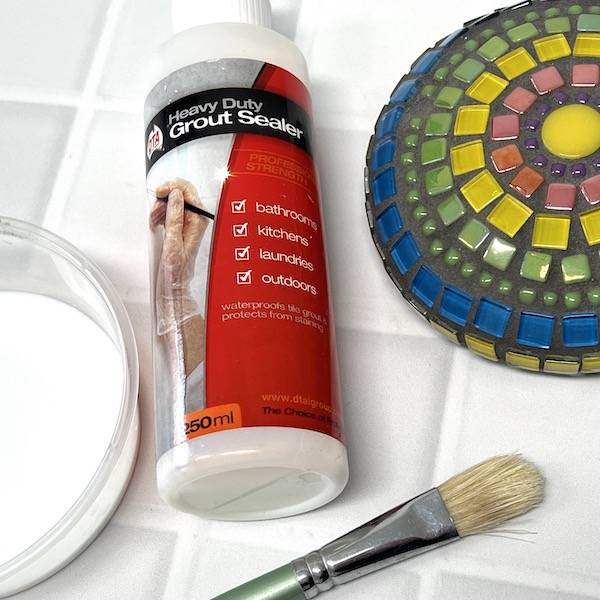
A grout sealer can be applied once the grout is dry to keep the grout clean and protected (optional).
Grouting Tips:
· Safety first – use protective eyewear when nipping glass
· Never dispose of grout down the drain
· Mix grout in a disposable container for an easy cleanup
GET THE KIT

 1300 320 392


