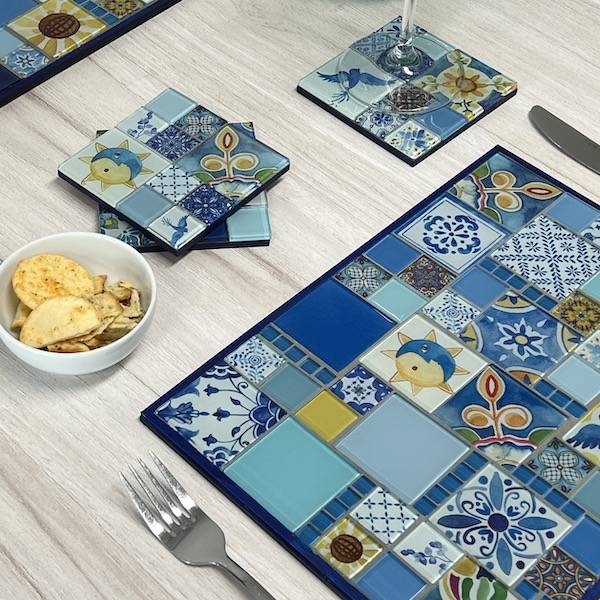
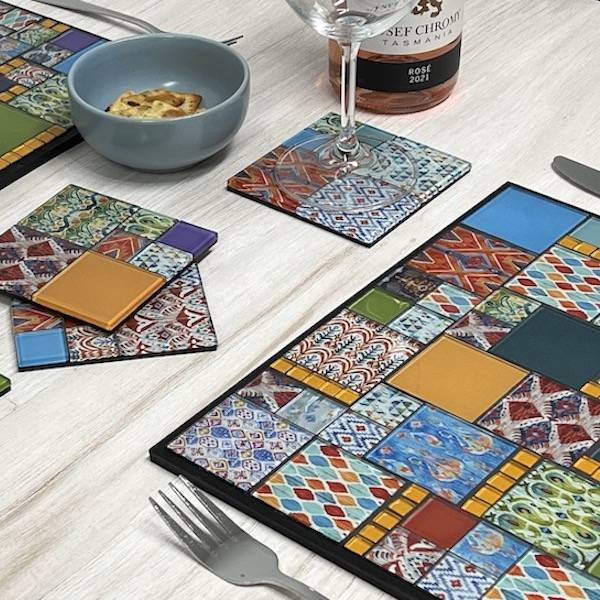
1. Plan your Design
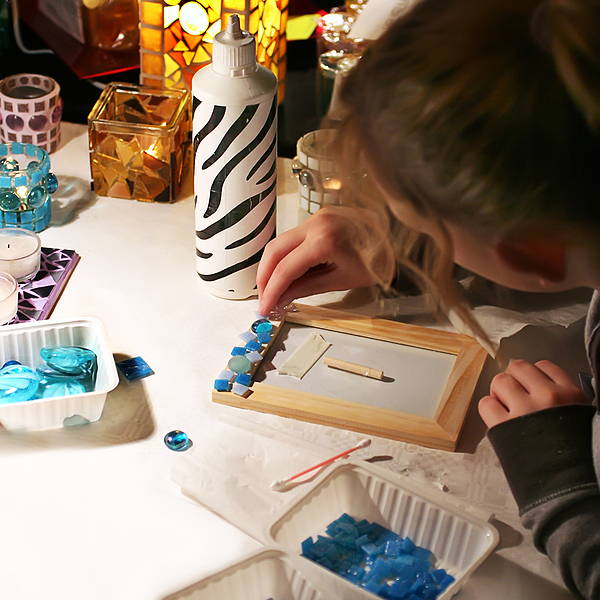
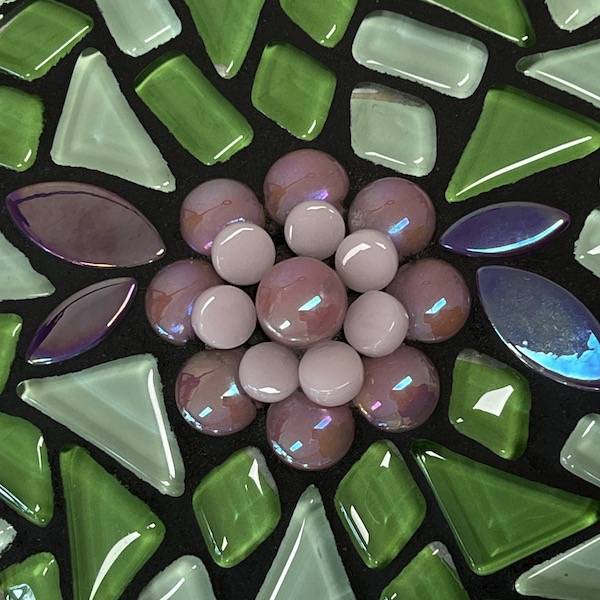
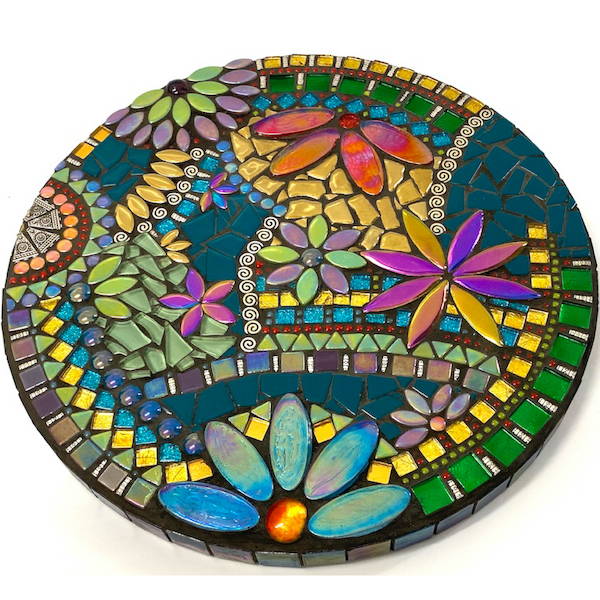
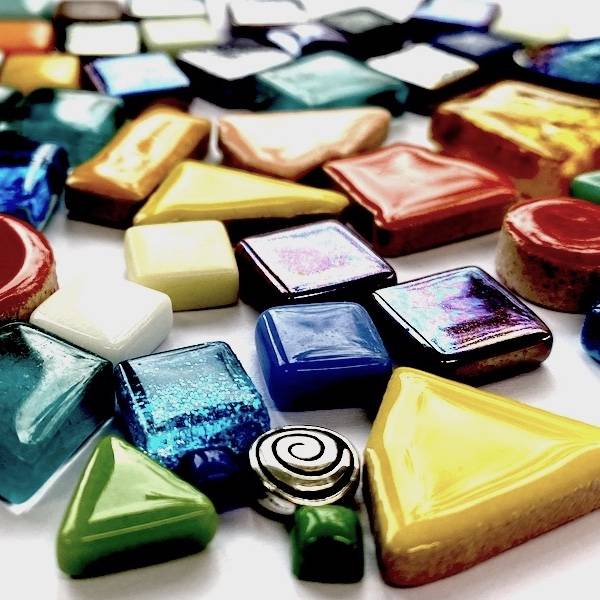
Lay your tiles on the base to work out the design you like best.
2. Adhering the tiles
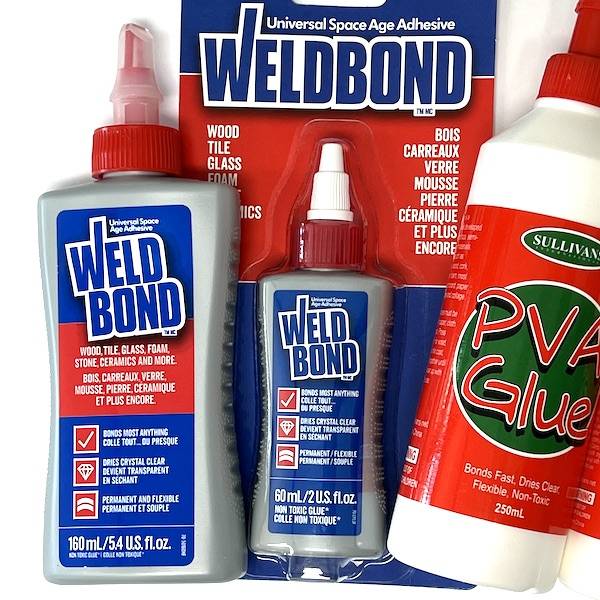
Your adhesive can be applied either directly to the base or painted individually onto the back of the tiles. The quickest method is to paint the adhesive onto the base. Apply the adhesive to small sections at a time to avoid the adhesive drying out. Allow the adhesive to dry for 24 hours before applying the grout.
Once you've adhered the paper to the tile, don't change the placement, as you could wreck the tile.
3. Grouting time
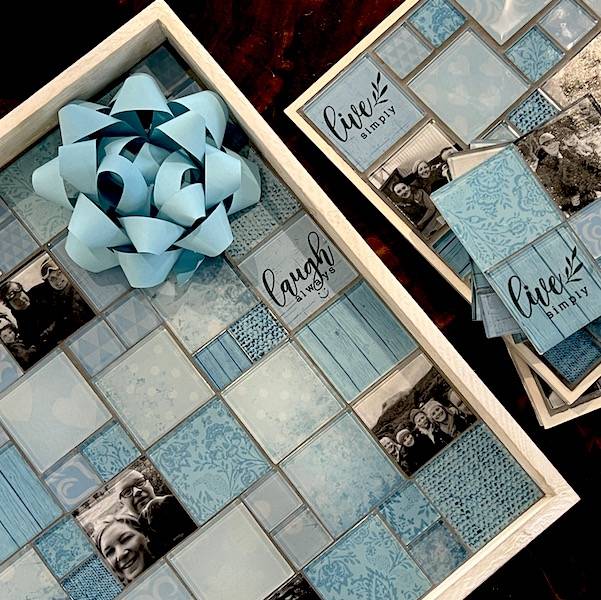
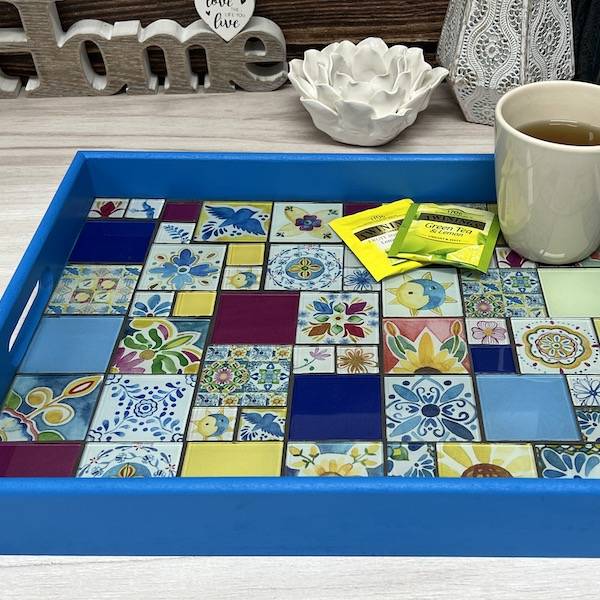
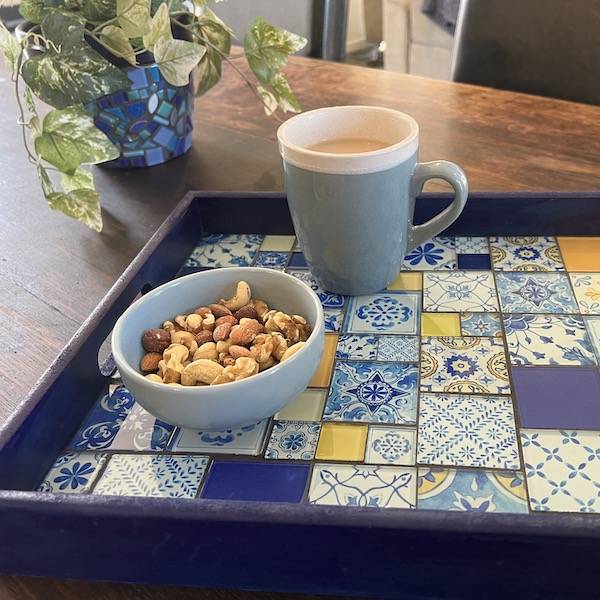
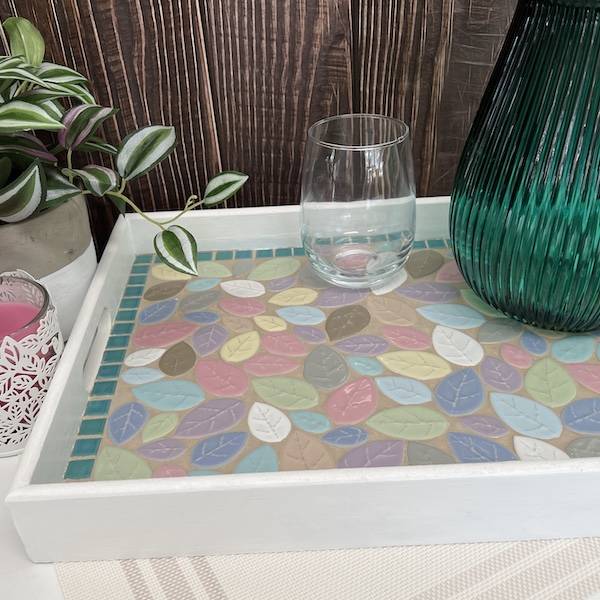
- Before grouting the placemat & tray, run painters or masking tape around the edges of the exposed plywood to protect them.
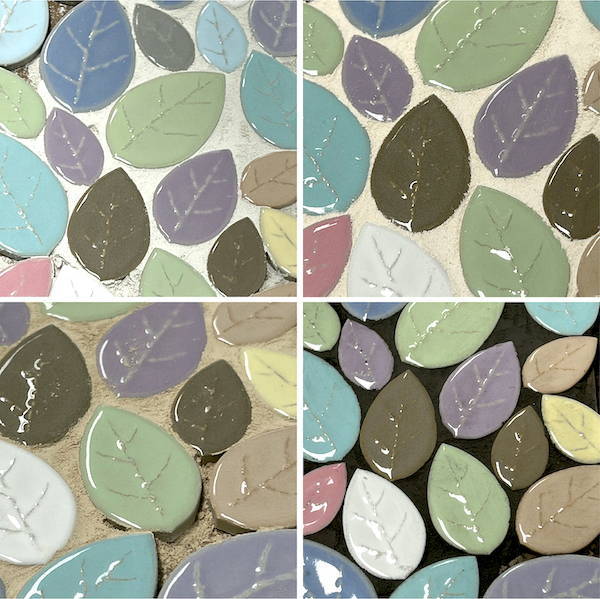
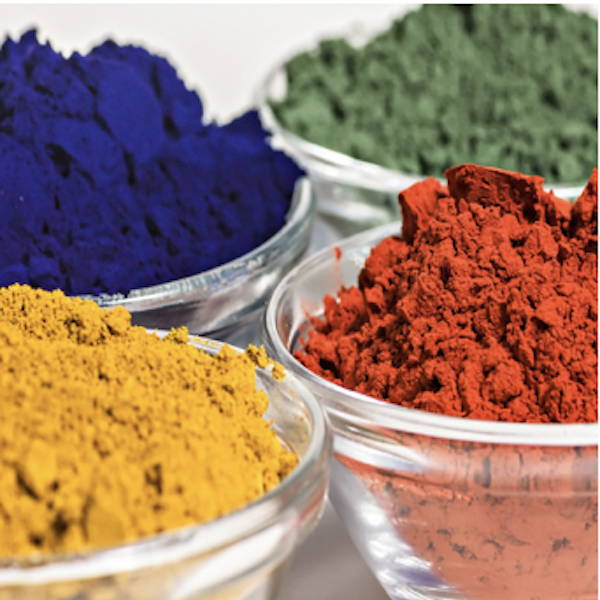
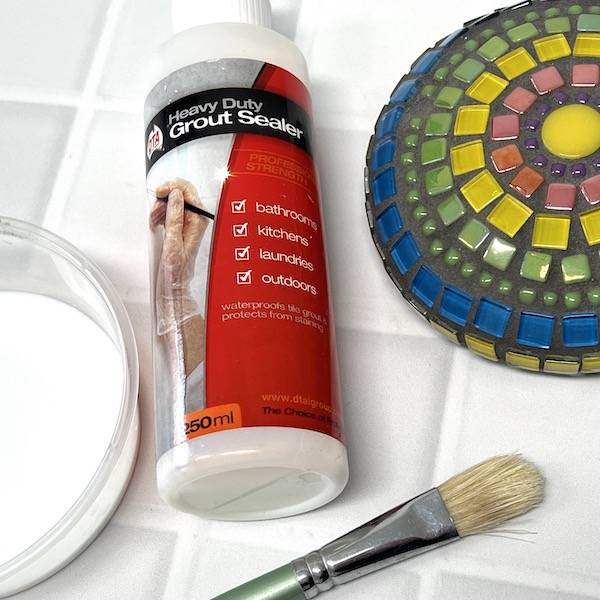
- Mix your powdered grout with water to create a thick paste. This is to reduce the amount of water for the paper backed tiles. If they are exposed to too much water, it will creep under the tiles creating watermarks. Mix the grout to a smooth paste with no lumps. Keep some of your grout aside just in case you need to thicken the grout later.
- Spread the grout all over the top of the tiles and sides, making sure to work it into the gaps.
- Once you have applied the grout, you will need to wipe it off straight away; we recommend using wet ones as they contain just the right amount of moisture. If you use a sponge, you will have too much water.
- Once you have wiped away the excess grout, allow it to dry for 20 minutes, use a soft cloth, and wipe the mosaic clean.
Allow 24 hours for the grout to cure.
4. Paint the edges
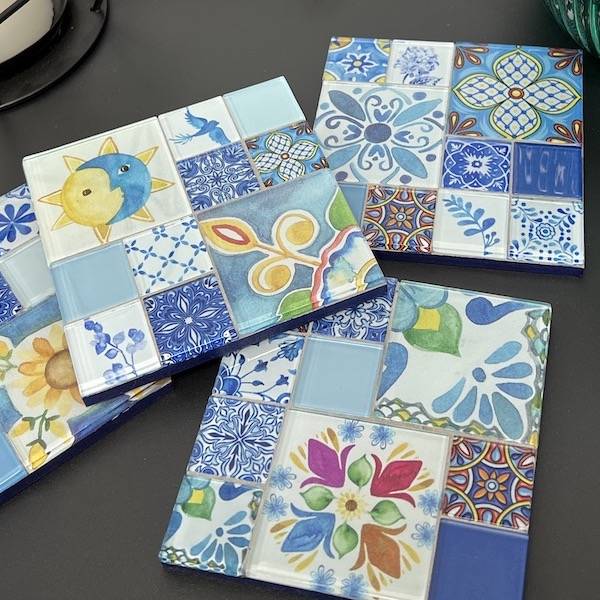
To finish the coasters and/or placemats, paint the edges with acrylic paint.
 1300 320 392


