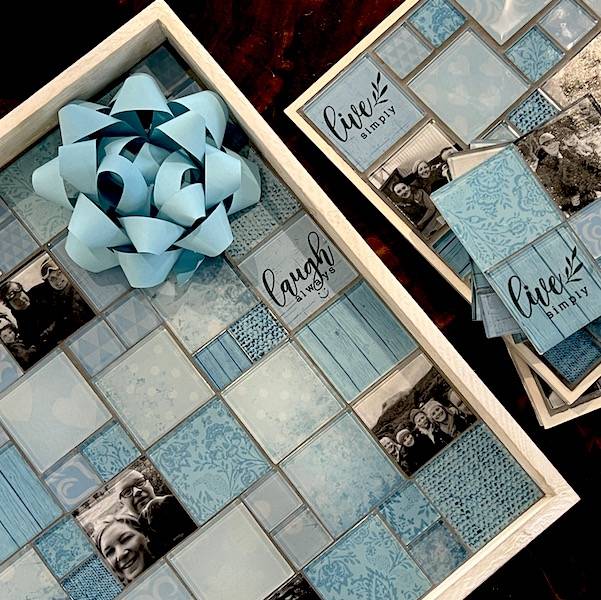
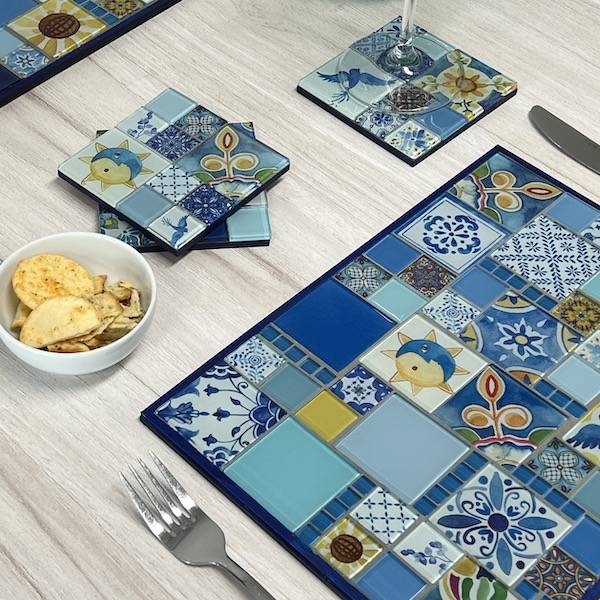
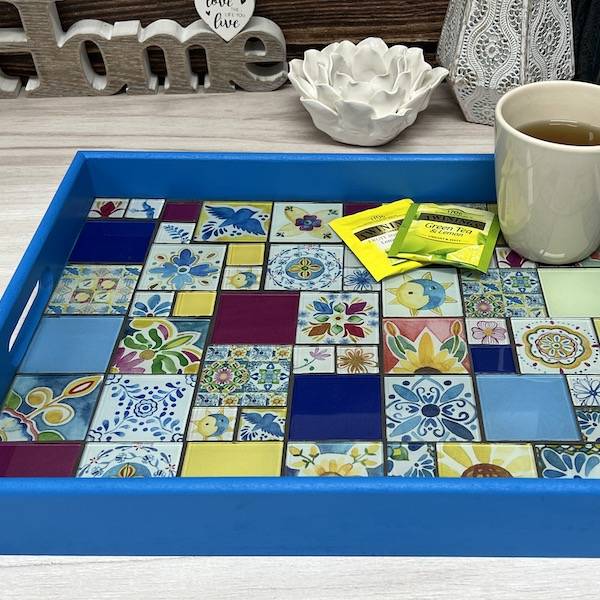
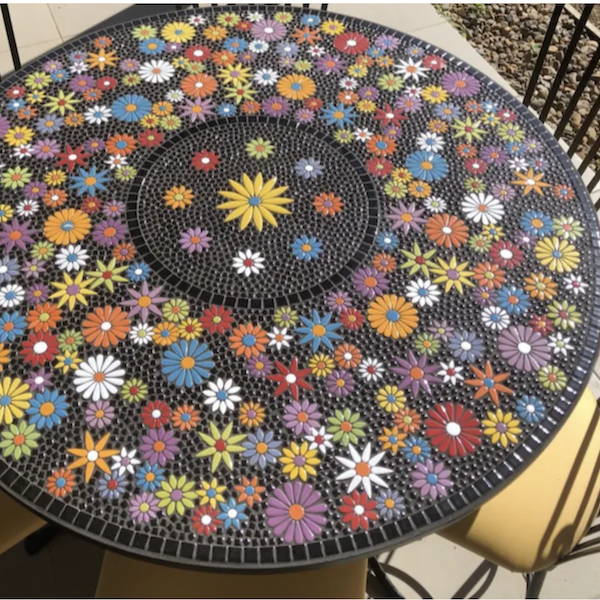
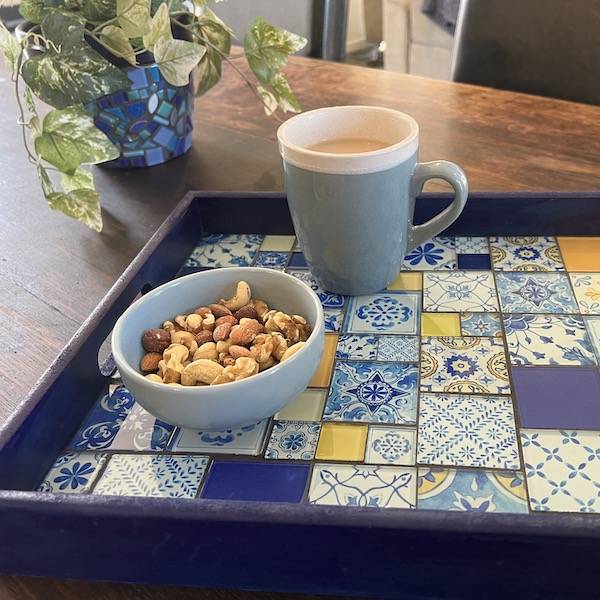
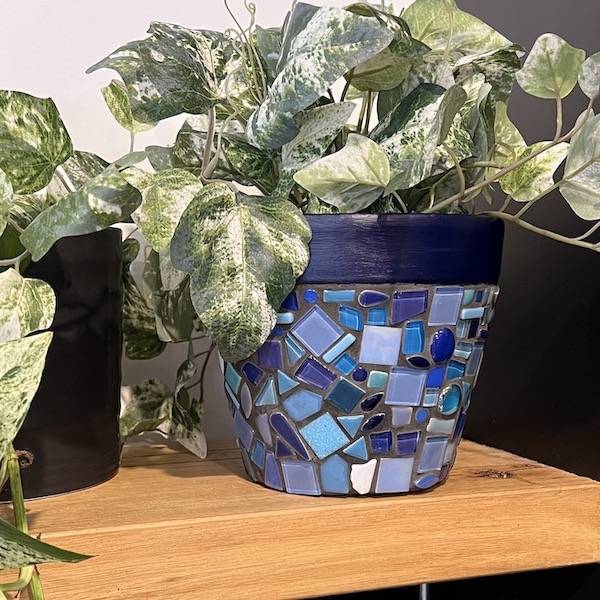
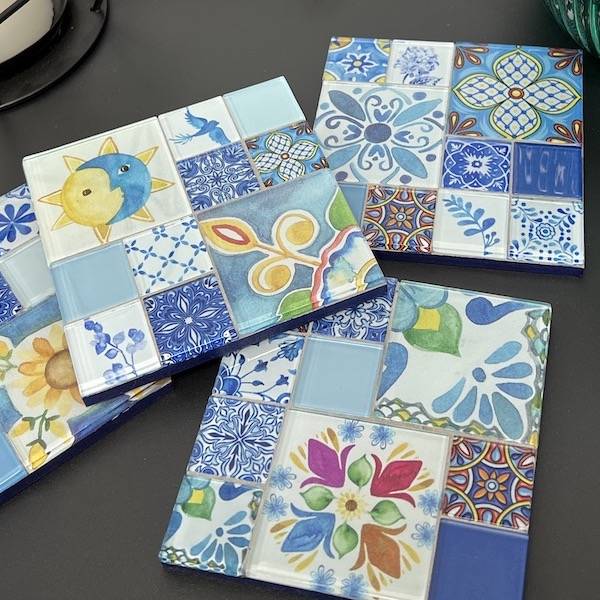
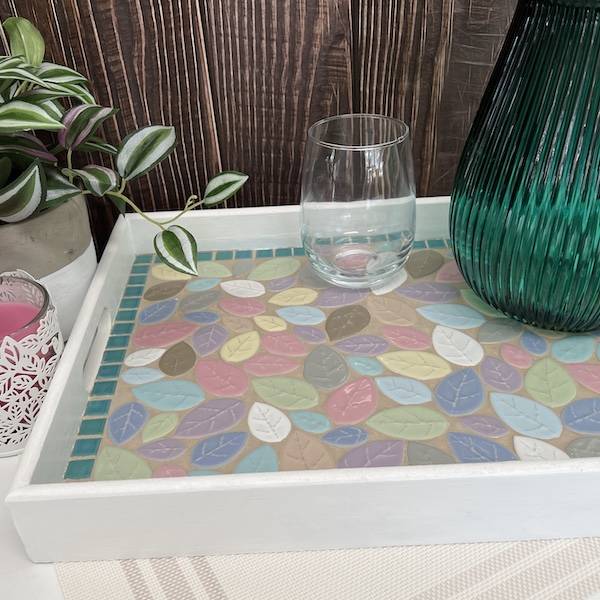
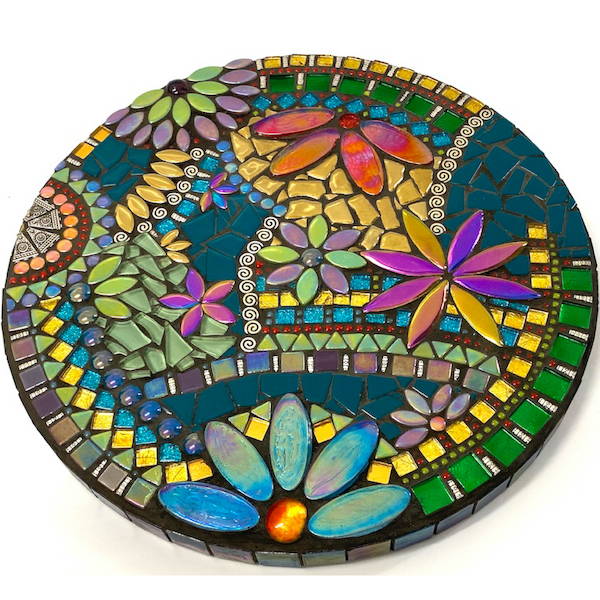
This gorgeous mosaic table is the perfect introduction to mosaic table making. It is an indoor project requiring no tile cutting that can make over a weekend. Once you've mastered this side table, you can turn your hand to more complex designs or tables for outdoor environments.
Materials
- Mosaic table - we've used Ikea’s Gladom metal table (45 x 23cm). It's great for mosaics as the table top has metal sides, to frame the mosaic. Cost - $29 from Ikea
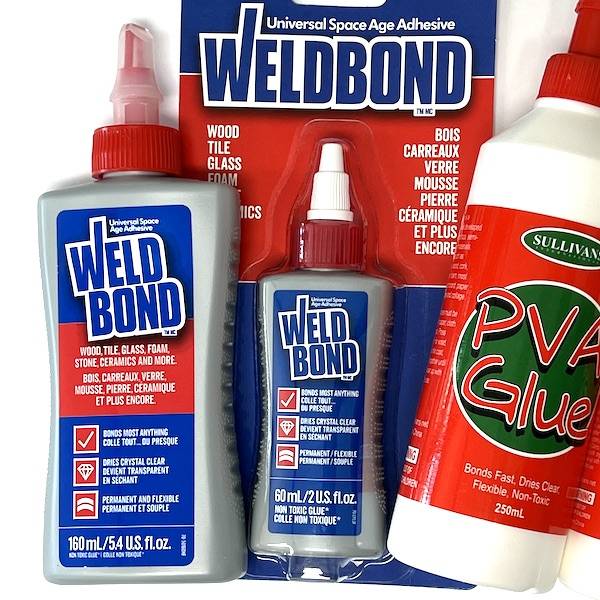
- Cement based adhesive
- Grout - Slate Grey
- Grout clean up supplies - sponge, rags, a container with water, disposable gloves
Tiles
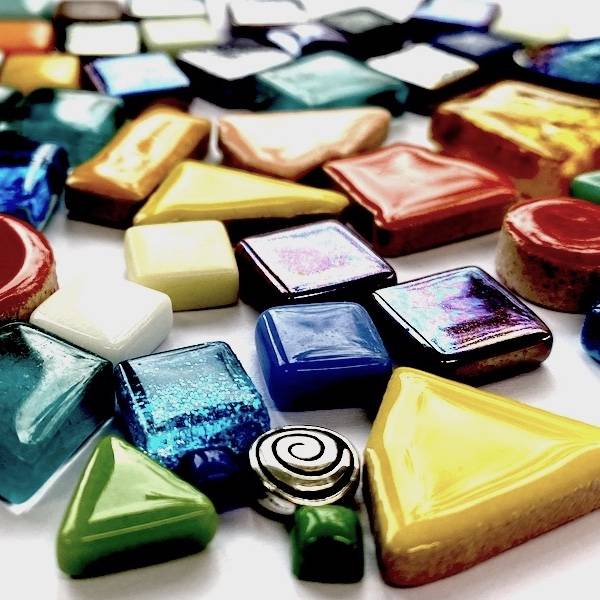
- Blue & White Ceramic Bits
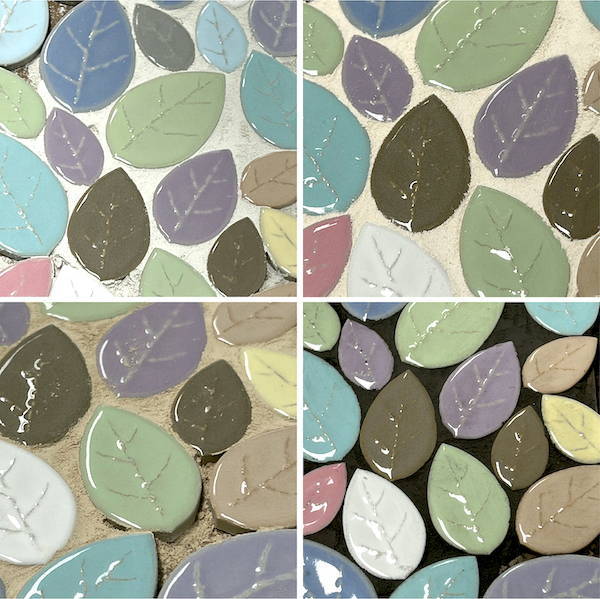
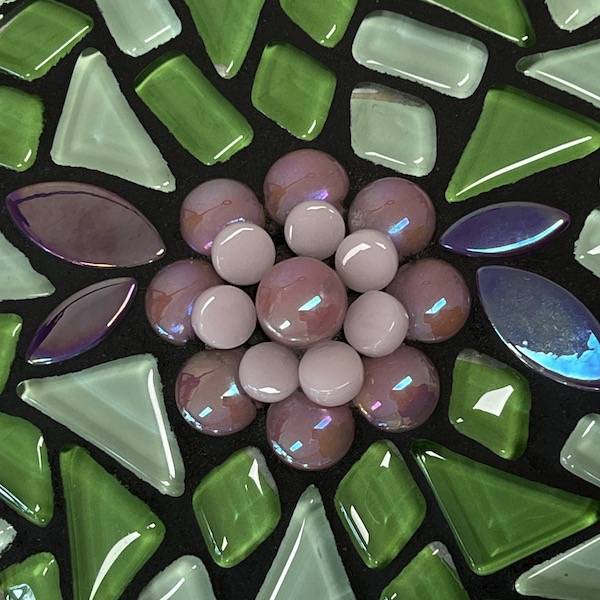
- Ceramic Pebbles - Blue & White Ceramic Pebbles, Bright Yellow Ceramic Pebbles and Dark Blue Ceramic Pebbles
- Large Dark Blue Ceramic Discs
- Square Ceramic Tiles 1cm - Yellow, Dark Blue
Instructions
- Plan your design - Choose a simple design or pattern and sketch it with a pencil. Pinterest is a fantastic source of inspiration.
- Work out how many tiles you'll need. Our online 'Mosaic Tile Calculator' can help you do this. Another helpful technique is to plan your design on a piece of paper cut to the same size and shape as your mosaic base; this will help you work out the size of the area.
- Lay the tiles out on the surface of your design, keeping the tiles within 2-3mm of each other to allow for grout lines. A handy hit is to take a photo of your design so you know to place your tiles.
- There are two ways to apply your adhesive. Apply the adhesive to the back of each tile or lay the tiles in a bed of adhesive. The quickest method is to paint the adhesive onto the base. Apply the adhesive to small sections at a time to avoid the adhesive drying out.
- When the tiles have been laid, allow the adhesive to cure for 24 hours before applying the grout. Run your hand over the tiles to ensure they are firmly adhered to before grouting. If any are loose, remove them and re-adhere.
- Spread grout between the tiles using your gloved hands or a palette knife (see our detailed guide to grouting below).
- Wipe down the tiles using a damp sponge. Dry until a haze develops over the tiles, and gently buff off the excess grout.
- Allow 24 hours for drying.
- Enjoy!
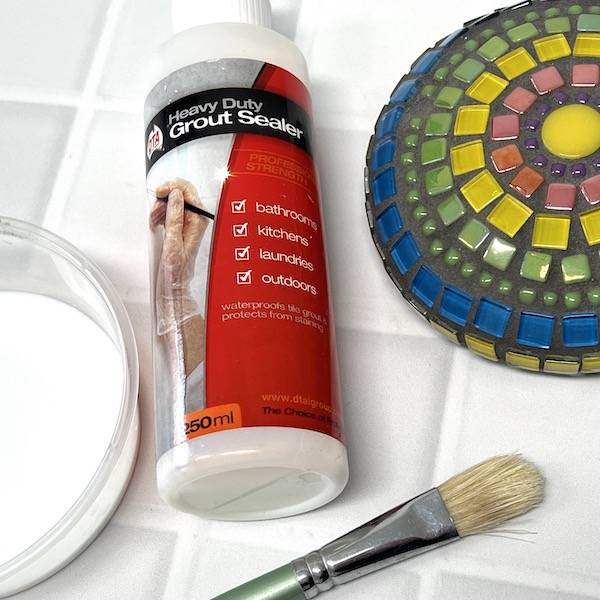
If you are using a metal table, as we have, rough up the table's surface to help the adhesive grip. You can do this with some steel wool. To get a flat tabletop, you will need to ensure that all your tiles are of the same thickness. If your table is likely to be exposed to water or you're using a light-coloured grout, we recommend sealing the grout with a grout sealer.
Mosaics can be as intricate or straightforward as you desire. Regardless, the result is usually worth the effort it takes to make one.
 1300 320 392


