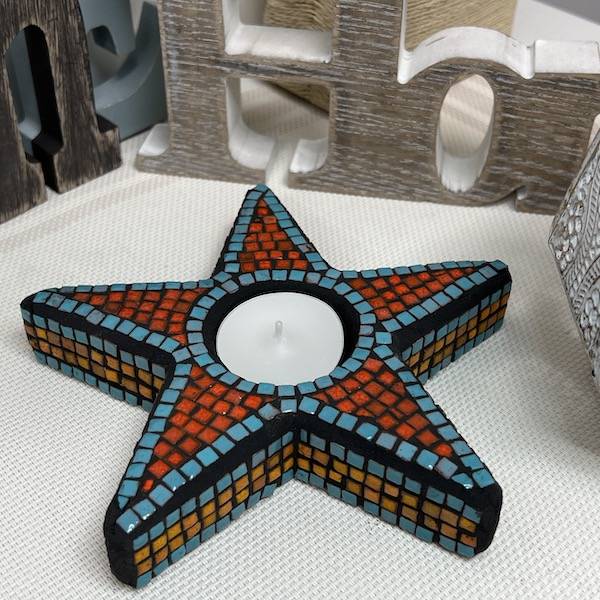
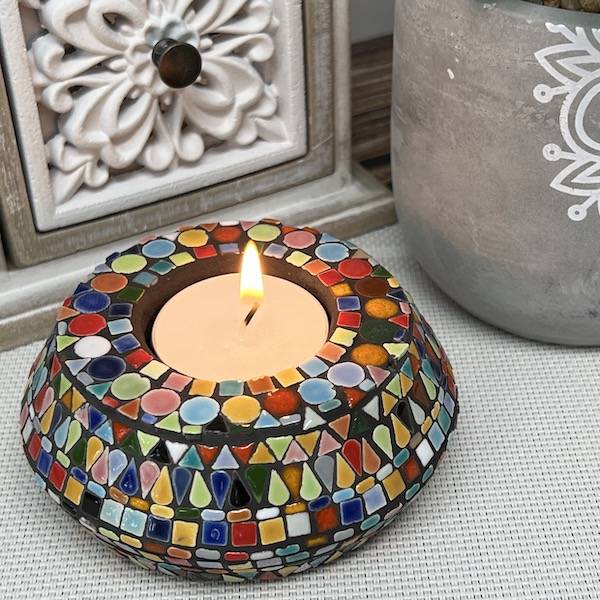
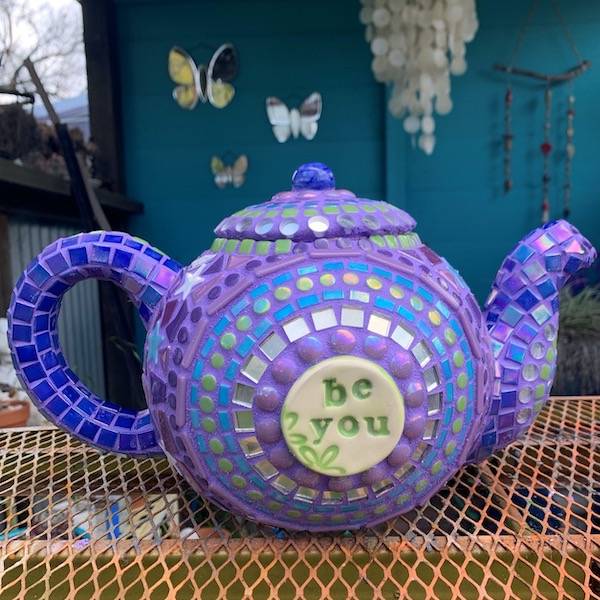
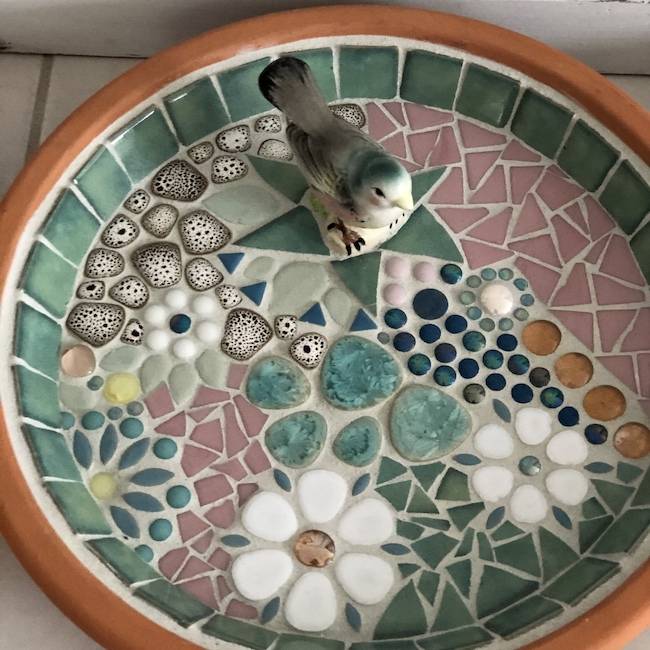
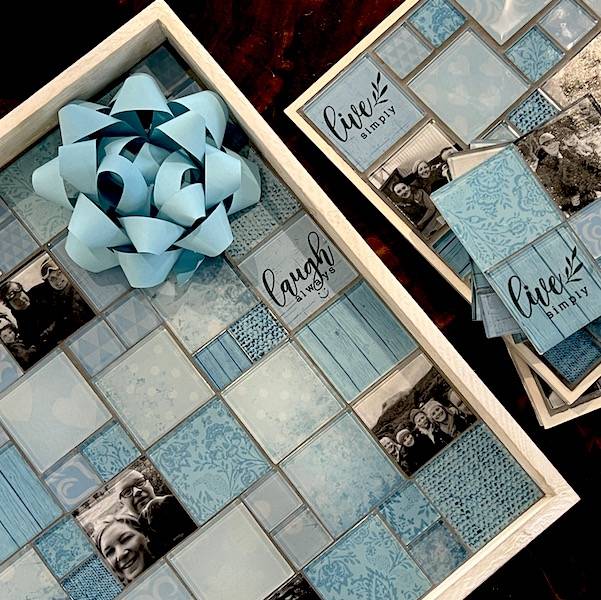
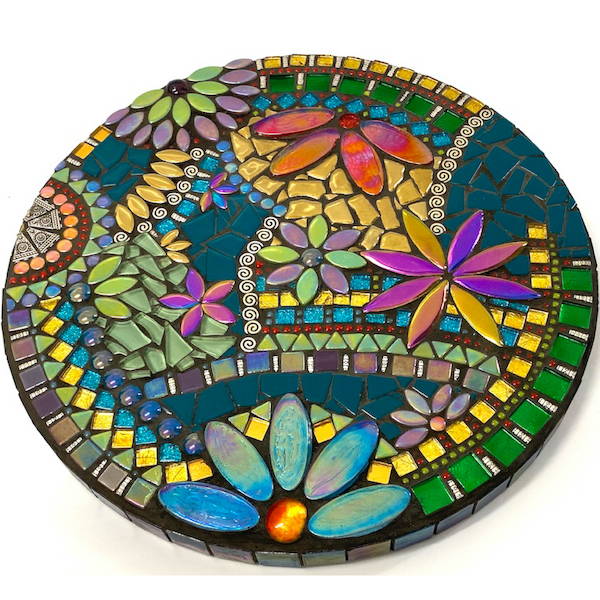
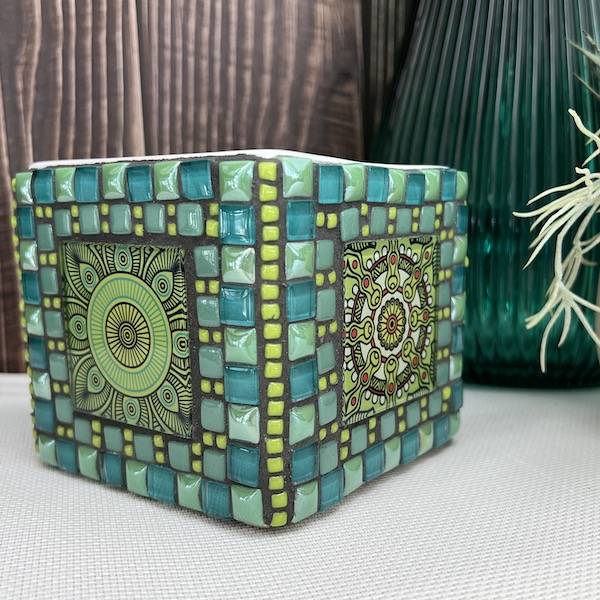
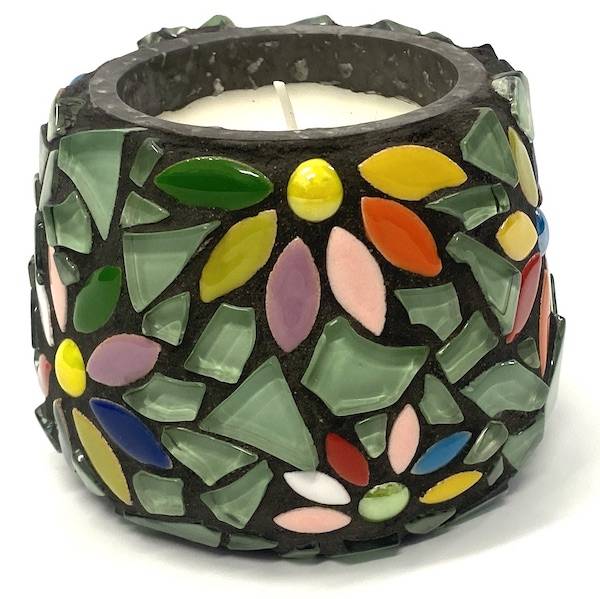
Mosaic Tea Light Holders are a fantastic project; they are quick to make, inexpensive, and unique. They also make a lovely handmade gifts.
These Candle Holders can be made in 4 easy steps:
Step 1 - Choosing Your Materials
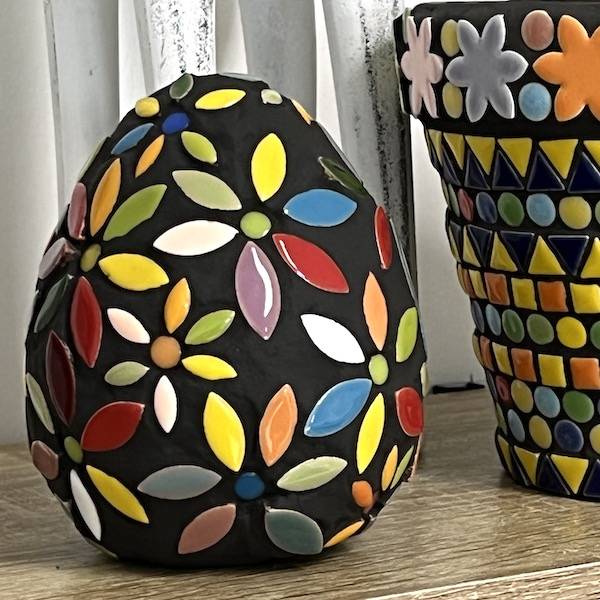
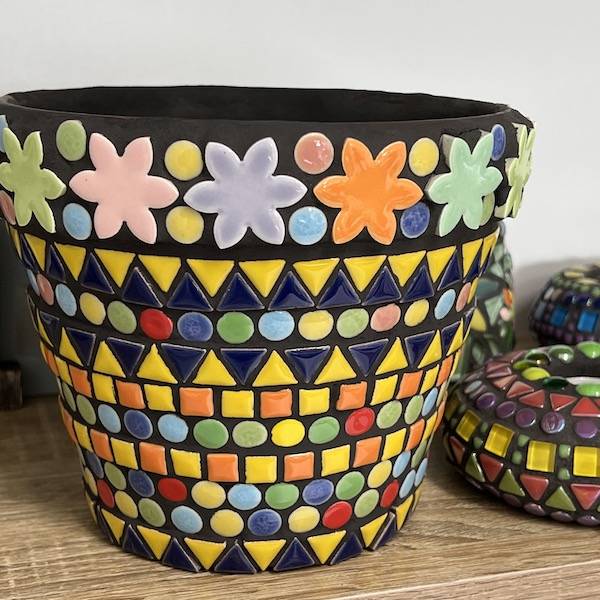
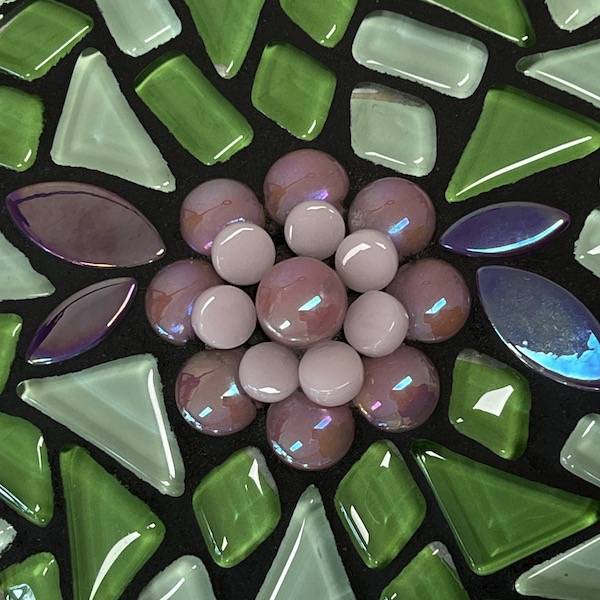
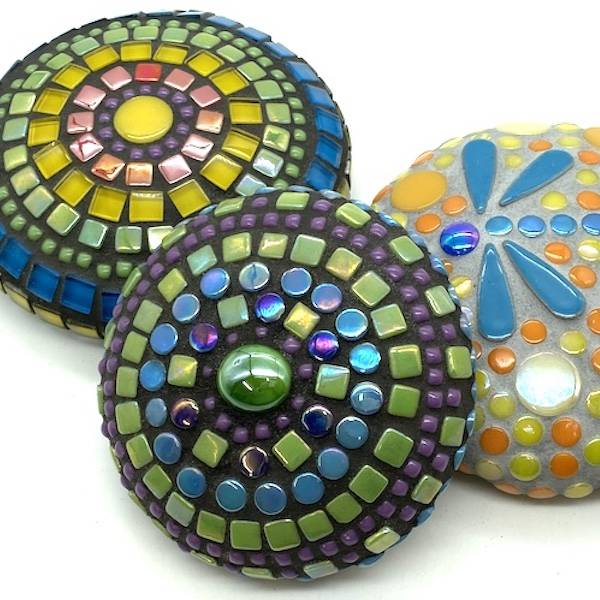
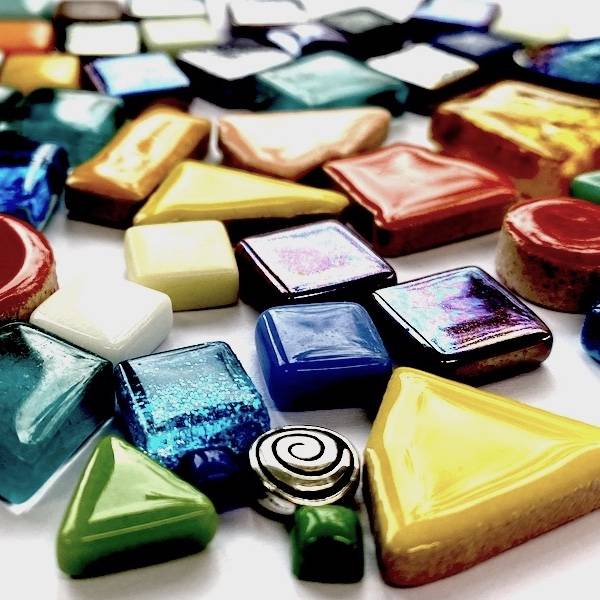
Your imagination only limits the choice of materials. If you'd prefer not to cut your tiles, the choose tiles on the smaller size. We have used a combination of Crystal Glass 1cm Tiles, Micro Glass Tiles, Glass Dots and Glass Triangles.
Choosing a theme or colour scheme will help give you some direction with your design before proceeding.
Step 2: Sourcing Your Materials
- Mosaic Candle Holder
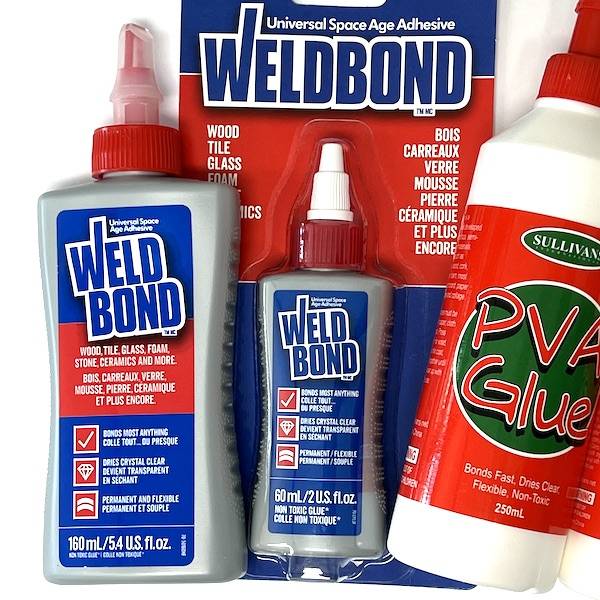
- Adhesive - Outdoors - Cement-based adhesive or clear drying liquid nails. Indoors - Weldbond adhesive (not recommended if your stone is curvy as the tiles may fall off while drying)
- A good selection of Tiles and Materials, we've used Colour Packs as they have a great assortment of tiles.
- Tile Cutters - if you are planning on cutting your tiles.
- Grout
Step 3: Adhering Your Tiles & Materials
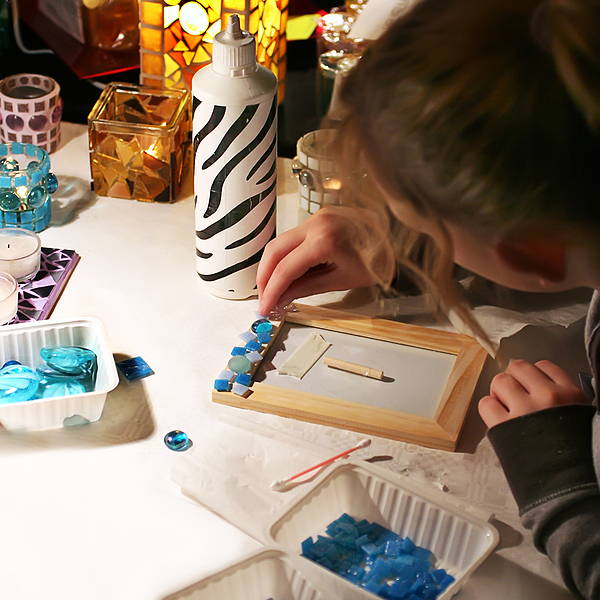
Using a tacky adhesive (e.g. Cement Based Adhesive or liquid nails) will hold your tiles and materials while the adhesive dries. Using a liquid adhesive like Weldbond will make it harder for your pieces to stay in place while the adhesive dries (particularly on curved areas).
Step 4: Grouting
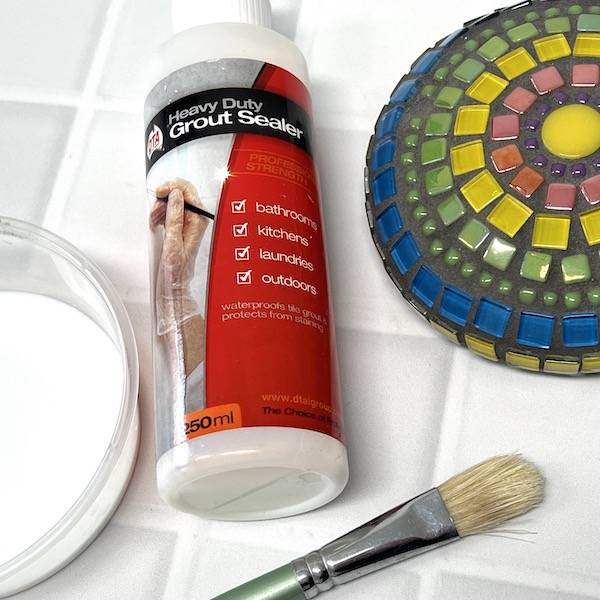
When grouting, always wear gloves, as the grout will dry your hands out.
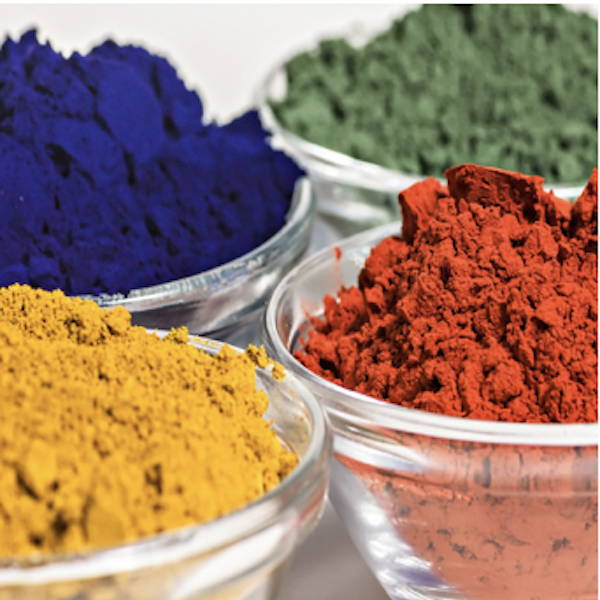
Mix a small amount of powdered grout with water until it becomes a porridge-like consistency. Once mixed, place a small amount of grout onto your tiles and rub it into the gaps between the tiles. Once you have covered the entire mosaic, scrape off the excess and allow it to dry.
Wait until the grout has started to dry (the grout will become dull) and carefully clear off the excess grout with a sponge. Leave it for 24 hours, then give it a final buff up to remove excess grout.
TIPS FOR THIS PROJECT
- Leave a space of 2-3mm around the rim of the tea light holder for grout; this will allow you to grout the edges of the tiles.
- Place the larger tiles on the flat sections of the base and the smaller tiles on the rounded areas. Using this technique will allow you to follow the shape without requiring too much cutting of tiles.
- Place the tiles of varying thicknesses on the top of the shape and the same thickness tiles on the sides. Again this will allow you to keep the shape of the base.
 1300 320 392


