img img img img

Fri, Nov 04, 2022

Learn How To Make This Mosaic Teapot


This teapot by Rachael Sitters is absolutely fabulous! We were so impressed when we saw a picture of it that we asked Rachael to show us how to make it. And guess what? She happily agreed! The teapot is super fun and colorful, with a beautiful mosaic design.


Rachael tells you exactly what materials and supplies you'll need and gives you simple step-by-step instructions to make your own teapot.


A big thank you to Rachael for being so generous and sharing her awesome project. It's going to inspire a lot of people!


Rachael Sitters Mosaic Teapot

Above: the size of this teapot in relation to my head.

As you can tell I am very excited about this one.


MATERIALS & SUPPLIES

BASE

Teapot: This large one was sourced from a local op shop for $7. Ceramic or aluminium ones are perfect.

This is my haul of new substrates from two op-shops

A selection of teapots to mosaic

TILES

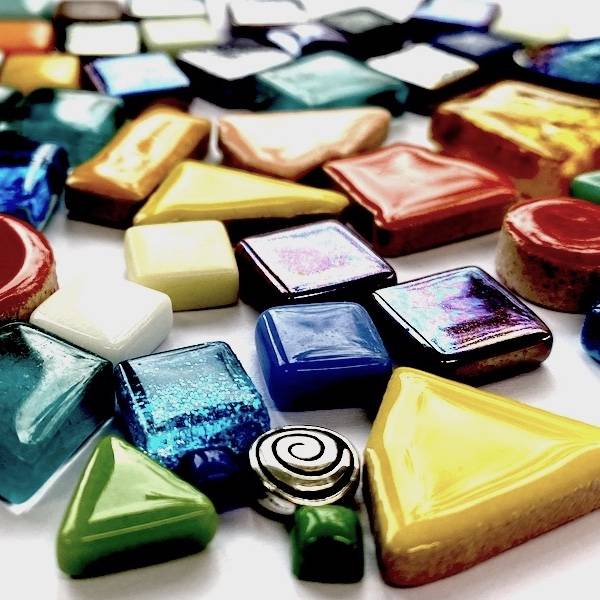
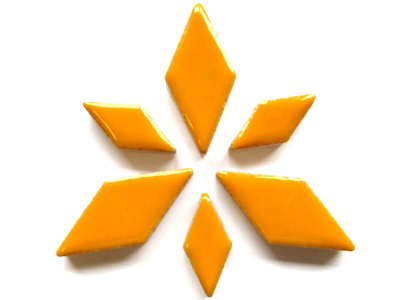
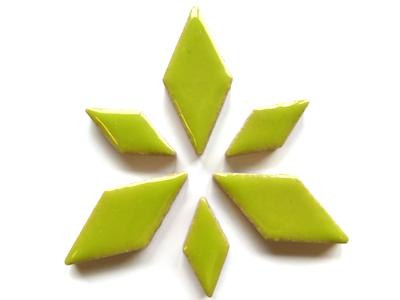
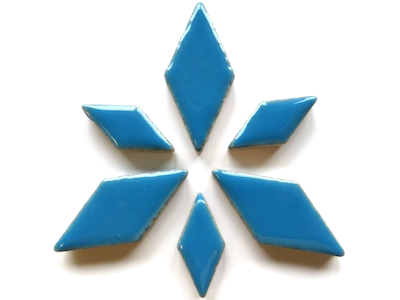
Any tiles that are suitable for outdoor use. I've used:

See our selection of suitable tiles >>


tiles for mosaic teapot

ADHESIVE

Roof and Gutter silicone – I use the Ezi Press tubes, resulting in minimal wastage and easy application.


GROUT

  • Davco Sanitised Coulourgrout in White
  • Davco Grout Additive mixed half/half with water
  • Violet Grout Colourant


Roof and Gutter silicone

OTHER SUPPLIES

  • Tile nippers ( 2 wheels )
  • Ice cream container and an old knife for mixing grout. Gloves, sponge or material scraps for grout clean up and baby wipes.

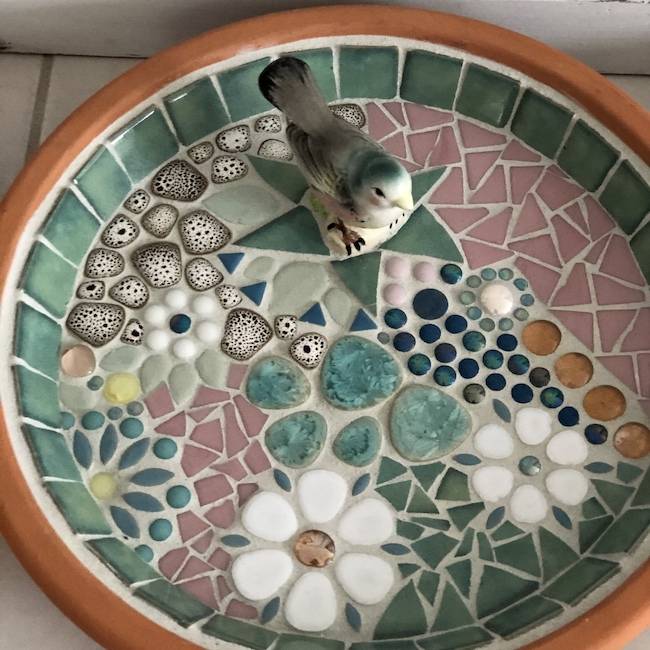
Supplies to make a mosaic birdbath

PROJECT INSTRUCTIONS

1. Clean your ceramic teapot in the dishwasher and let it dry. For aluminium, one wash by hand with warm soapy water. If the teapot is shiny, I give it a good going over with sandpaper to rough the surface.

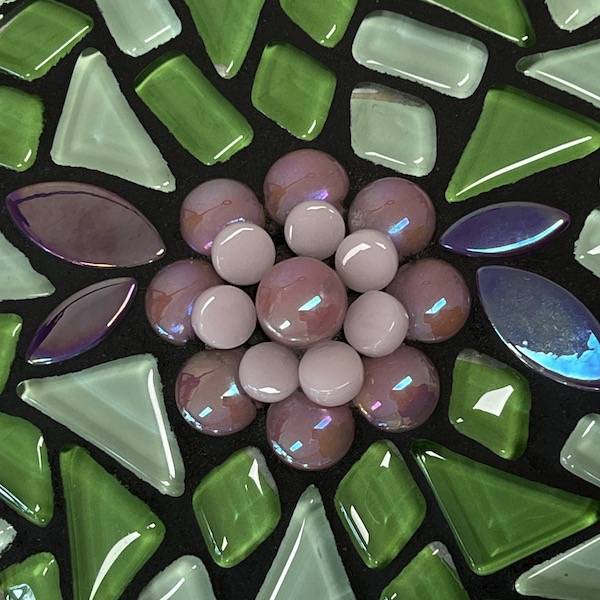
2. Decide on the pattern and colour theme. With this example, I started with the round feature tile and worked my way outwards in a circular pattern with various green and purple tiles. Once the circular pattern had reached the lid, I started to fill in the rest with the iridised glass snippets and ceramic shapes. I complete the lid separately and will silicone it into the teapot once grouted.

With a 3D substrate, I work on it over many days, working on one side at a time and allowing drying time between so as not to knock off tiles when moving the item. I leave the handle until last, as it is easier to move the teapot around by it.

I allow the silicone to cure for a few days before grouting. Usually, five, but lately, my grouting queue is a few months long!

3. I mix the Davco Grout Additive at a 1:1 ratio in a separate container. I then mix the white grout and Violet Grout Colourant while dry. I used a mix of around 10 to 15% Grout Colourant to dry the grout. Then add your wet mixture to the dry mix until you get the right consistency.

I grout using gloved hands, or you can use a spatula.

I also prefer dry grouting to clean up with water and a sponge. I use rags to wipe the excess grout off into an old box, so I can quickly dispose of it in the bin.

I let the grout cure for about half an hour before giving it a final wipe-down with baby wipes. These are also fabulous for cleaning any purple on your skin or through the gloves whilst grouting (I only discovered this tip).

Once the grout has cured overnight, I glue the teapot lid into place with silicone.

I don’t seal the final product as I use the grout additive.


Rachael Sitters Teapot Mosaic
Rachael Sitter Teapot Mosaic

Some of Rachael's other mosaics...

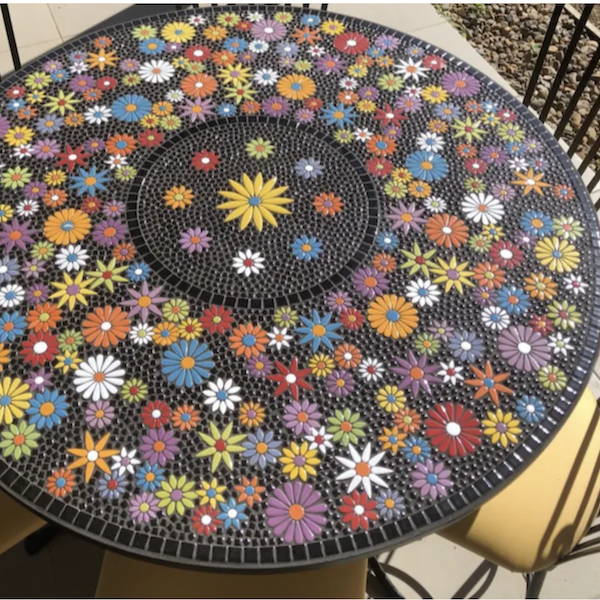
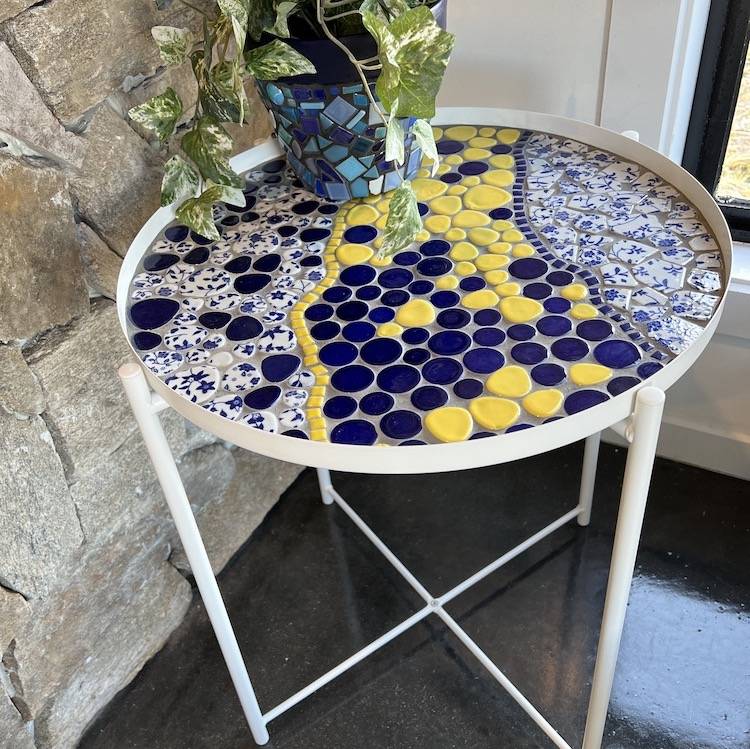
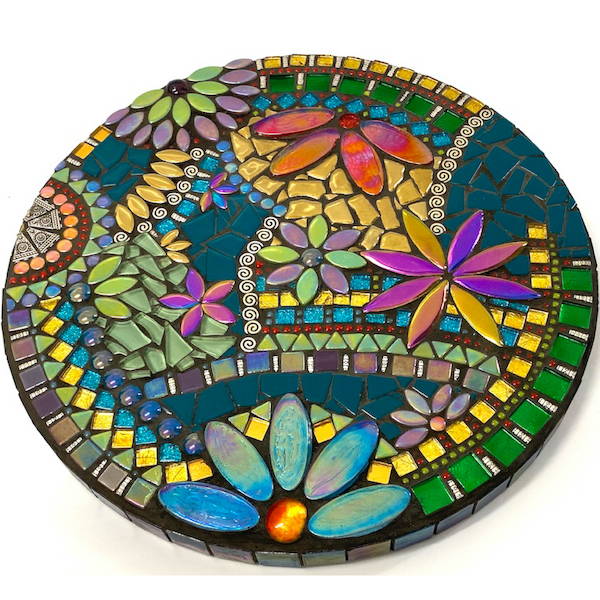
Mosaic table by Rachael Sitters
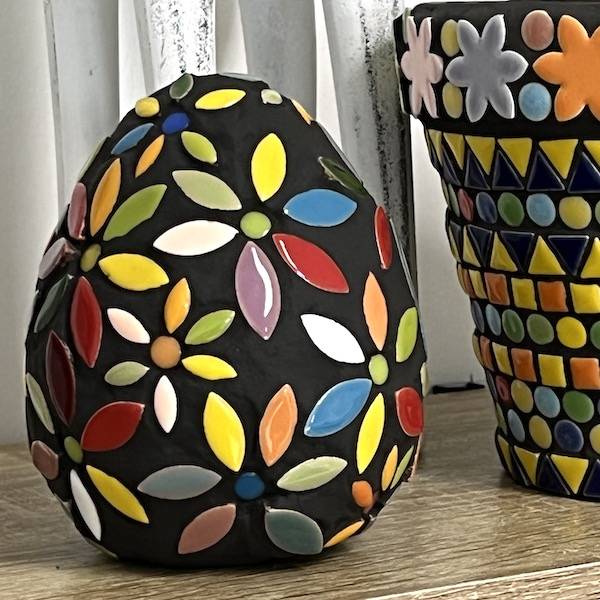
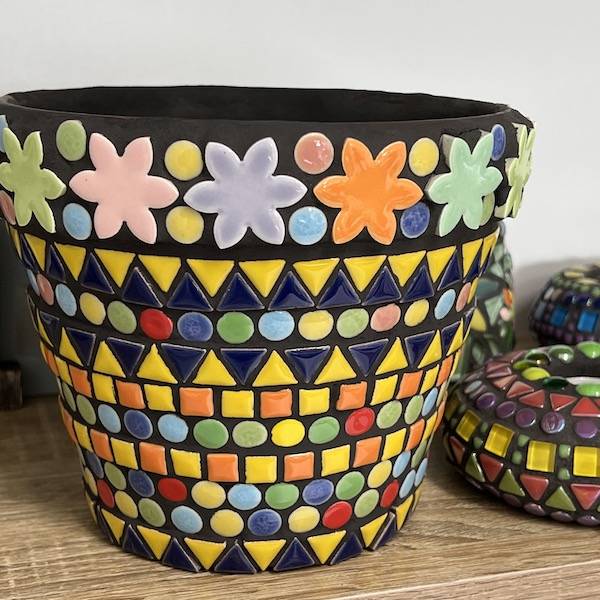
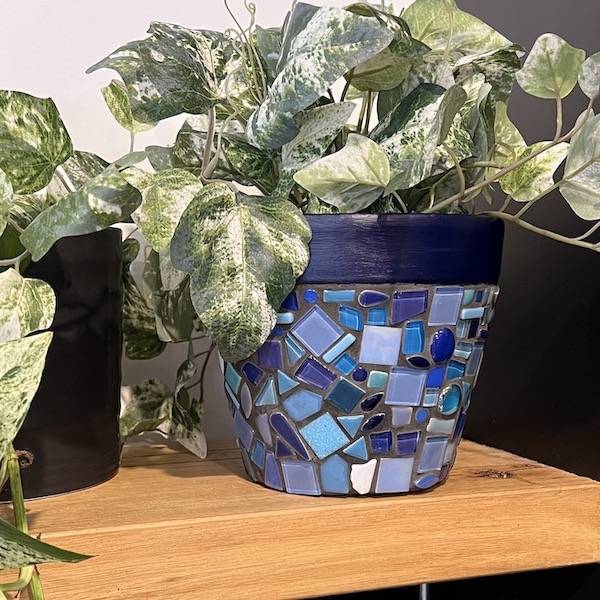
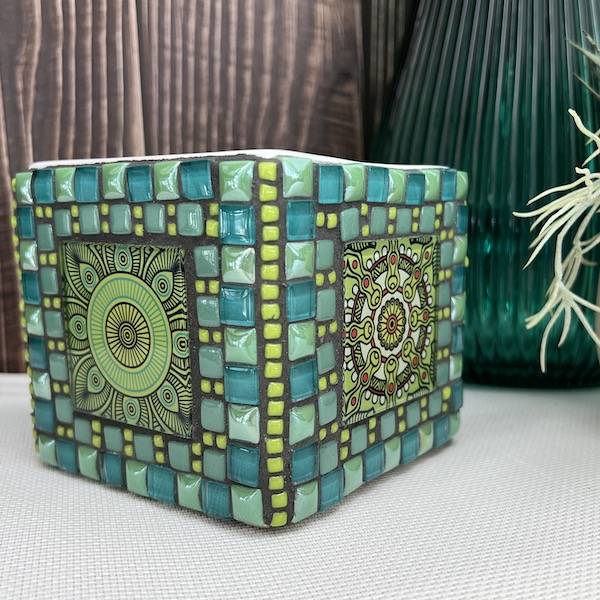
Mosaic planter by Rachael Sitters

Rachael's next projects...

Rachael Sitters Next Project

NEW ARRIVALS

VIEW ALL
img

Iridised Mixed Glass Rounds 1cm

$4.75
VIEW ALL
img

Iridised Green Glass Rounds 1cm

$4.75
VIEW ALL
img

Iridised Blue Glass Rounds 1cm

$4.75
VIEW ALL
img

Iridised Purple Glass Rounds 1cm

$4.75
VIEW ALL