Steps
1. Choosing Your Materials
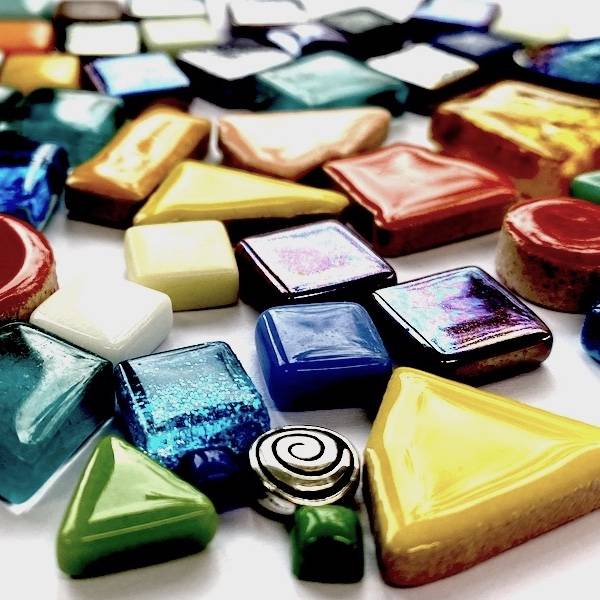
Your imagination only limits the Choice of materials. If you plan to have them placed outside, you need to consider whether the materials will stand up to the elements.
Choosing a theme or colour scheme will help give you some direction with your design before proceeding.
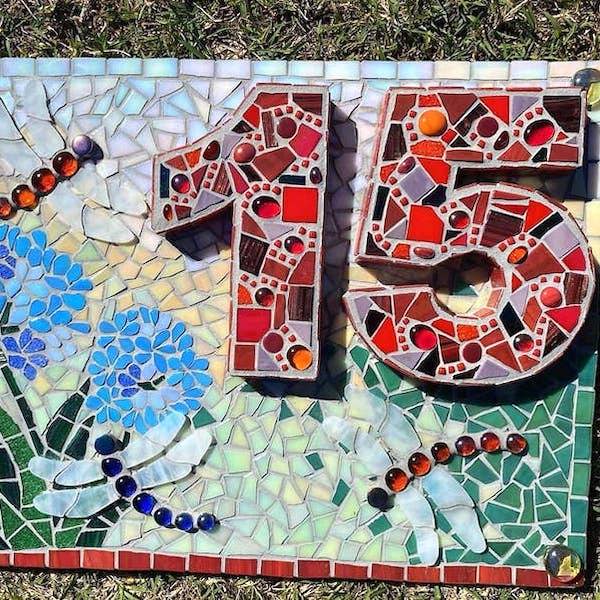
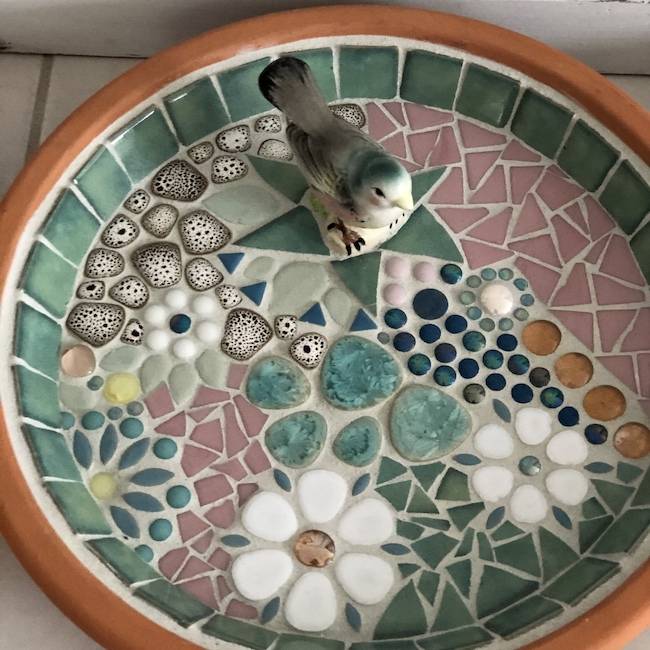
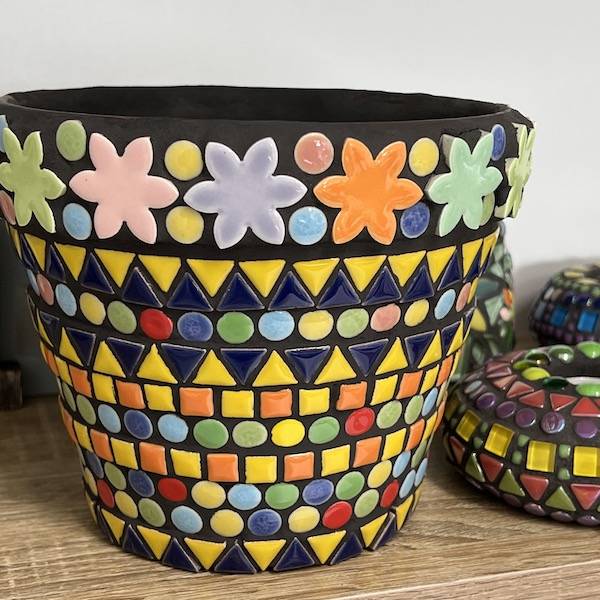
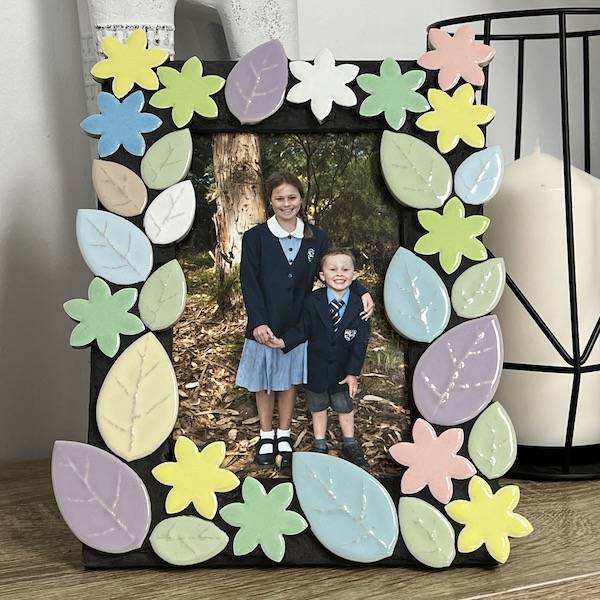
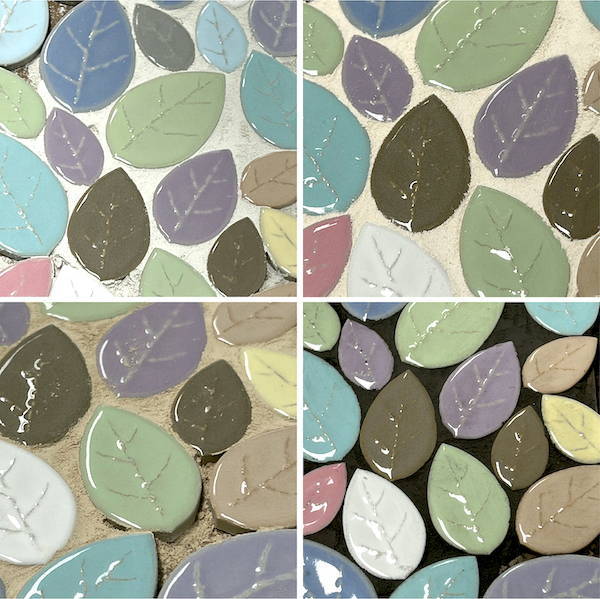
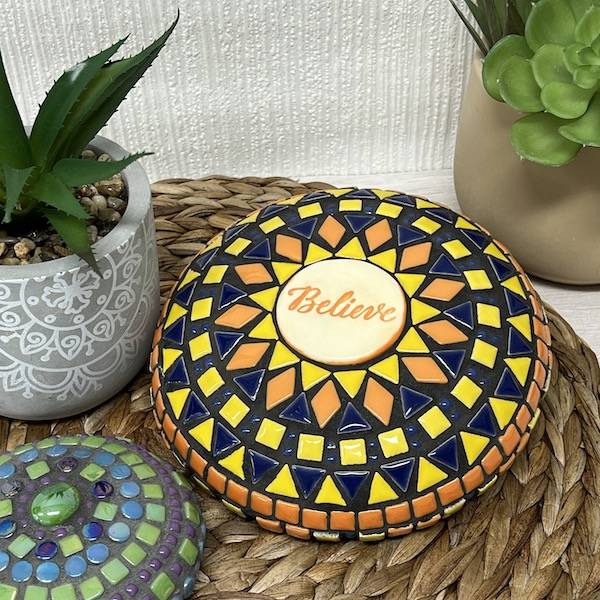
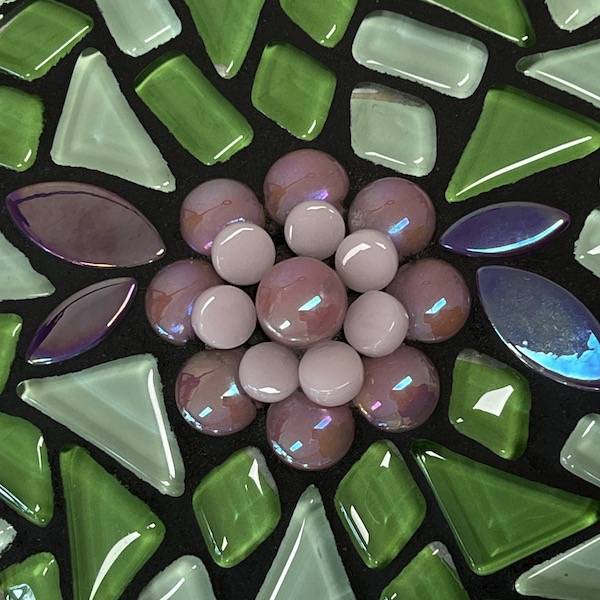
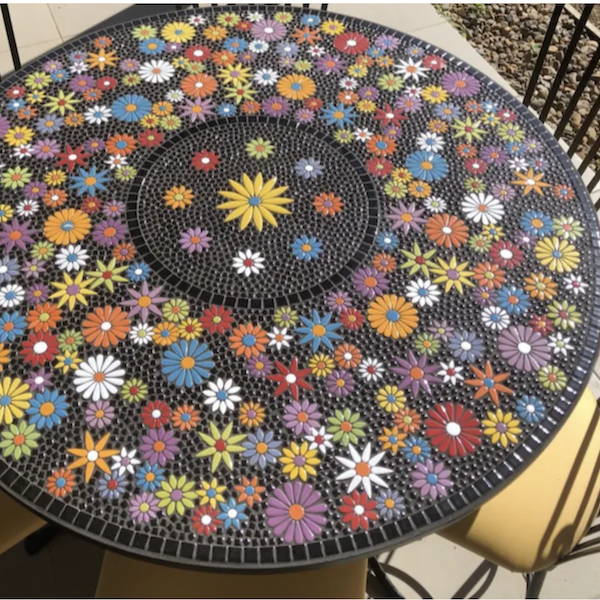
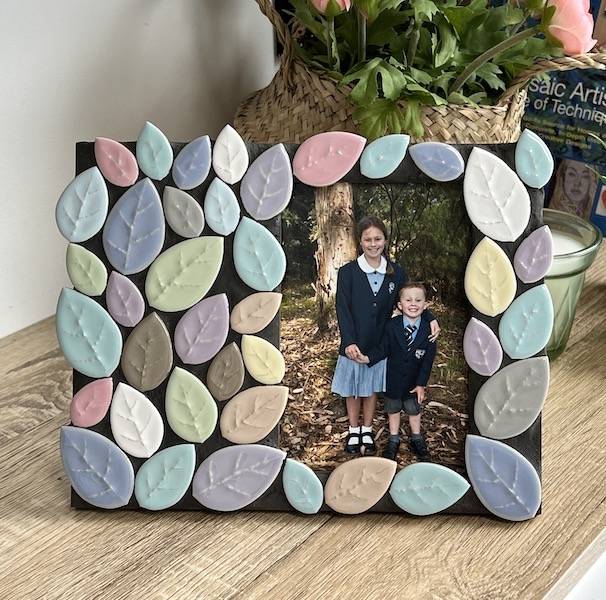
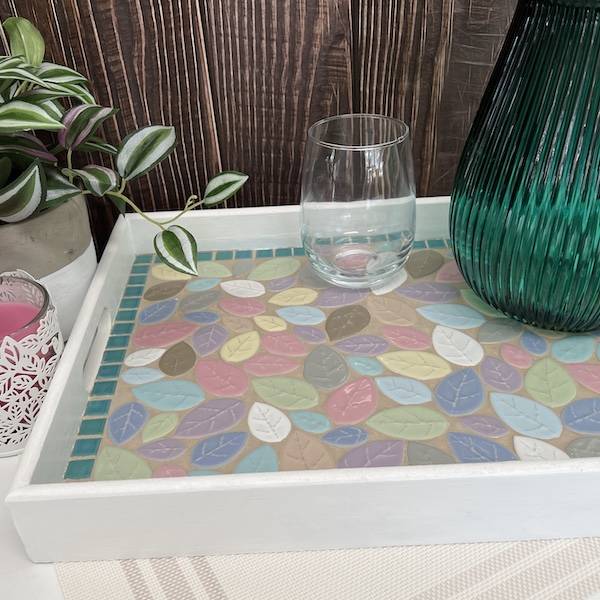
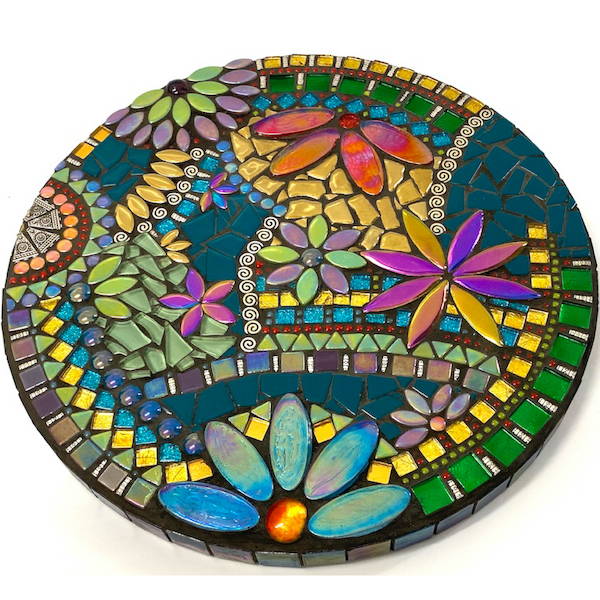
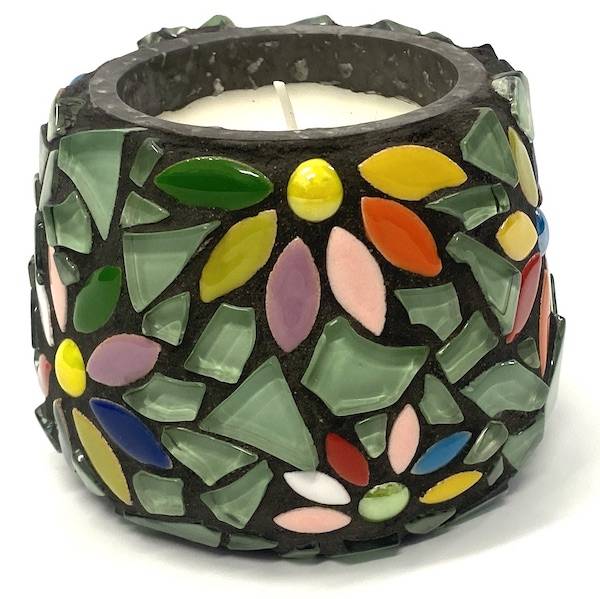
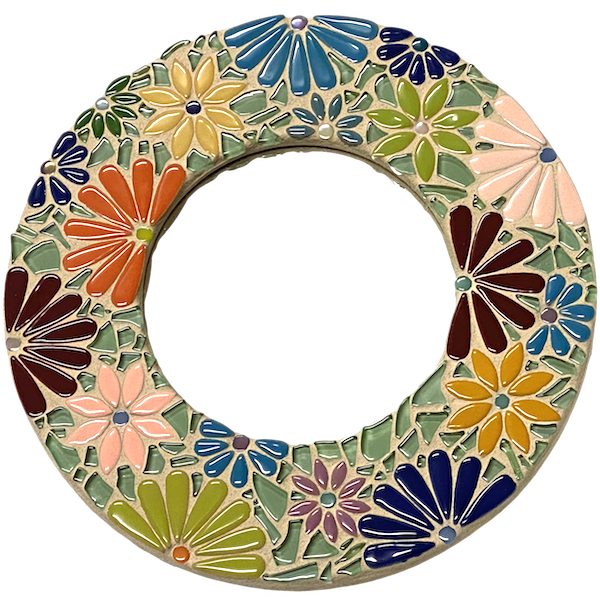
We have chosen Mixed Ceramic Petals to form the flower shape, with a Glass Dot at each flower's centre.
2. Adhering Your Tiles & Materials
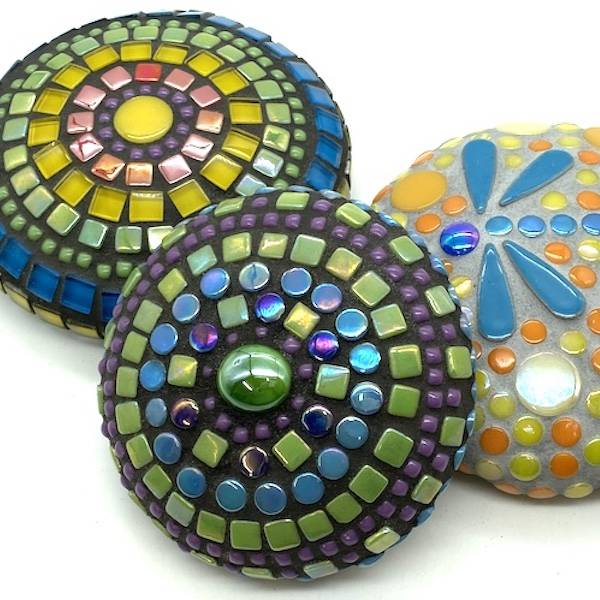
Having some concept in mind is always a great idea before you start. This may be a design based on a colour theme, geometric shapes, swirls or flowers like this project.
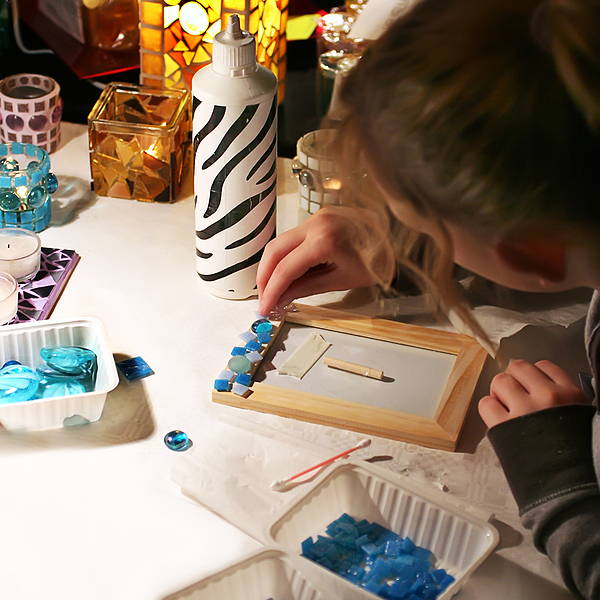
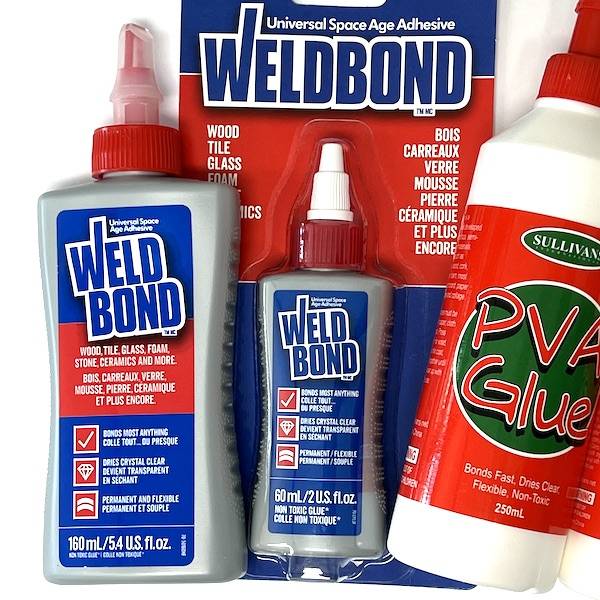
A tacky adhesive (e.g., cement-based adhesive or liquid nails) will hold your tiles and materials while the adhesive dries. A liquid adhesive like Weldbond will make it harder for your pieces to stay in place while the adhesive dries (particularly on curved areas). You can rest your piece on a cloth to support your work as you work.
Wait 24 hours for the adhesive to dry before grouting.
3. Grouting
When grouting, always wear gloves, as the grout will dry your hands out.
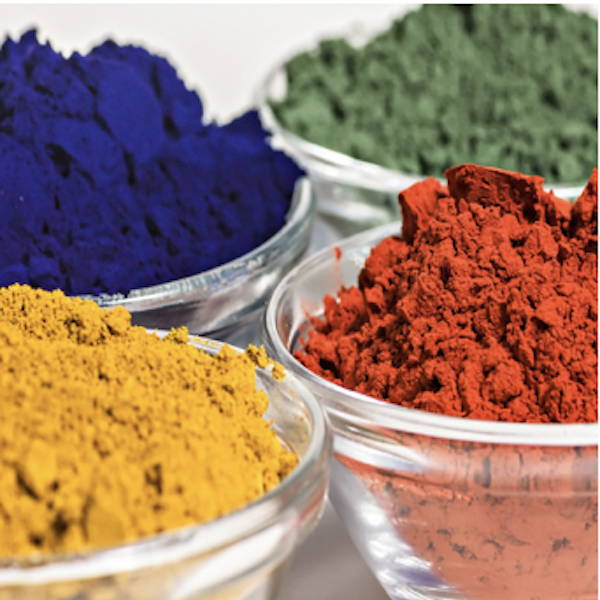
Mix your powdered grout in a container with water. I made the grout slightly drier than usual for this mosaic, as the gaps are large. The grout was a paste-like consistency so that I could create a smooth surface.
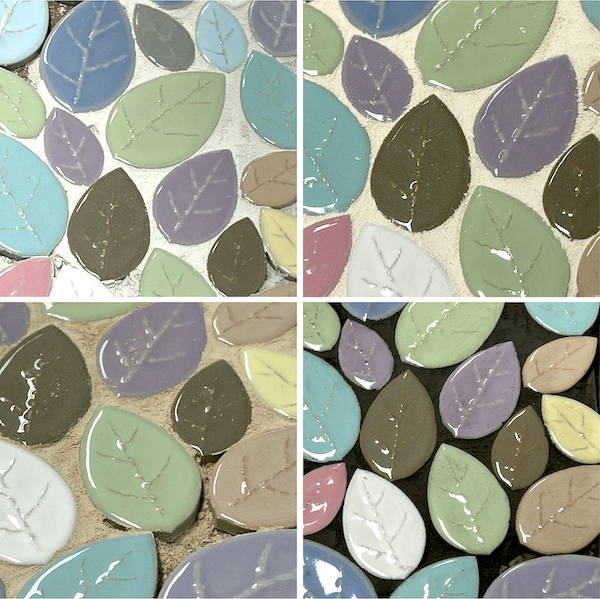
Once mixed, place a small amount of grout onto your tiles and rub it into the gaps between them. Once you have covered the entire mosaic, scrape off the excess and let it dry. Buff the excess grout off in 20-30 minutes (once a grout haze develops). Ensure you dig out all the ceramic petals and dots. I didn't use water in this cleanup. Instead, I kept working the grout with an old rag to ensure I didn't wash away any of the grout's surface.
Leave it for 24 hours, then give it a final buff-up to remove excess grout.
 1300 320 392


