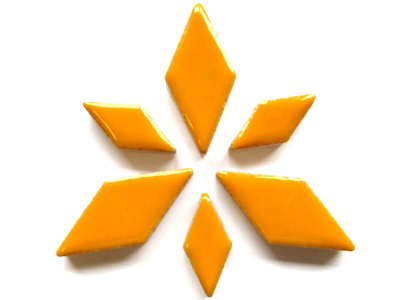
Light Orange Diamond Ceramic Charms - 50 gm's


Mon, Jun 16, 2014
Learn How to Make Mosaic Coasters
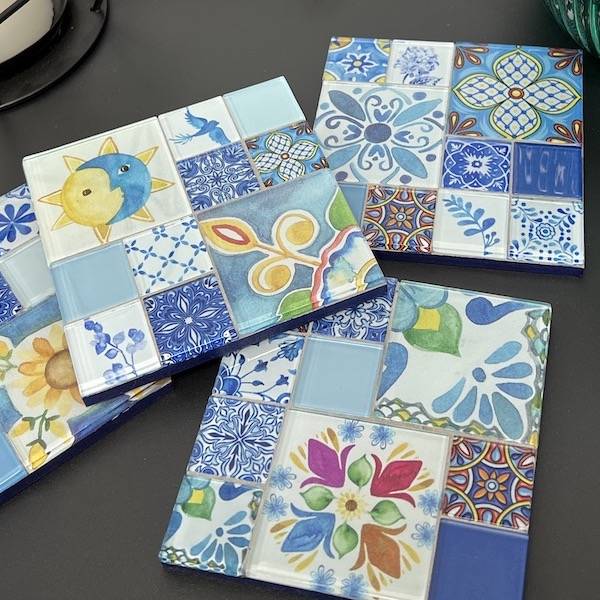
Mosaic Coasters are a simple mosaic project, which are not only perfect for beginners but a great piece of functional mosaic art. Here are the instructions for those of you who would like to design your own.

Materials / Tools
- Coasters - 10 x 10 cm MDF Squares
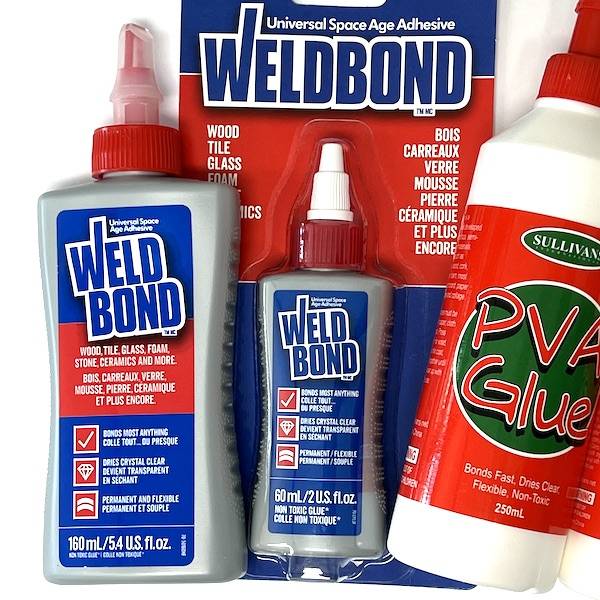
- Adhesive - I've used Weldbond adhesive
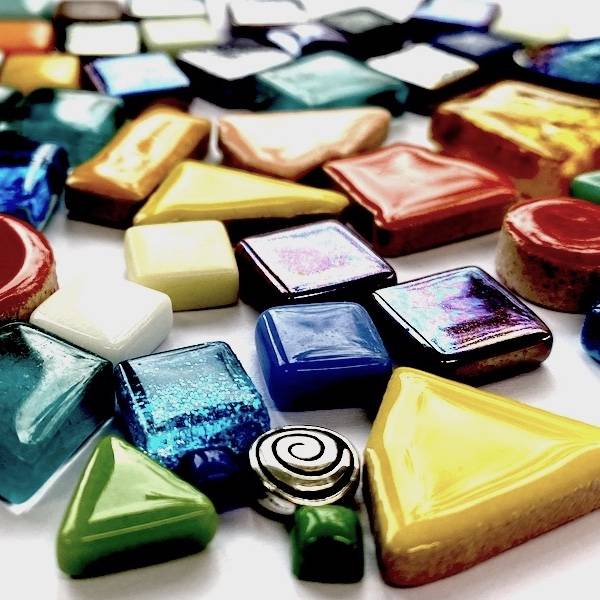
- A selection of tiles - A selection of 2 cm tiles, you will need approximately 100 (don't forget to allow for some wastage due to cutting).
- Grout - Black grout has been used on these coasters
- Tweezers (optional)
- Two wheeled nippers
- Paint brush (optional) for applying the adhesive
Mosaic Coaster Instructions:
1. Seal Your Coasters
Prior to commencing, seal your MDF squares really well. The coasters may come into contact with liquids so you need to seal them well to avoid any water damage. A mixture of Weldbond adhesive and water can be used as a sealer in a ratio of 1 part Weldbond to 5 parts water, apply between 4-5 coats allowing each coat to dry thoroughly.
2. Plan your Design
This design is created by laying small triangles in a diagonal pattern. The triangles are created by cutting a 2 cm tile in 4 quarters.
3. Laying the tiles
Start with positioning the boarder tiles first.
Your adhesive can be applied either directly to coasters themselves or painted individually onto the back of the tiles. By far the quickest method is to paint the adhesive onto the coaster base. When using this method apply to small sections at a time to avoid the adhesive drying out.
Allow the adhesive to dry for 24 hours before applying the grout.
4. Grouting time
I've chosen black grout for this design as it highlights the vibrancy of the tiles.
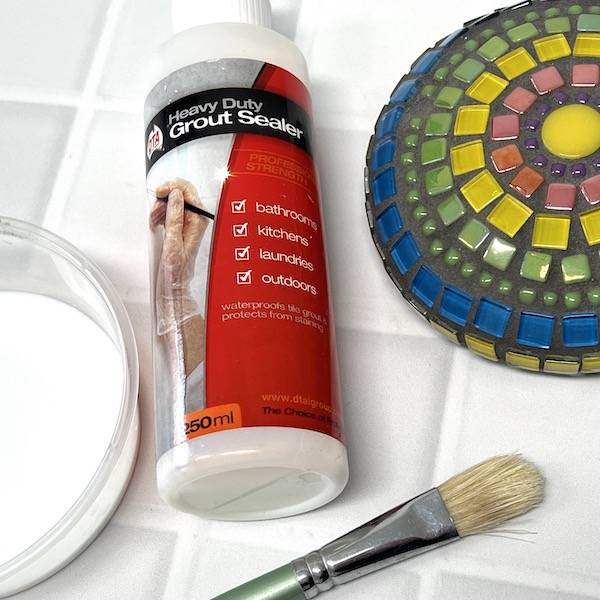
I would also recommend sealing the coasters with grout sealer once completed to help with stain and waterproofing. Also, paint the back of the coasters with acrylic paint to seal them completely, don't leave any exposed MDF.
Go to the 'Beginners Guide to Grouting' if you need further information.
 1300 320 392

