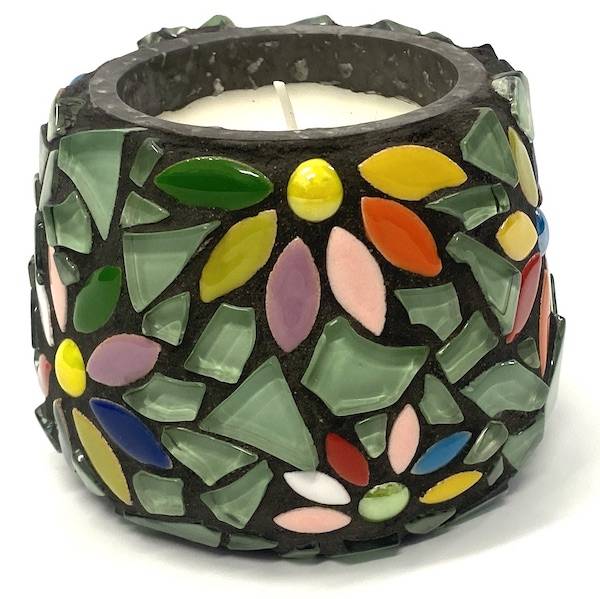
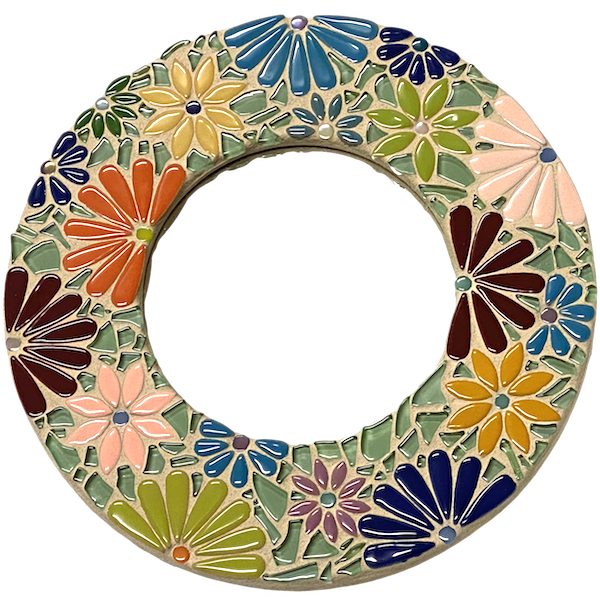
Green Gloss 19mm Porcelain Circles


Mon, Mar 09, 2015
A Lesson in Mixed Media Mosaics - Combining Metal Beads & Mosaic Tiles
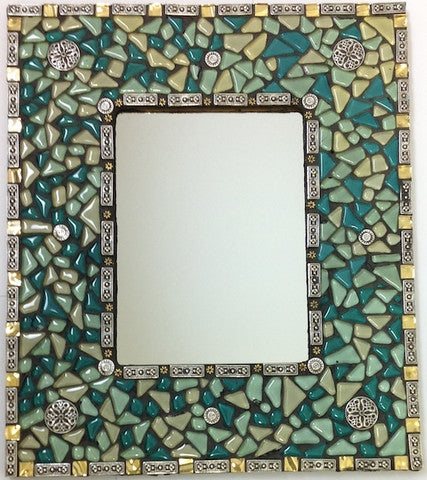
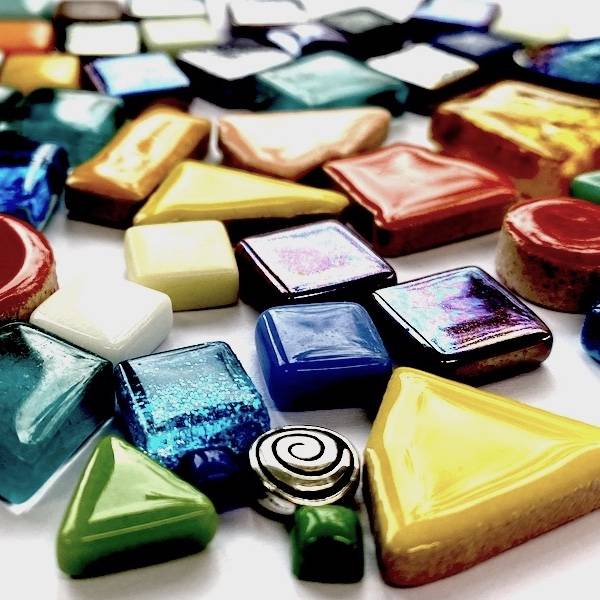
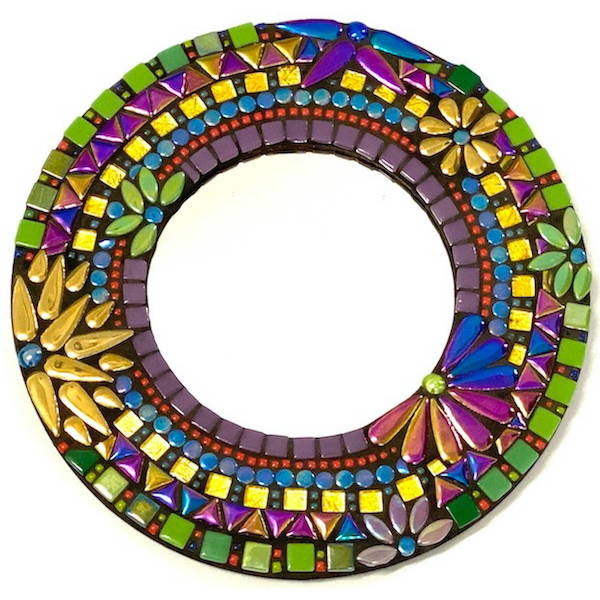
Metal beads are a wonderful mosaic material, adding texture and detail that is just not found in mosaic tiles. This project demonstrates how you can incorporate metal beads with more traditional mosaic glass tiles to create a stunning piece.
Materials
- Rectangle Wooden Photo Frame - 20 x 25 cm's
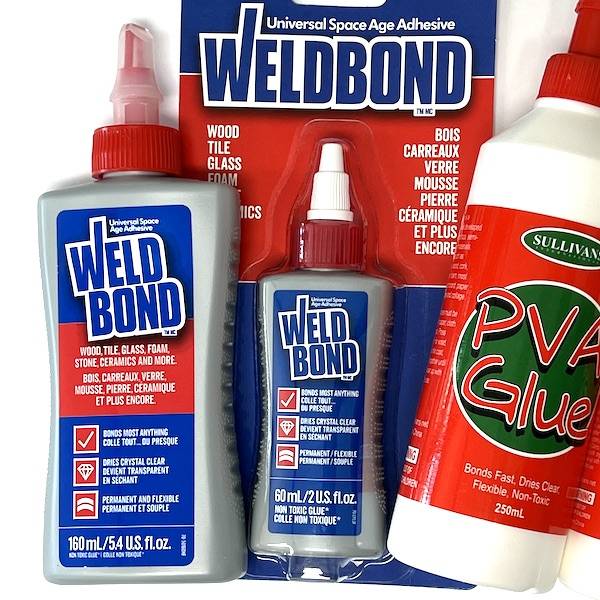
- Weldbond Adhesive 60ml
- Black grout
- A selection of materials
- Paint brush - for applying adhesive (optional)
- Gloves, containers, rags or sponge for grouting
Steps:
1. Sealing wooden mirror base
This is an indoor project that is not suitable for areas where it will be exposed to moisture or water, as it is not waterproof. As wood is porous the mirror base needs to be sealed before tiling. A mixture of Weldbond adhesive & water can be used as the sealer in a ratio of 1 part Weld bond to 5 parts water, apply two coats allowing each coat to dry thoroughly (30 minutes to 1 hour). Coat the area where you will be tiling by using a paint brush.
2. Tiling the Face of the Mirror
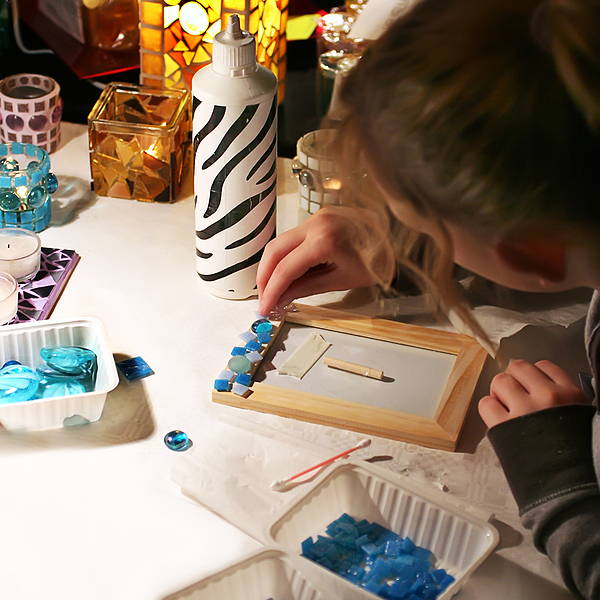
The Weldbond adhesive can be applied either directly to the mirror base or painted individually onto the back of the tiles. By far the quickest method is to paint the adhesive onto the mirror base. When using this method apply to small sections at a time to avoid the adhesive drying out. When the tiles have been laid allow the adhesive to cure for 24 hours before applying the grout. Run you hand over the tiles to ensure they are all firmly adhered before grouting. If any are loose, remove them and re-adhere.
Using Metal Beads
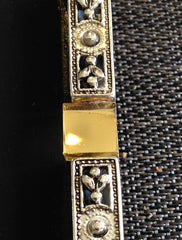
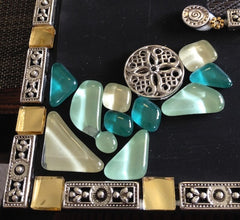
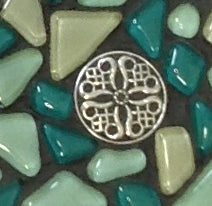
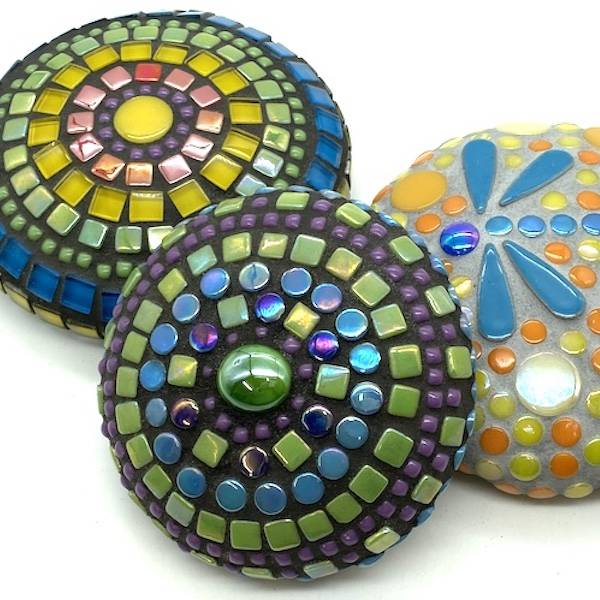
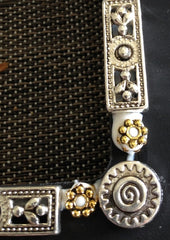
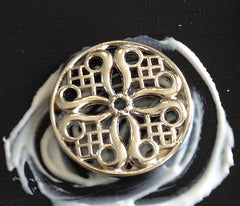
Metal beads are suitable to be used on most indoor mosaic projects. As they come in varying thickness you may need to layer them (glue a few of them together) to achieve the look you are after. The pictures below show how they can be combined with other mosaic tiles and how to layer the beads to achieve a consistent height in the materials used.
3. Grouting Time
When grouted the holes in the metal beads are filled with grout, highlighting the detail of the beads.
Click here to go to the Beginners Guide to grouting.
Legal Disclaimer: No warranty is implied by these instructions. Use at your own risk. The Mosaic Store and its proprietors are not responsible for the results of any actions taken on the basis of this information, nor for any omission in the advice. Please wear appropriate safety equipment when cutting mosaic materials and using grouts and adhesives. Keep out of reach of children.
 1300 320 392

