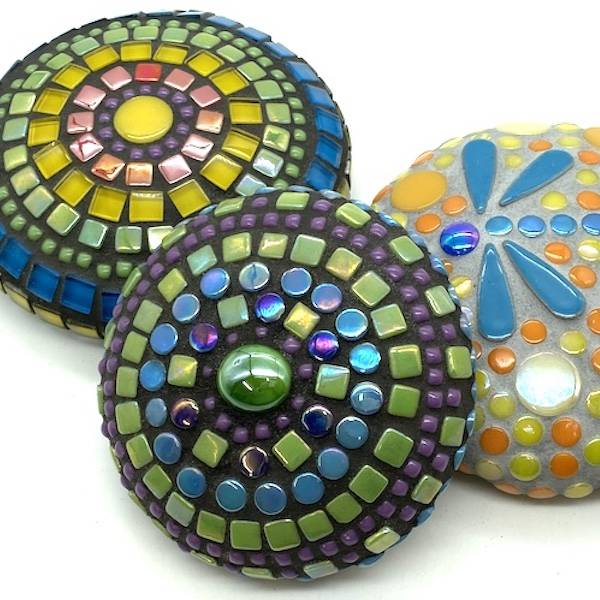
Green Gloss 19mm Porcelain Circles


Mon, Mar 03, 2014
How to Mosaic a Gumboot
So what do you do with a gumboot that you've found on the side of the road? Mosaic it of course! As the saying goes, one person's trash is another person's treasure.


Project Instructions
Materials List
- Gumboot
- Plaster a paris or fibreglass (see instructions below)
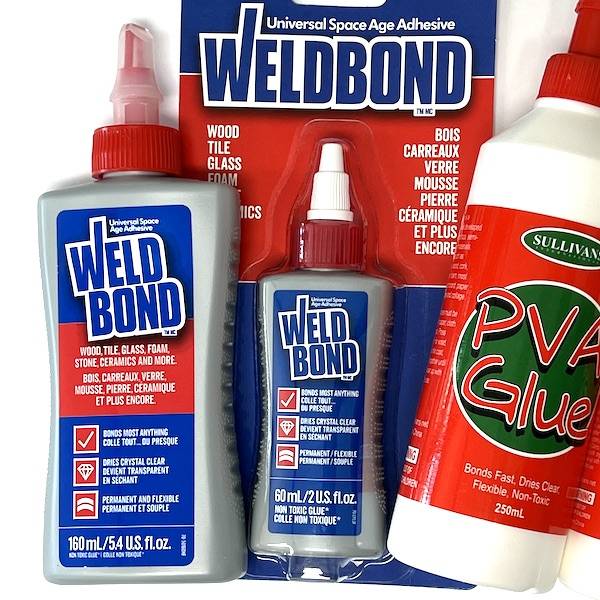
- Adhesive (see instructions below)
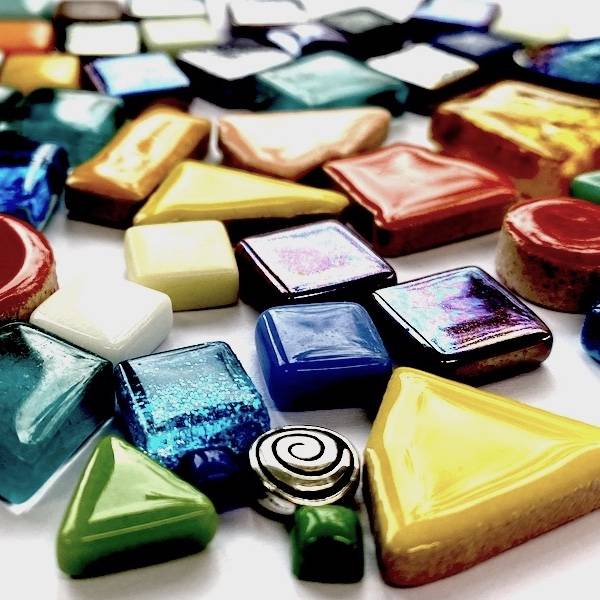
- A selection of tiles
- Grey grout
- Tools & equipment: two wheeled nippers, repositioning tool, palette knife, sponges, containers for grouting, gloves & safety goggles
Instructions:
Find a discarded gumboot or use an old pair that you're about to throw away (I know easier said than done!)
Clean the gumboot thoroughly
Make the gumboot structure rigid. To do this I've filled the gumboot with plaster a paris. This was an easy way to make the gumboot rigid but there are a few things to consider if you choose this method. Firstly, the gumboot becomes very heavy and difficult to work with due to the weight, and secondly you have very little control over the final shape of the boot. An alternate is to stuff the boot full of paper and fibreglass the outside of the boot. This will take longer but the boot won't weigh as much and you will have more control over the shape of the boot. See our 'Mosaic Hat' project instructions for more information on fibreglassing. Up to you which method you'd prefer.
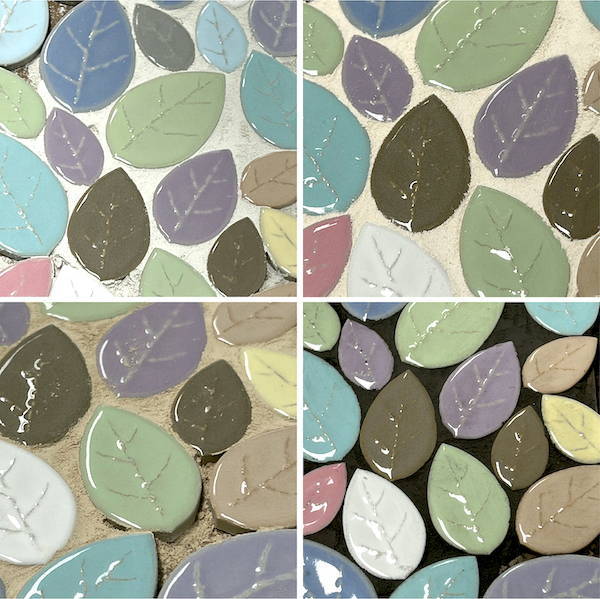
Plan you design. I've chosen to keep the 'boot look' by using black art series glass tiles to define the toe, sides and top of the boot. As the theme of this design is about landfill and making treasure from trash I wanted to depict a garden environment. Forest mix venetian glass tiles have been used for glass by cutting the tiles into long point shards. Decorative & garden shape ceramic tiles & daisy trio millefiori where then used to depict flower & leaves around the entire bottom of the boot. White art series tiles where either kept whole or cut into half to fill the upper section of the boot.
Adhere your tiles to the boot. I've used Liquid Nails Ultimate Strength Platinum adhesive. Having used it in this project I would have to say that I wouldn't recommend it again. I managed to get the adhesive all over my hands and day's later am still rubbing and scrubbing my hands in an attempt to remove it. In doing this project you need to look for an adhesive that is waterproof & is suitable to be used on rubber.
Seal the top of the boot prior to mosaicing if you are using plaster a paris to fill the boot. I used a thick layer of adhesive on the top to seal the plaster. This is particular important if you are going to place the boot outside as you don't want any water getting into the plaster. I them placed green art series glass tiles on top in the same pattern as the tiles on the side of the boot.
Allow the adhesive to dry completely and grout the boot. Use a grout additive to improve the flexibility of the grout.
To learn how to grout click here
Legal Disclaimer: No warranty is implied by these instructions. Use at your own risk. The Mosaic Store and its proprietors are not responsible for the results of any actions taken on the basis of this information, or for any omission in the advice. Please wear appropriate safety equipment when cutting mosaic materials and using grouts and adhesives. Keep out of reach of children. This newsletter is copyrighted and is made available for personal use only. Please ask permission if you wish to copy any part of it.
 1300 320 392

