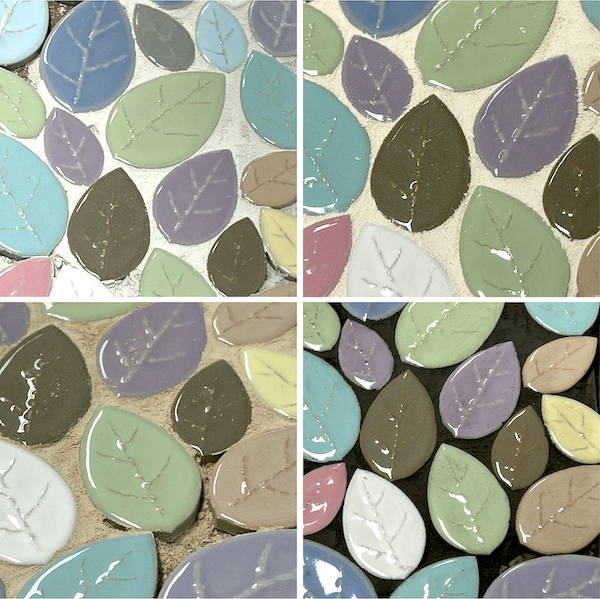
Green Gloss 19mm Porcelain Circles


Wed, Aug 14, 2013
How to Make a Mosaic Bowl
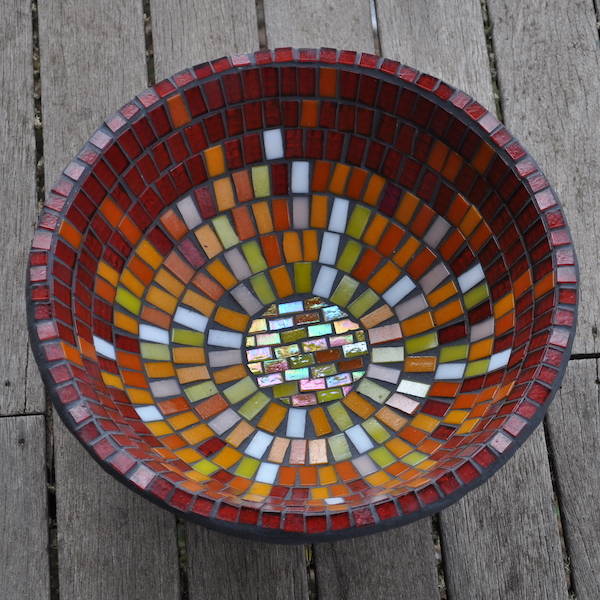
One of the things I love about mosaics is that you can turn what is effectively junk into something that is quite beautiful. This is what I've done with this weeks project. An old ceramic bowl now has a new lease on life and one less item is destined for landfill.

Project Instructions
Materials
- Old ceramic bowl
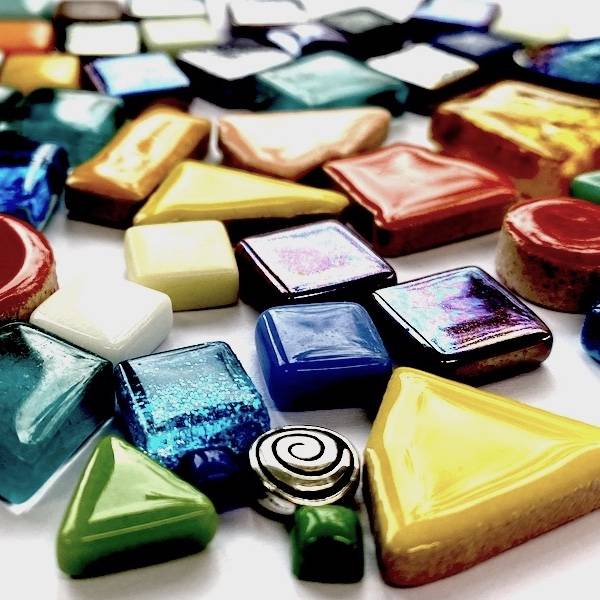
- A variety of mosaic materials
- Cement based adhesive
- Terracotta grout
- Two wheeled tile nippers
- Source your materials - The base of this bowl is an old ceramic bowl. I've used a selection of different colours, sizes & finishes in the tiles to create interest within the mosaic.
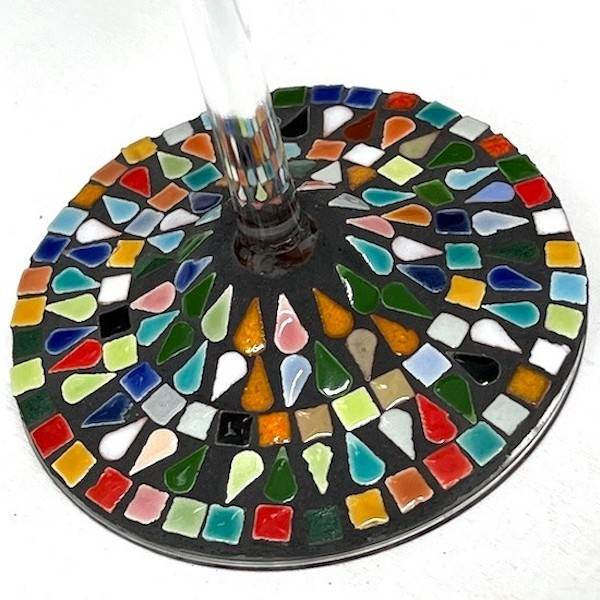
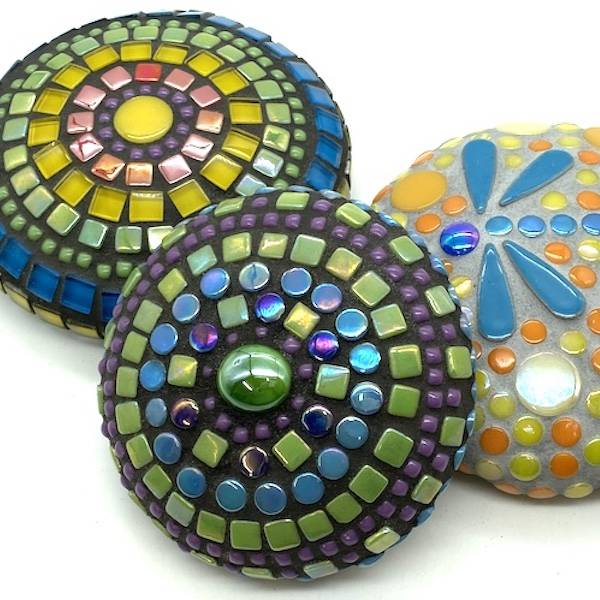
- Plan your design - The design itself is simply a collection of radiating circles with iridised red glass tiles cut into irregular pieces to fill the remaining spaces. The side of the bowl has created using a brickwork pattern. The top row is alternating 1 cm venetian glass tiles, while the remaining rows are glass tiles cut into two, with some red iridised glass tiles placed throughout.
- Gluing your tiles - Cement based adhesive has been used to adhere the tiles into place. Place the adhesive directly onto the surface of the base and lay the tiles onto it. Work in small sections at a time to ensure you adhesive doesn't dry out, if it does dry out you will need to remove it to ensure your tiles are laid evenly. Allow 24 hours for the adhesive to dry prior to grouting
- Grout - terracotta grout
Legal Disclaimer: No warranty is implied by these instructions. Use at your own risk. The Mosaic Store and its proprietors are not responsible for the results of any actions taken on the basis of this information, or for any omission in the advice. Please wear appropriate safety equipment when cutting mosaic materials and using grouts and adhesives. Keep out of reach of children. This newsletter is copyrighted and is made available for personal use only. Please ask permission if you wish to copy any part of it.
 1300 320 392

