Project Instructions
Materials
Steps
1. Sealing the wooden base
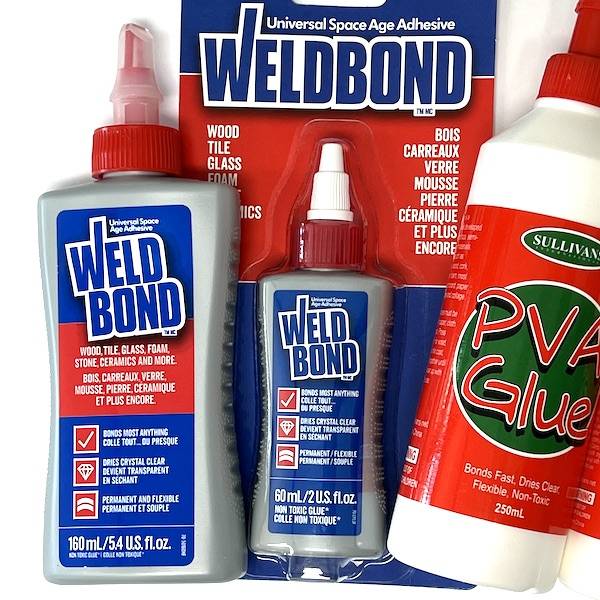
This is an indoor project that is not suitable for areas where it will be exposed to moisture or water, as it is not waterproof. As wood is porous the base needs to be sealed before tiling. A mixture of PVA adhesive & water can be used as the sealer in a ratio of 1 part adhesive to 4 parts water, apply two coats allowing each coat to dry thoroughly (30 minutes to 1 hour). Coat the area where you will be tiling by using a paint brush.
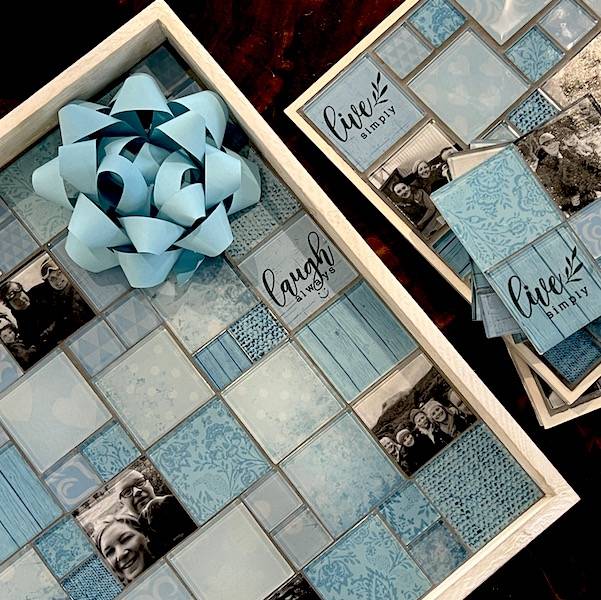
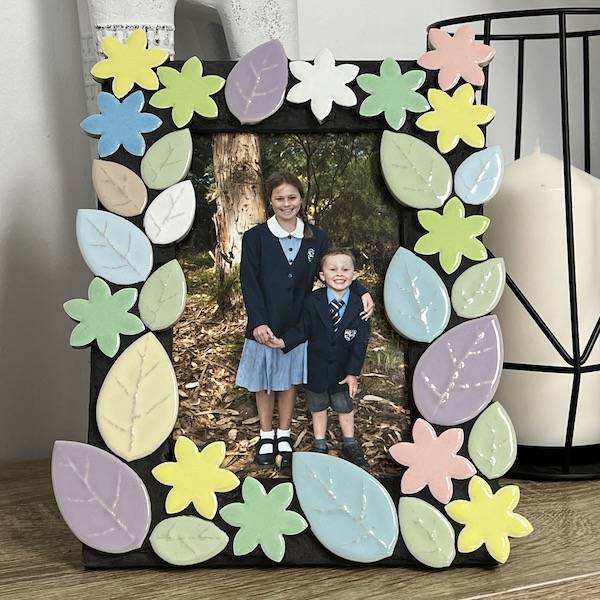
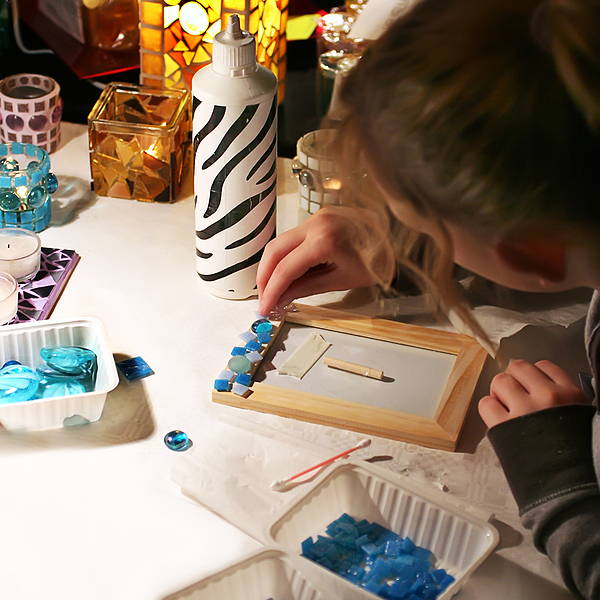
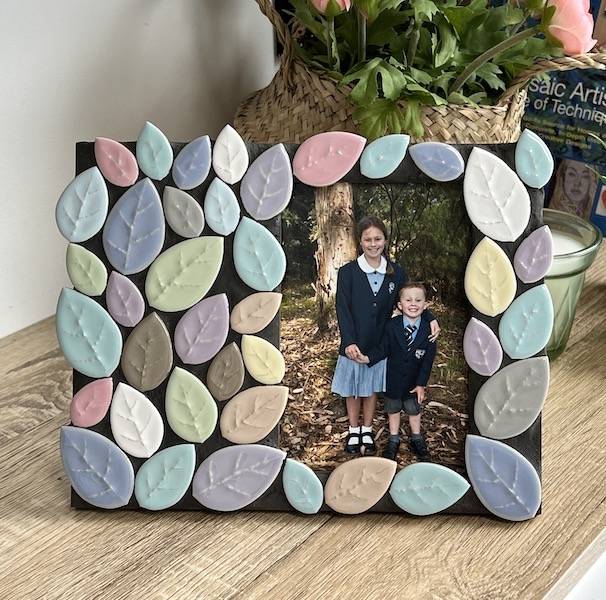
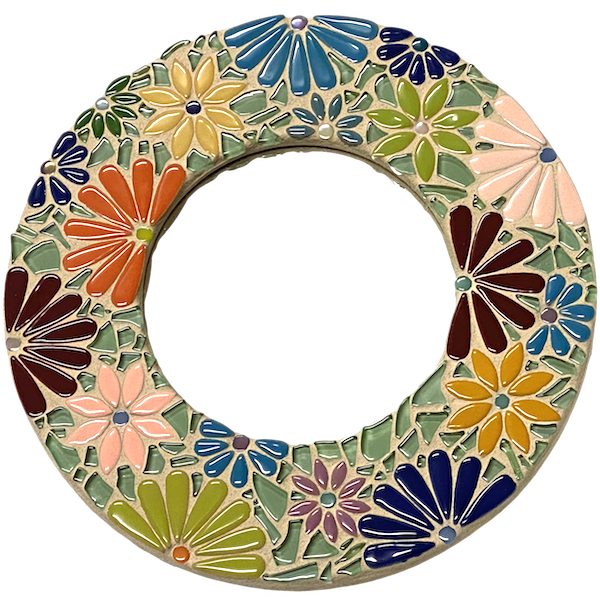
2. Tiling the Photo Frame
The adhesive can be applied either directly to the base or painted individually onto the back of the tiles. By far the quickest method is to paint the adhesive onto the base. When using this method apply to small sections at a time to avoid the adhesive drying out. When the tiles have been laid allow the adhesive to cure for 24 hours before applying the grout. Run you hand over the tiles to ensure they are all firmly adhered before grouting. If any are loose, remove them and re-adhere.
3. Cutting the Tiles
To cut these tiles you can use a pair of Wheeled Nippers. If you haven't had experience cutting glass tiles, here are some tutorials to help you:
How to use wheeled nippers
How to cut glass tiles
Go to tools >>>
4. Grouting the Frame
This mosaic can be grouted as usual, no special techniques are required. If you need help with grouting click here to get detailed instructions.
This project is suitable for indoor use only and not in direct sunlight.
 1300 320 392


