1300 320 392
In this blog post, Shelley Lycett shares a bit about herself and how she creates her teacup mosaics.
Thank you, Shelley, for sharing your expertise and inspiring us! These mosaics are beautiful, intricate and interesting!


Thu, Jul 18, 2024
About me: Shelley Lycett
Hi – my name is Shelley and about 10 years ago my friend suggested that we do a mosaic for adults course. I wasn’t really interested, but she insisted it would be fun and should do it, so we did. Our teacher wasn’t the greatest, but we both managed to finish our piece by the skin of our teeth before the course finished.
I put the mosaic away and thought no more about it, until a few years later I was browsing the net and saw a gorgeous mosaic, and thought “I could do that – I know the basics” and went on my own adventure of trial and error.
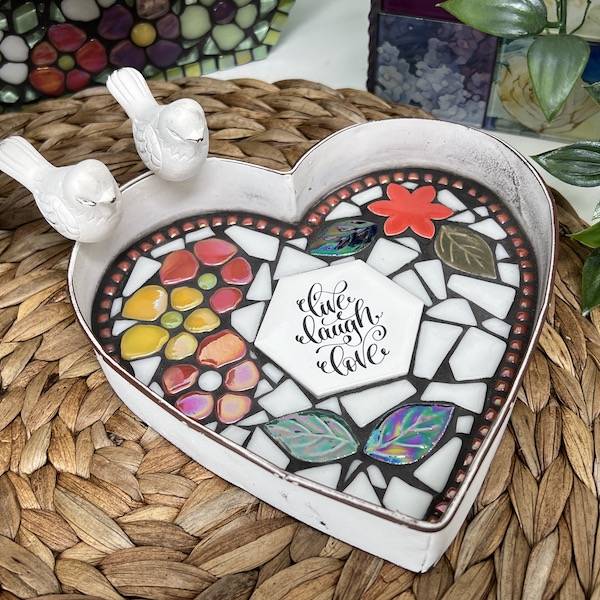
I cut my own cups and teapots to make 3D mosaics and use all sorts of bric-a-bracs like old watch faces and the like to make my mosaics a little more interesting.
Some tricks I use:
I use a chopstick (sharpened) to pluck the adhesive to put onto tile.
An old kiwi fruit scoop to get just a small amount of adhesive so it doesn't dry out.
A scalpel for scraping excess adhesive away.
My Materials and Process (tea-cup mosaics):
I use 12mm plywood sheets from Bunnings – then cut them to size and give them a prime coat of paint to help seal them. Note that this does not waterproof them. However, you can hang them outside under cover (I’ve had one outside for over 5 years now – still in great condition!
I have a Dremel (as pictured) and do my own cutting – it is safe, but always wear safety goggles and recommend a mask as it can get dusty! I recommend starting with the handle on cups and the teapots – once you’ve made it through there, it is fairly safe to say that the rest will go smoothly. Use a marker to help guide so you get an even cut.
Once your board is ready – draw a rough sketch of where you want your flowers/hearts to fall from and what they are falling into. Remember if you are using a teapot half to put it the correct way for pouring (like you are actually pouring it), you will definitely notice it is positioned wrong if you put it on the wrong side!! (I’ve been caught).
Trace around your cups and teapot and then put them in a safe place – you won’t need them until after grouting (or just to check for placement of other tiles).
I work the mosaic and leave the spaces free where I have outlined the teapot and cups.
I do fill inside them, even though no one will see this (this is where you can use up broken bits).
Once the project is completed and grouted, the cups and teapot should still fit neatly into the spaces that were left.
Depending on the size of the gaps, prior to grouting, you can fill this with blue tac so you don’t grout it all, (and remove once grouting is done) or just grout as normal.
You may need to scrape a little of the grout out to fit the cups and teapot in neatly.
You will need some strong glue – usually I use gorilla glue from Bunnings and simply glue the pieces into place.
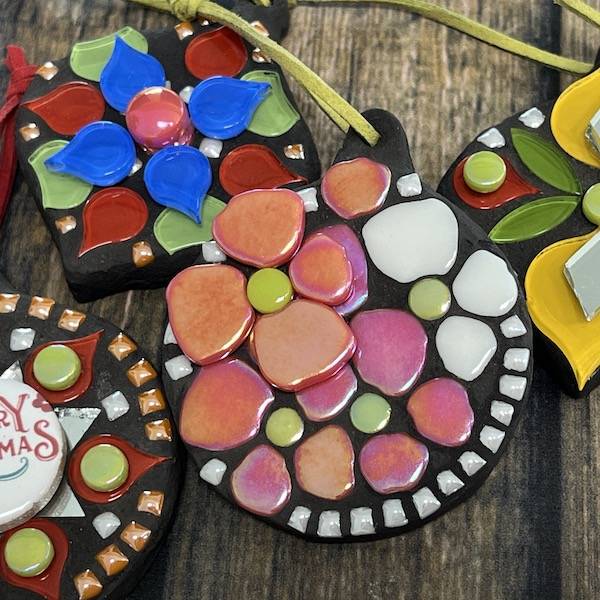
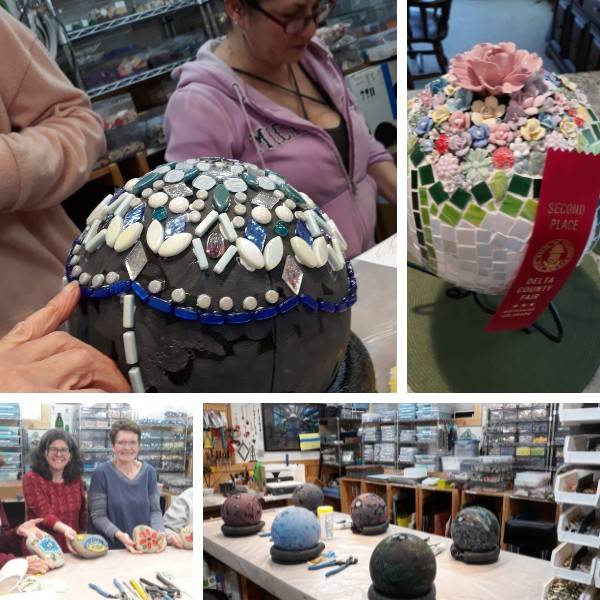
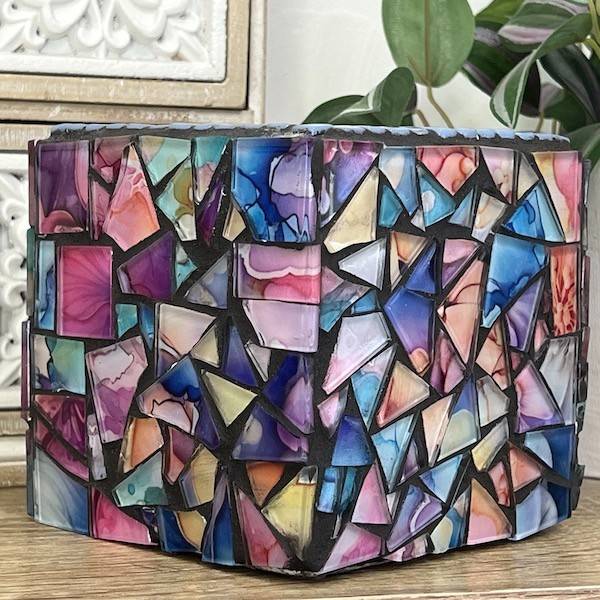
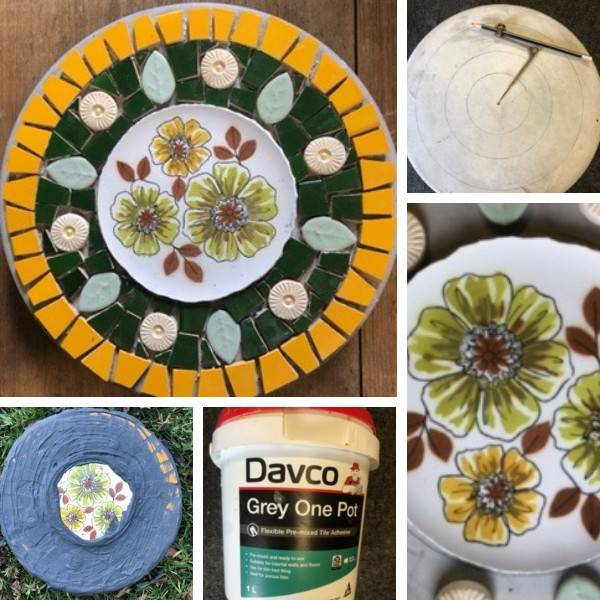
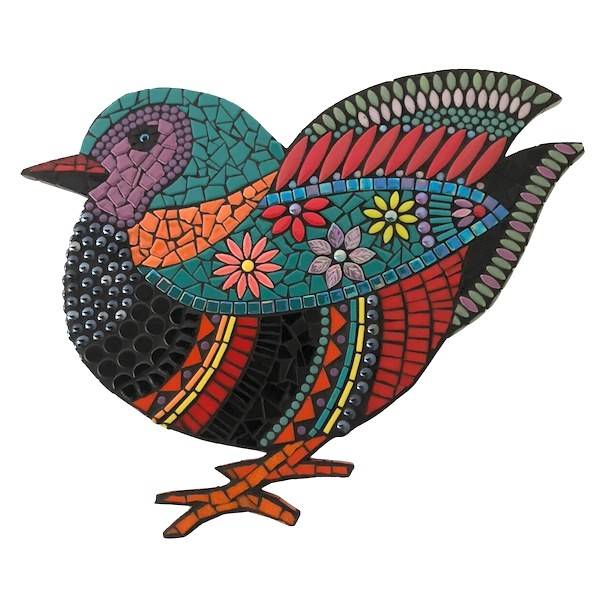
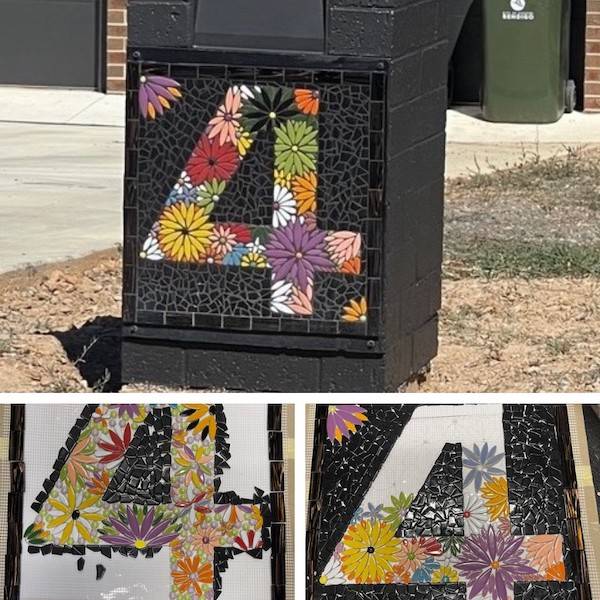
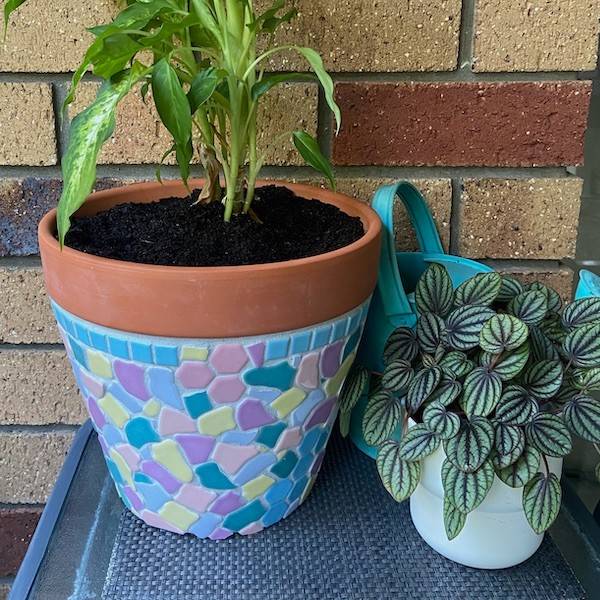
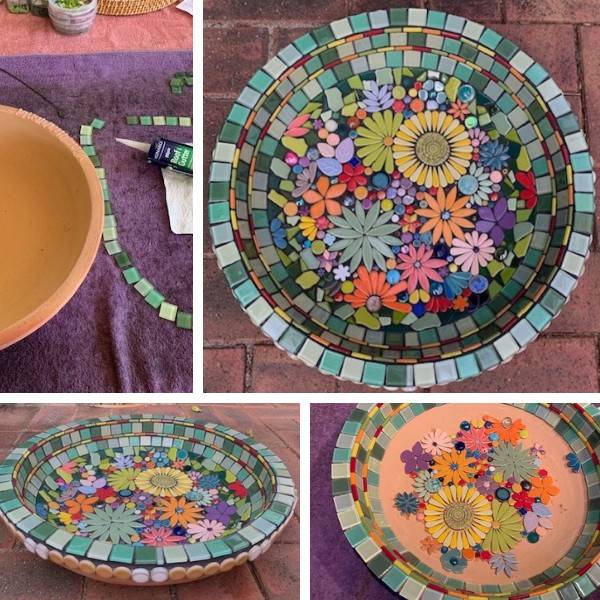
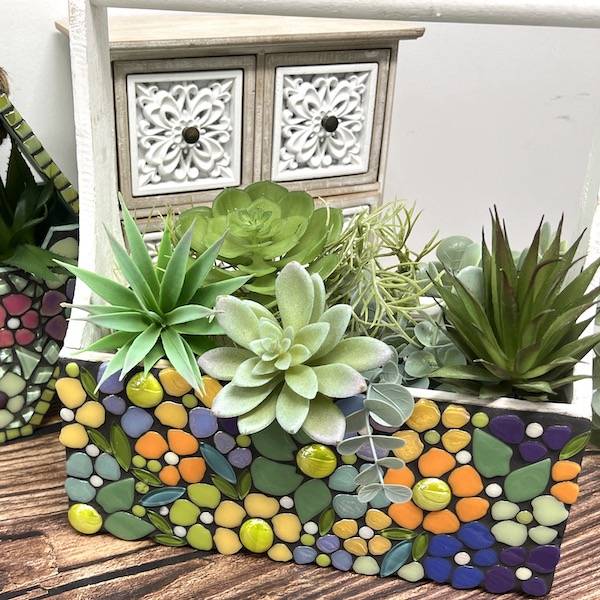
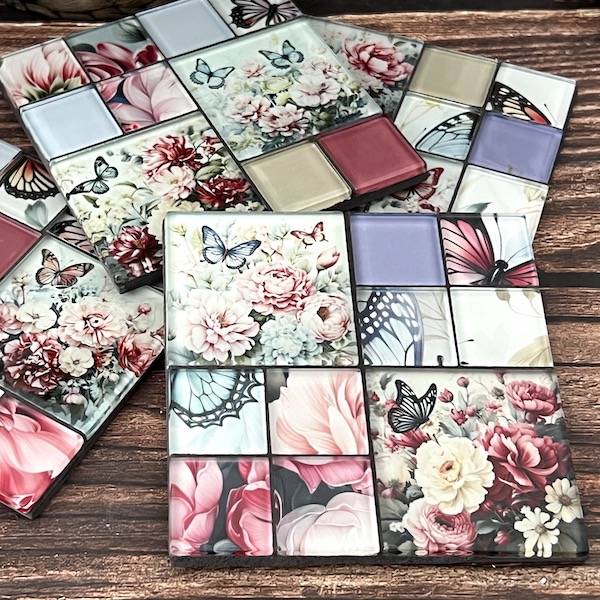
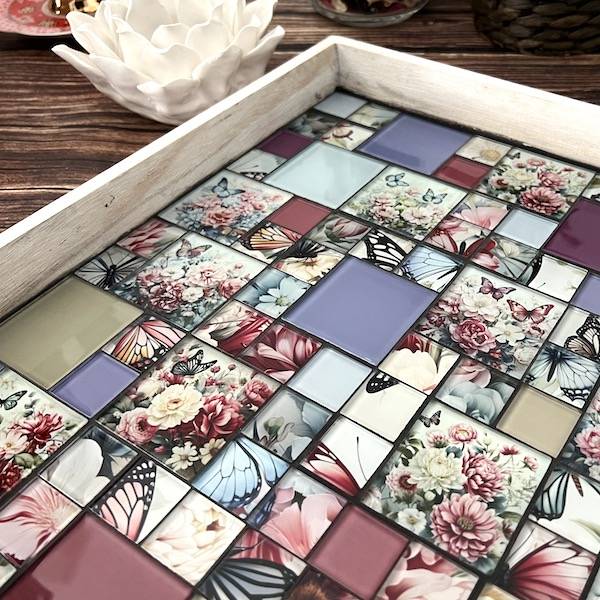
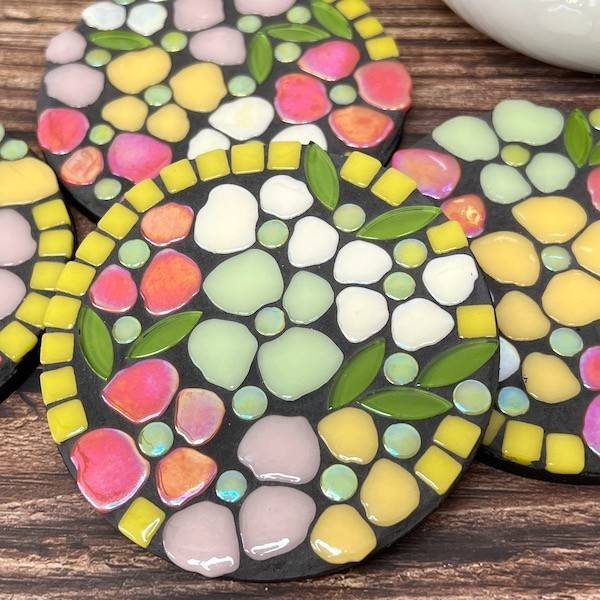
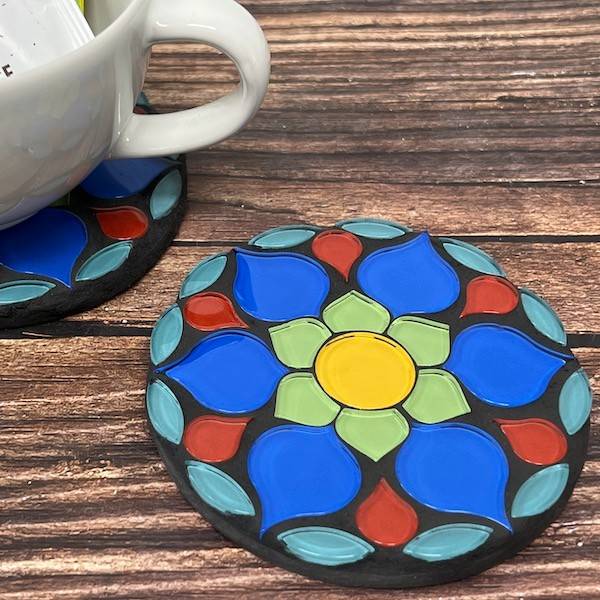
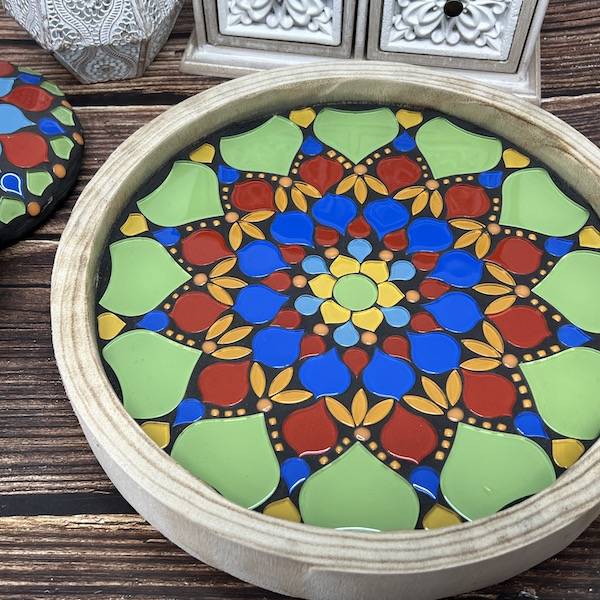
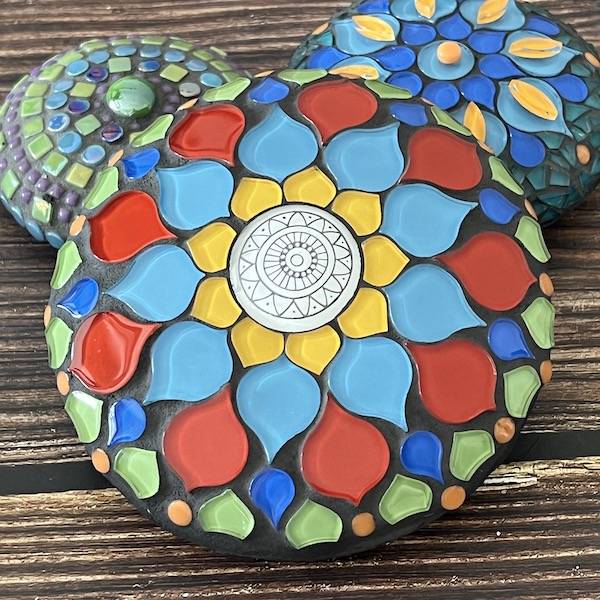
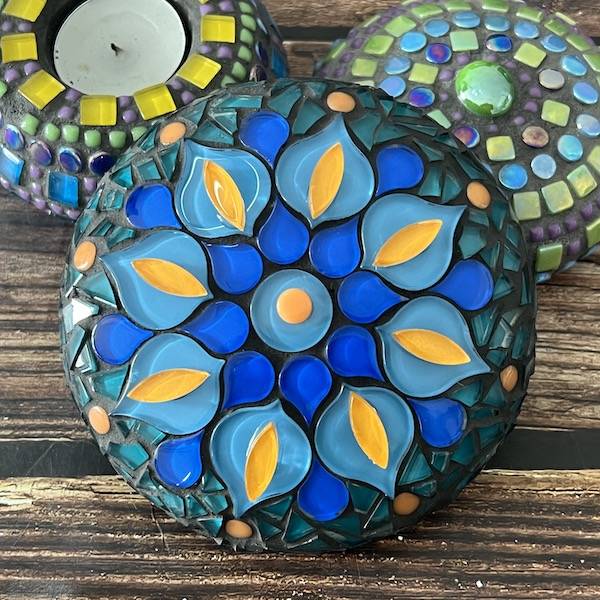
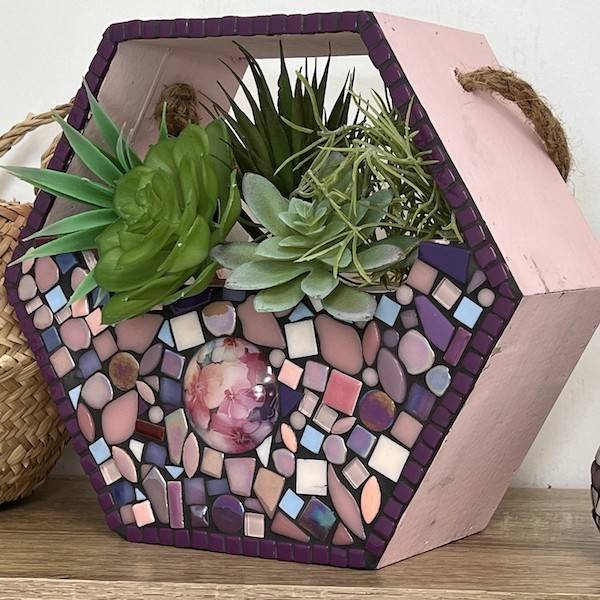
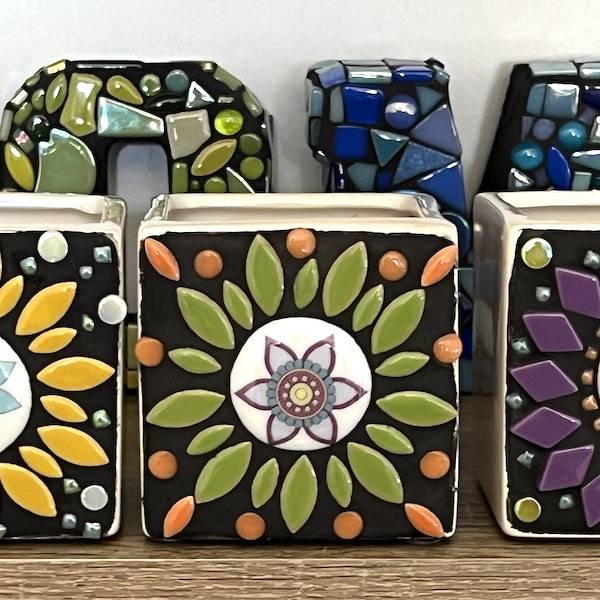
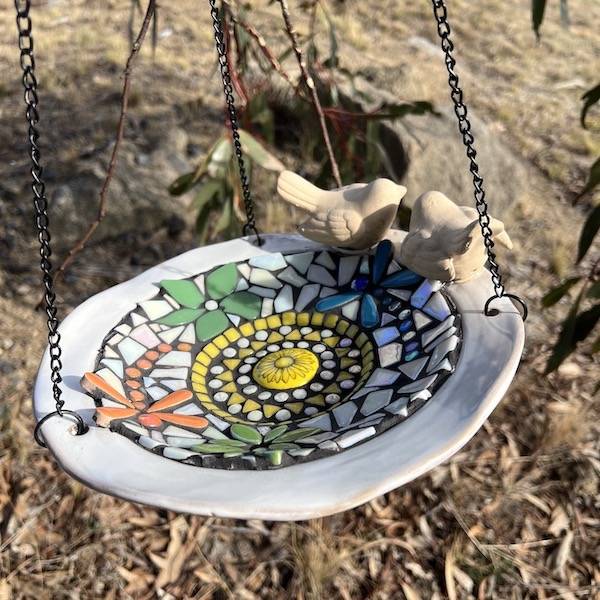
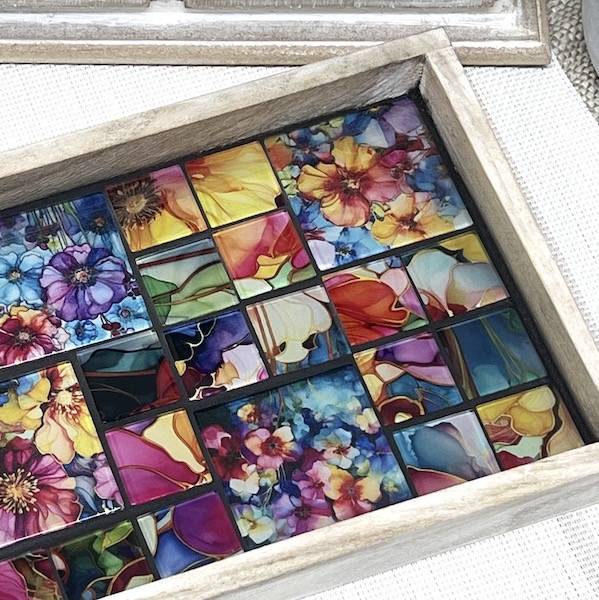
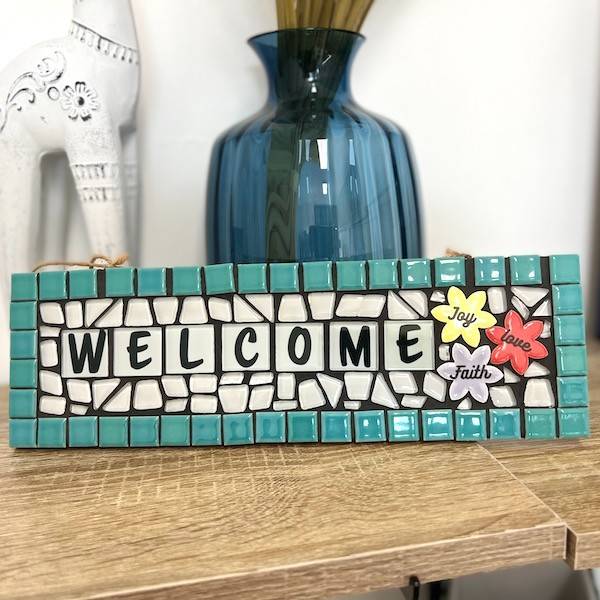
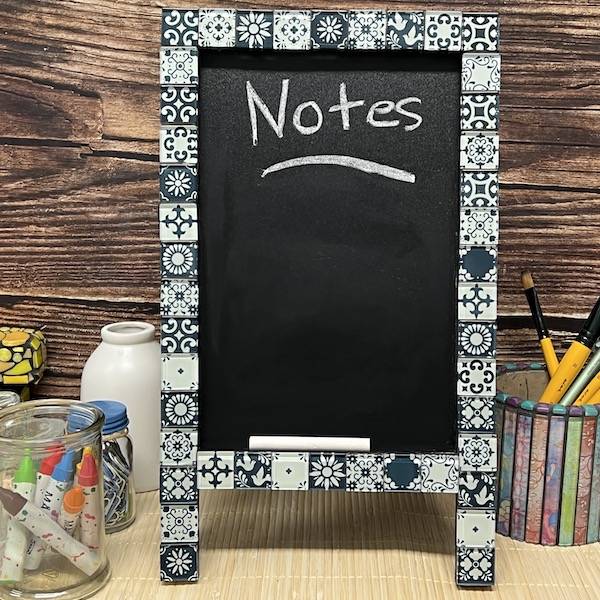
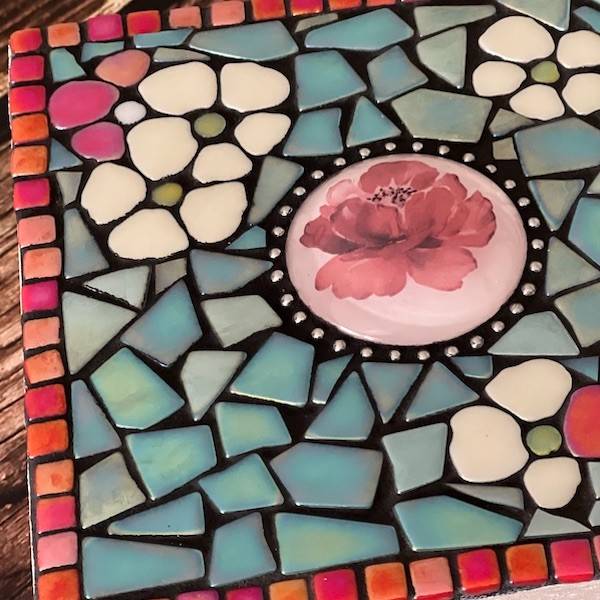
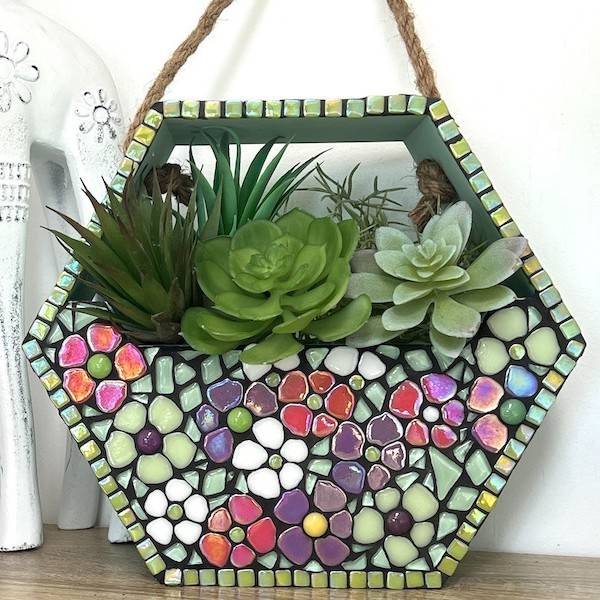
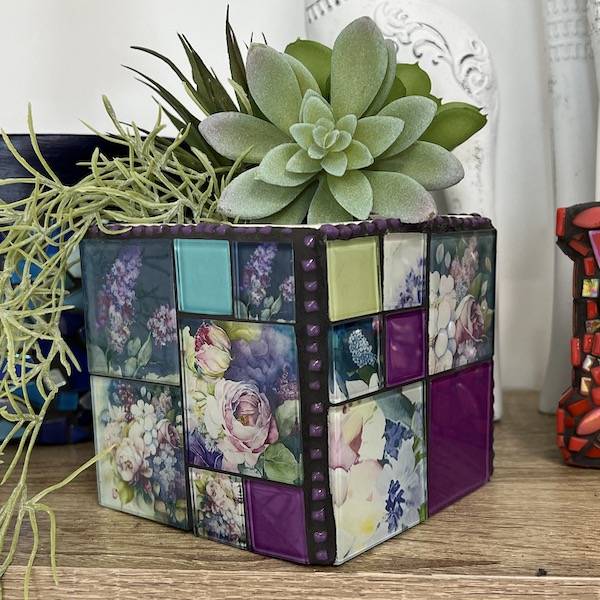
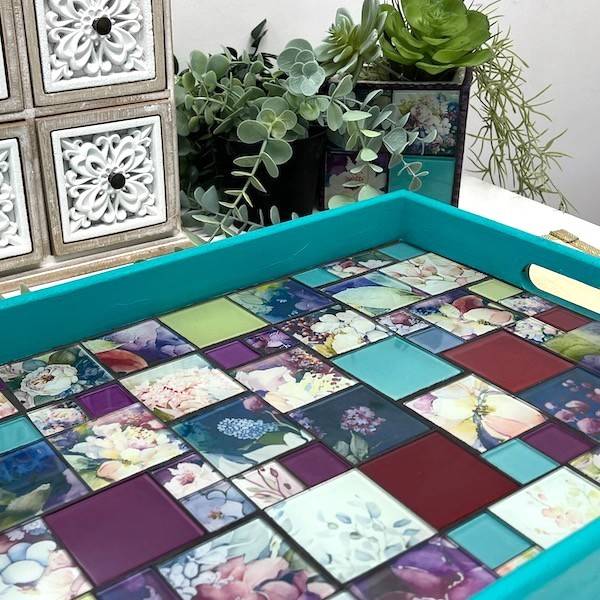
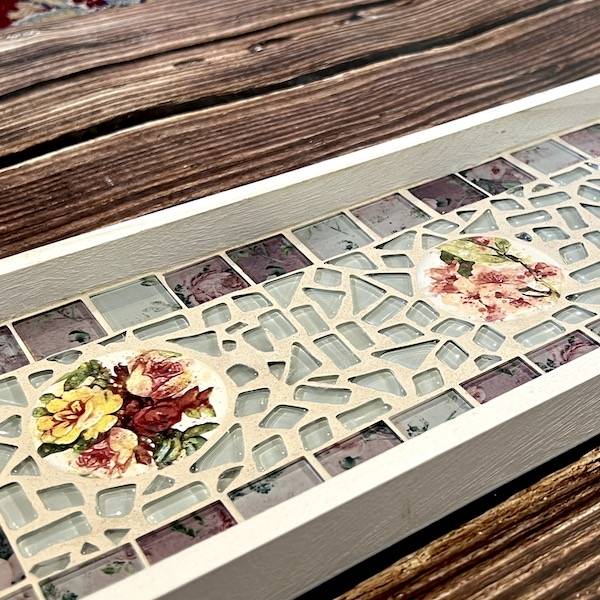
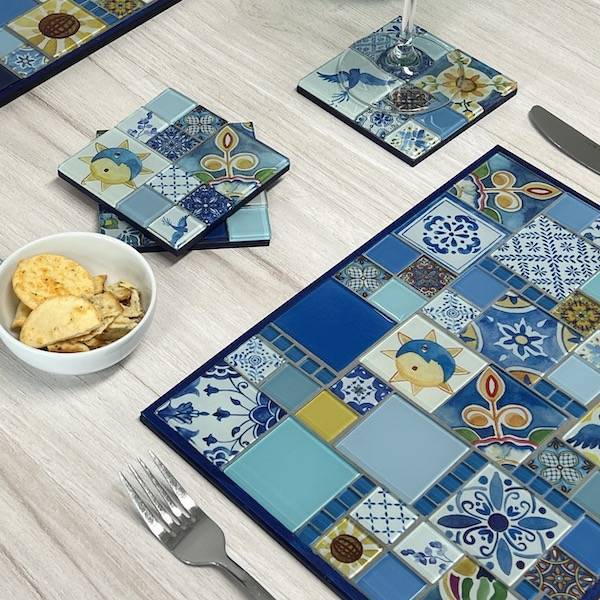
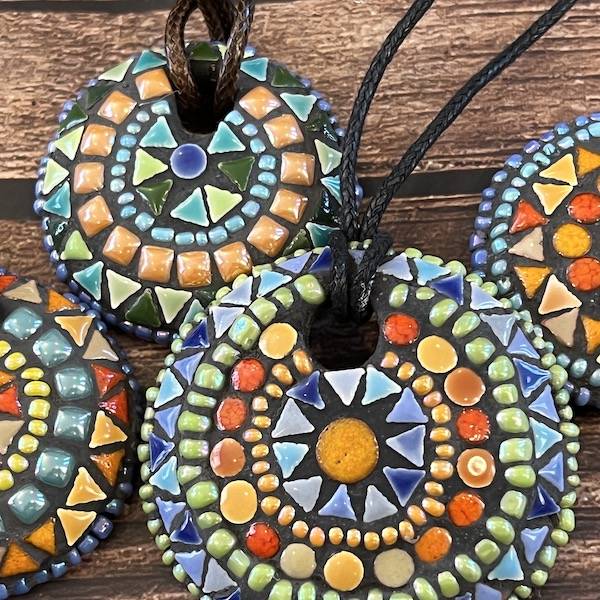
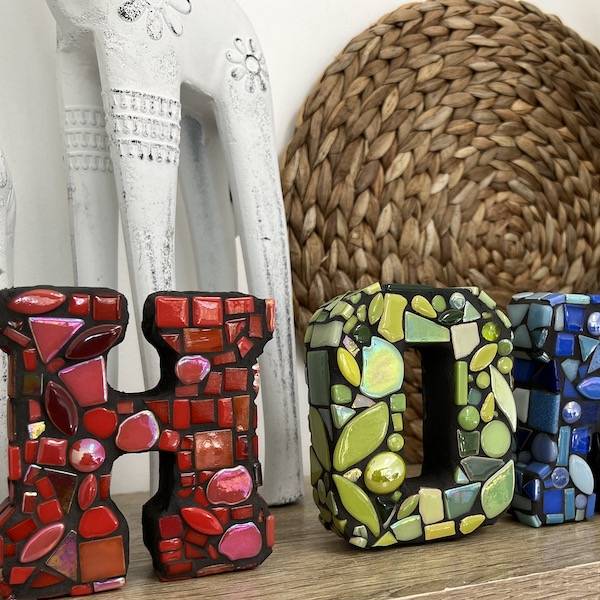
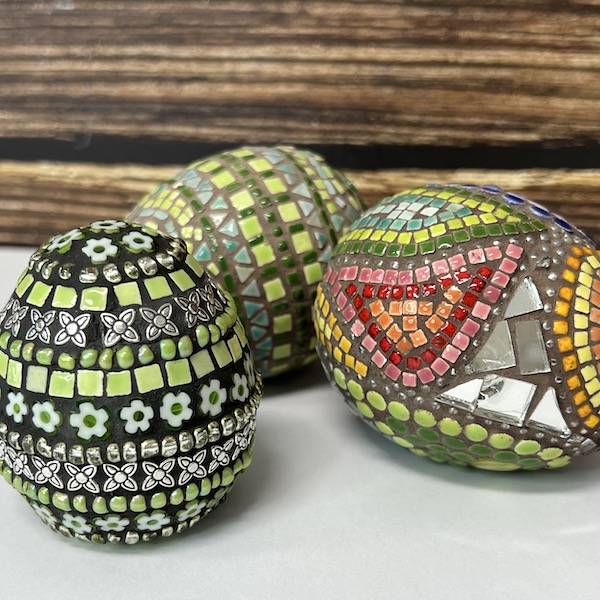
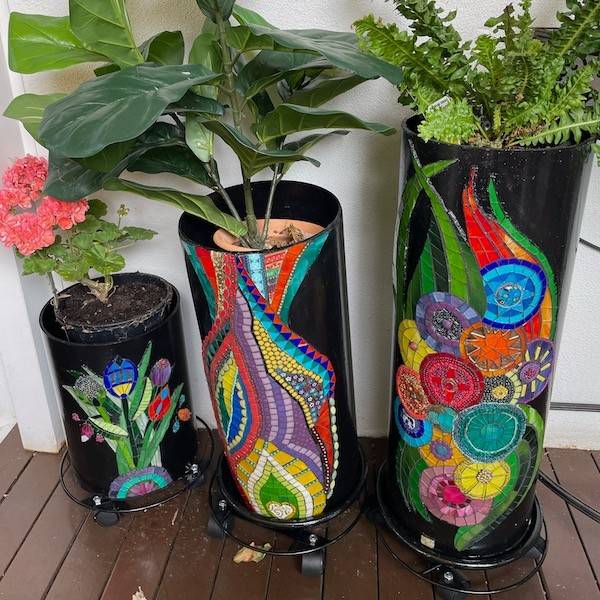
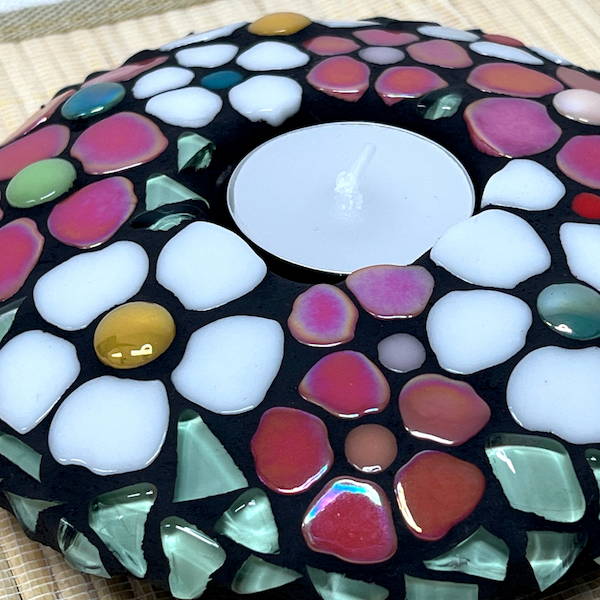
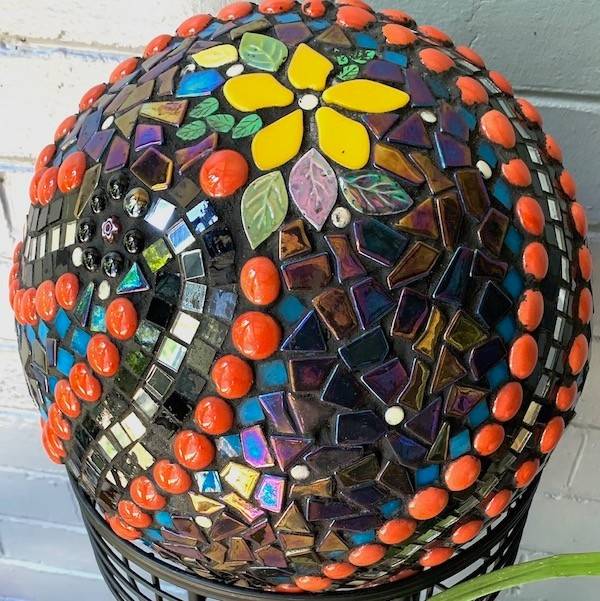
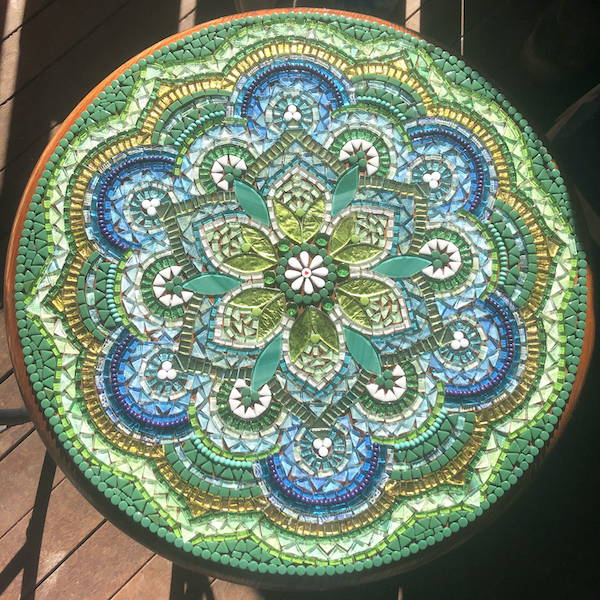
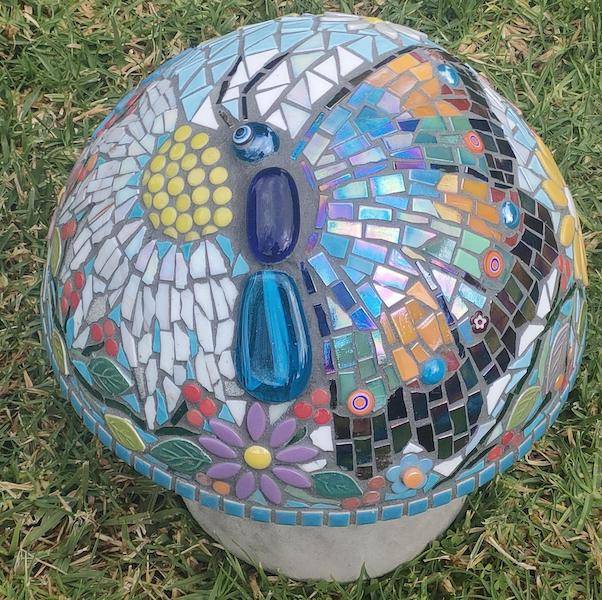
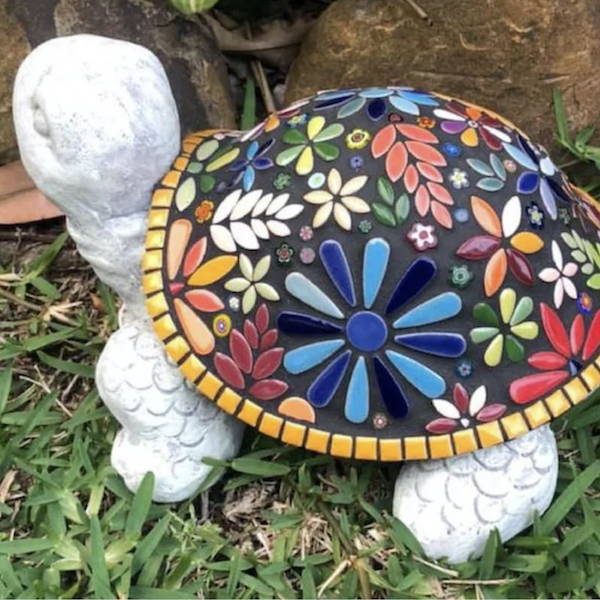
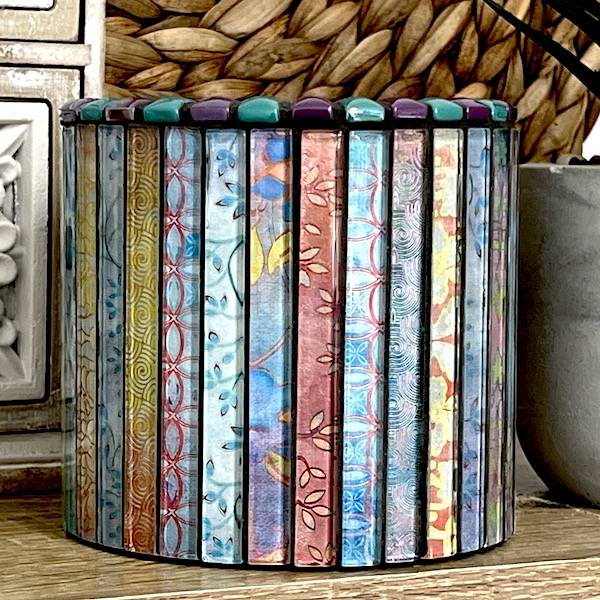
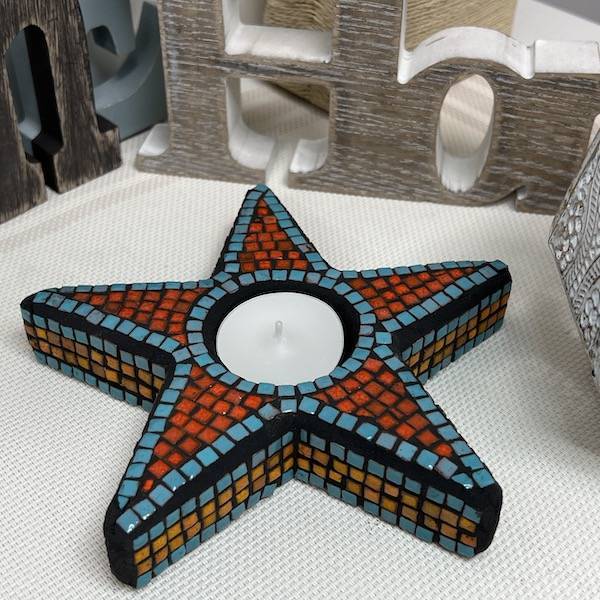
Pictured below: Some of Shelley's completed mosaics!
Thanks for sharing with us Shelley! We love seeing creative and inspiring projects just like yours!