Step 1 - Choosing Your Materials
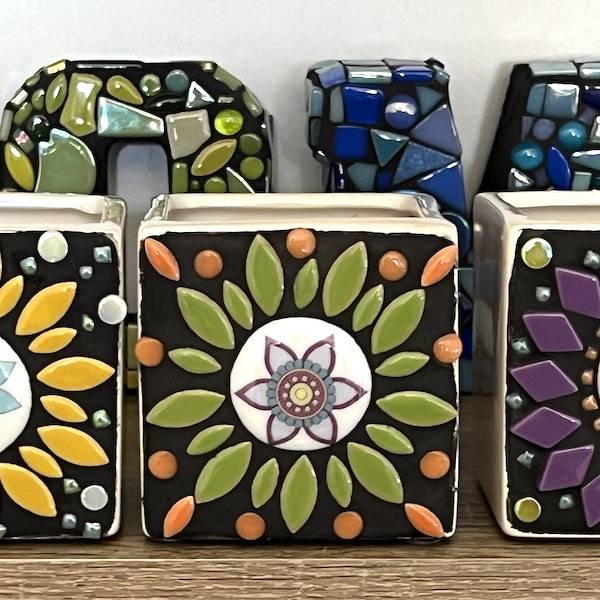
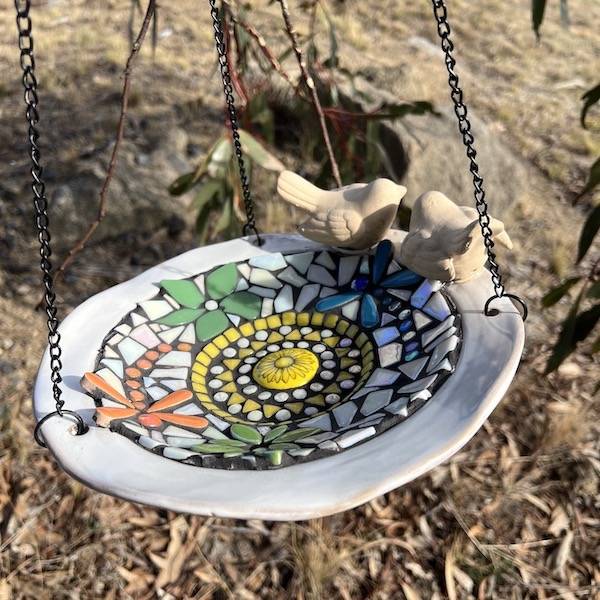
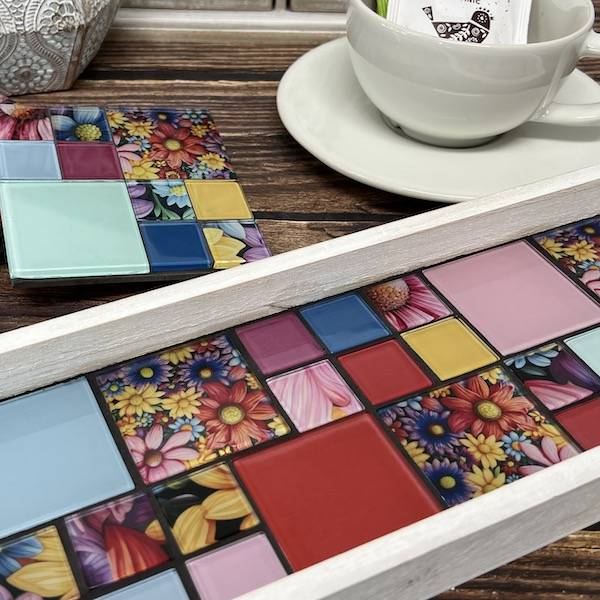
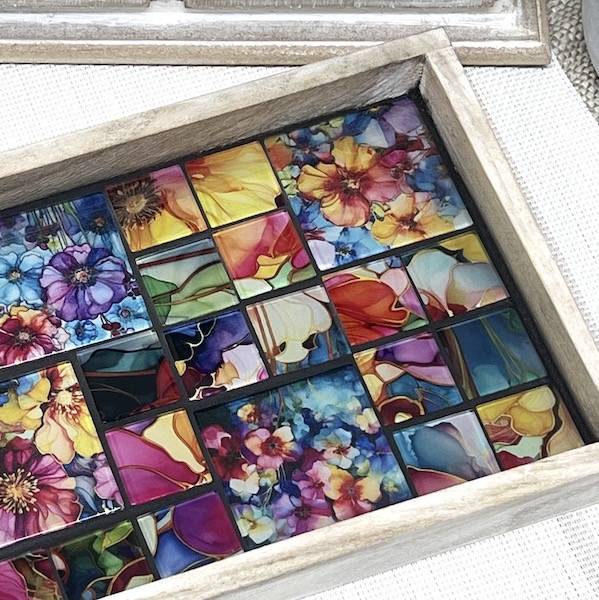
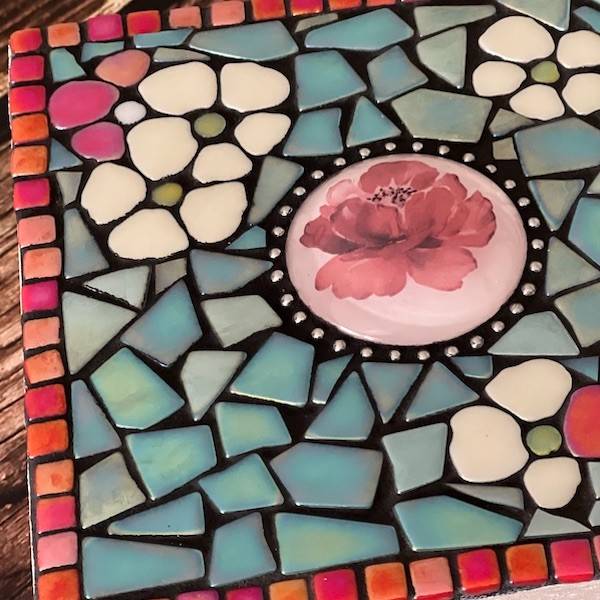
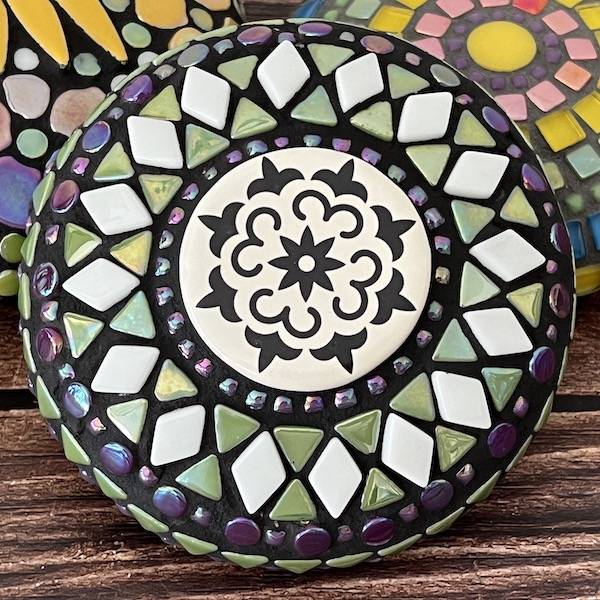
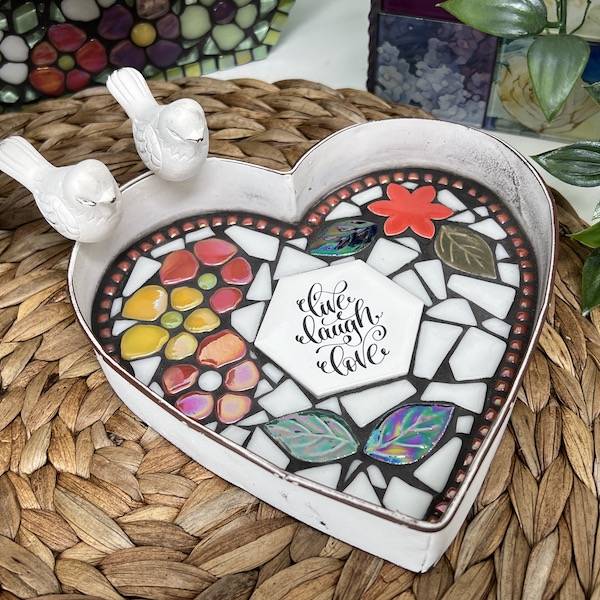
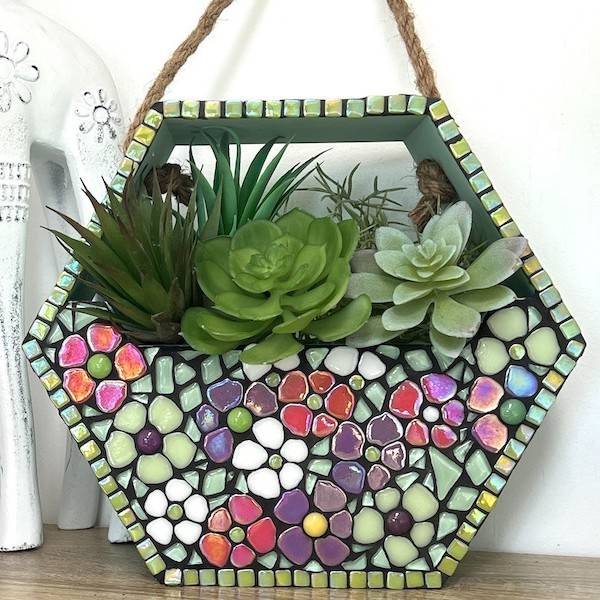
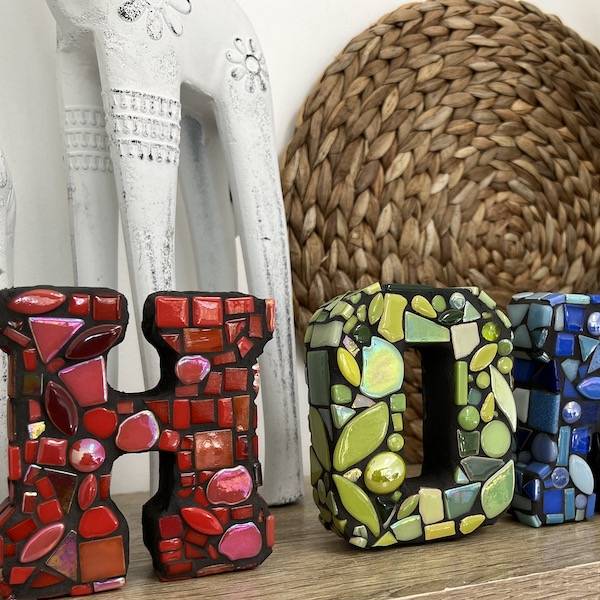
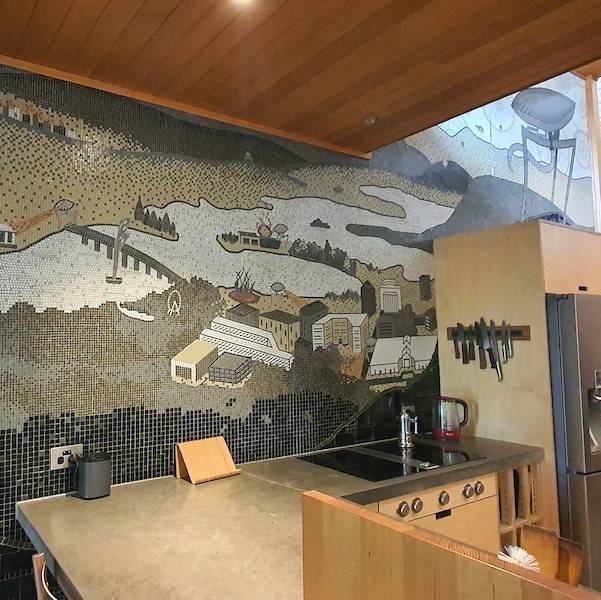
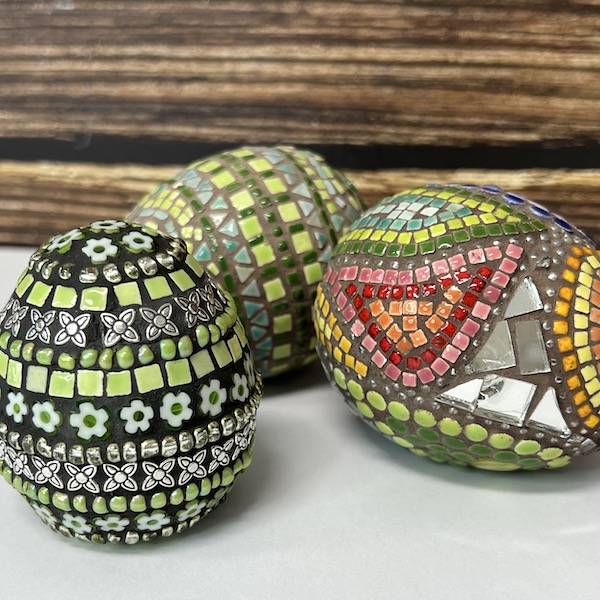
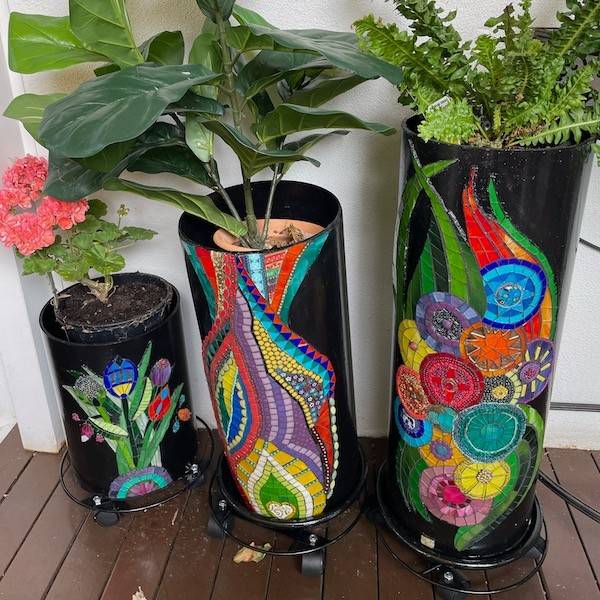
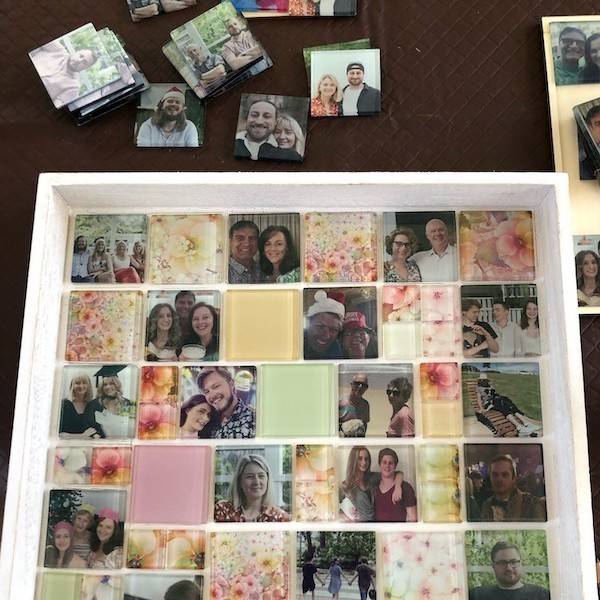
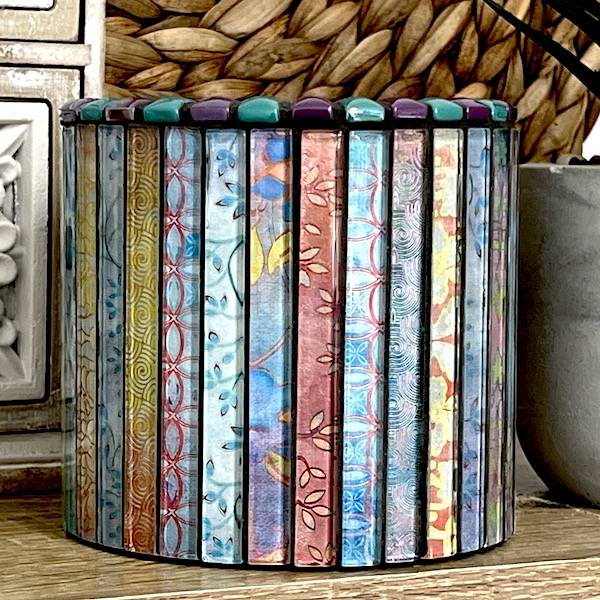
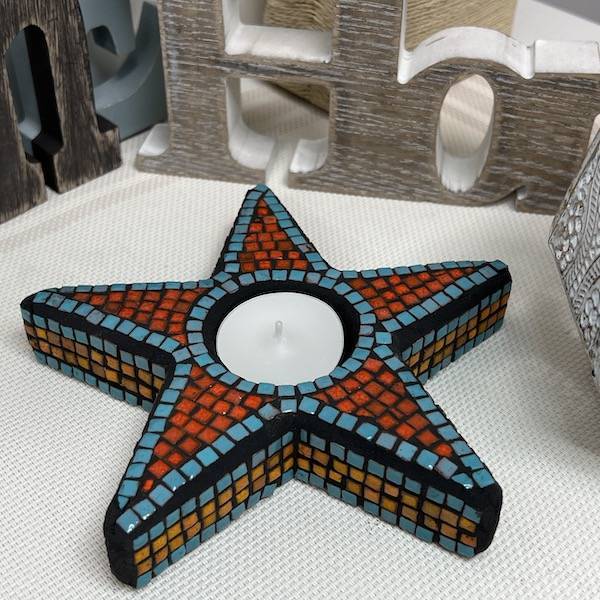
Your imagination only limits the choice of materials. Choosing a theme or colour scheme will give you some direction with your design before proceeding.
Step 2: Sourcing Your Materials
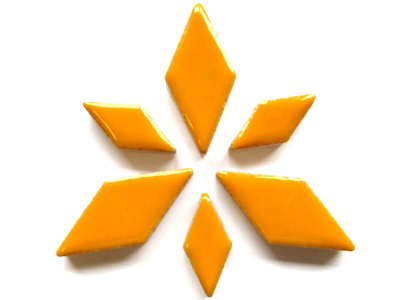
To create the 'Mosaic Welcome Sign,' we have used the following products.
Step 3: Adhering Your Tiles
Adhere your tiles to the chalkboard frame. Start with the border tiles ensuring their placement is straight. You will need to cut some of the White Irregular Crystal Glass Tiles to size.
Allow the adhesive to cure for 24 hours before grouting. Remove any excess adhesive.
Step 4: Grouting
When grouting, always wear gloves, as the grout will dry your hands out.
Before grouting, protect the sides and back of the sign with masking tape or painters tape. Secure the string so that it doesn't get covered in grout.
Mix a small amount of powdered grout with water until it becomes a porridge-like consistency. Once mixed, place a small amount of grout onto your tiles and rub it into the gaps between them. Once you have covered the entire mosaic, scrape off the excess and allow it to dry.
Wait until the grout has started to dry (the grout will become dull), and carefully clear off the excess grout with a sponge. Leave it for 24 hours, then give it a final buff-up to remove excess grout and adhesive.
This project is suitable for indoor use or in a protected outdoor area. The 'Welcome' tiles are not UVA stable so don't place them in direct sunlight.
 1300 320 392


