img img img img

Sat, Jan 14, 2023

Make A Beautiful Mosaic Keepsake


Make a beauiful mosaic keepsake


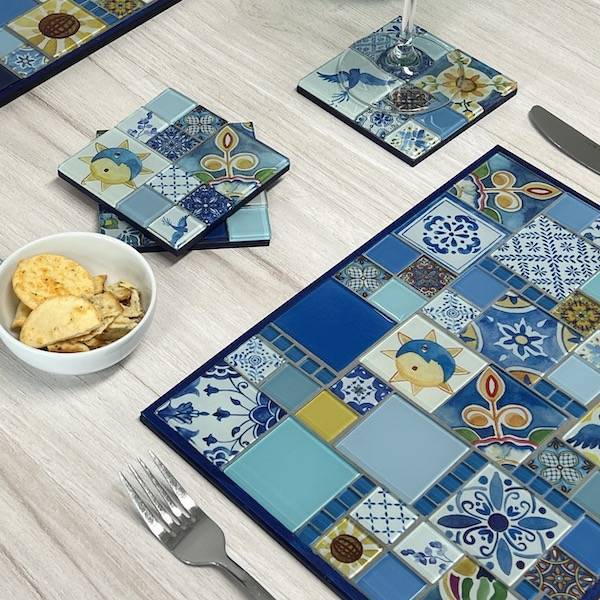
Take your memories and make them into a beautiful mosaic keepsake that will be cherished and loved for years to come.


This project would make a beautiful gift you could give to celebrate life's important milestones. It might be a unique Christmas, wedding or birthday present. Celebrate the birth of your child or grandchild. Gifting unique, one-of-its-kind handmade presents is a beautiful way to put a smile on your loved ones.


Beginners can easily complete this project, as no glass cutting is required.


What you'll need:


Get the keepsake mosaic kit


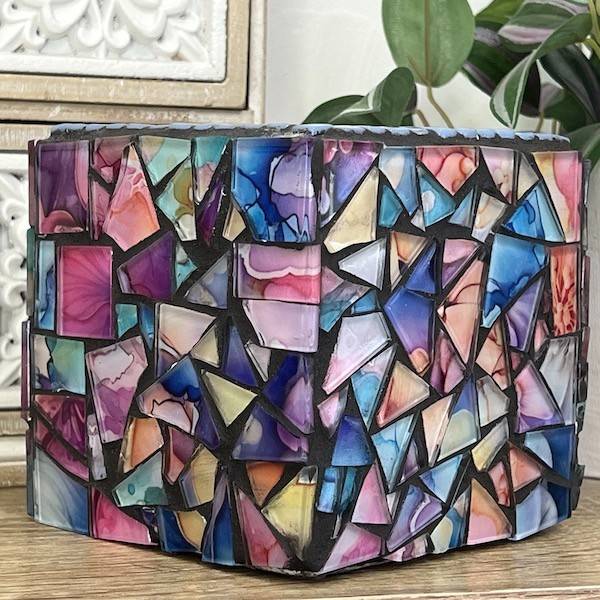
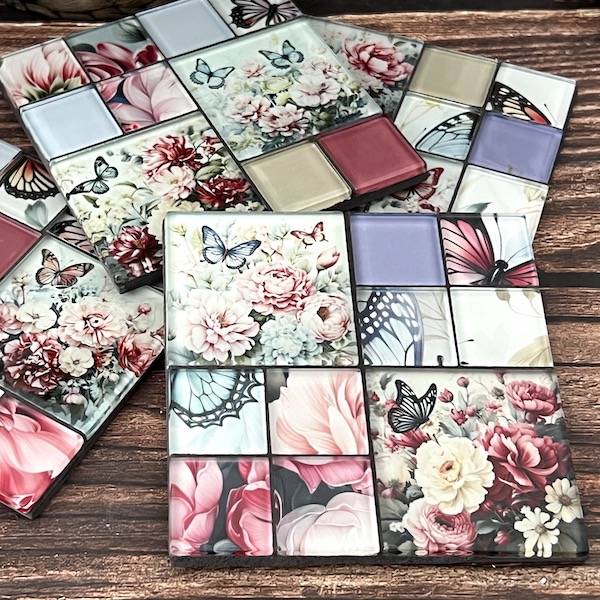
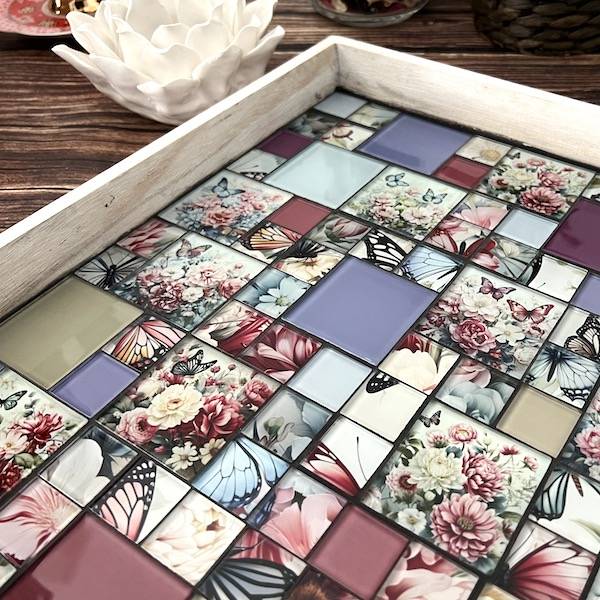
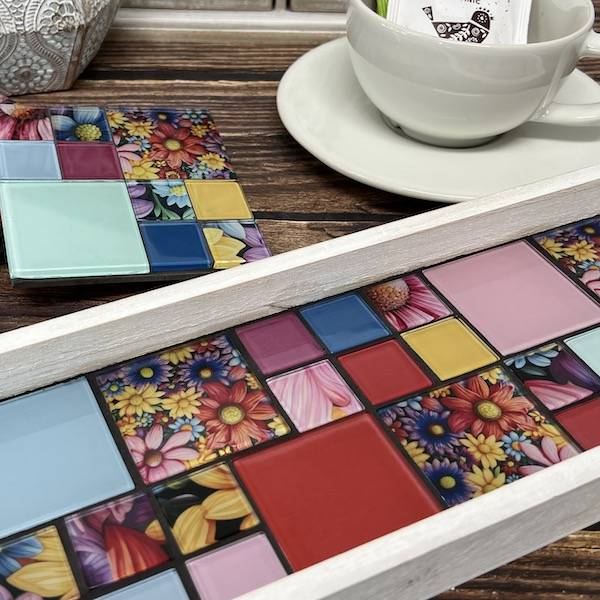
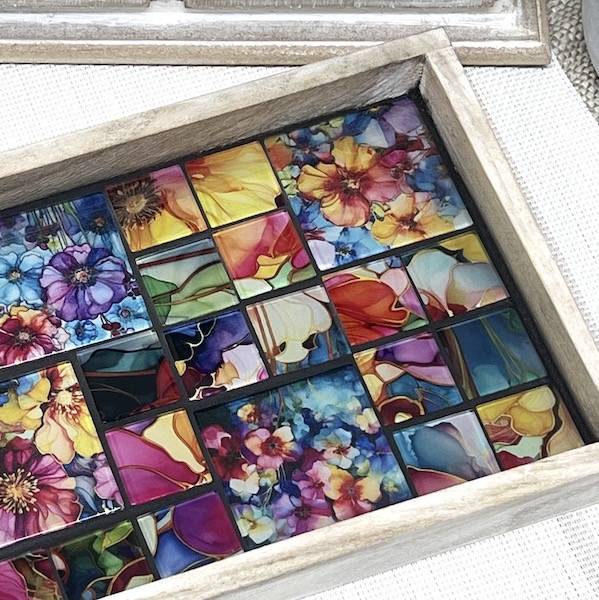
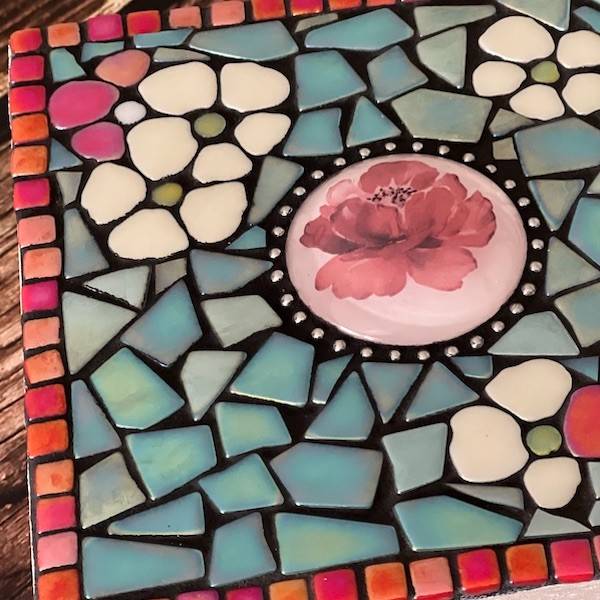
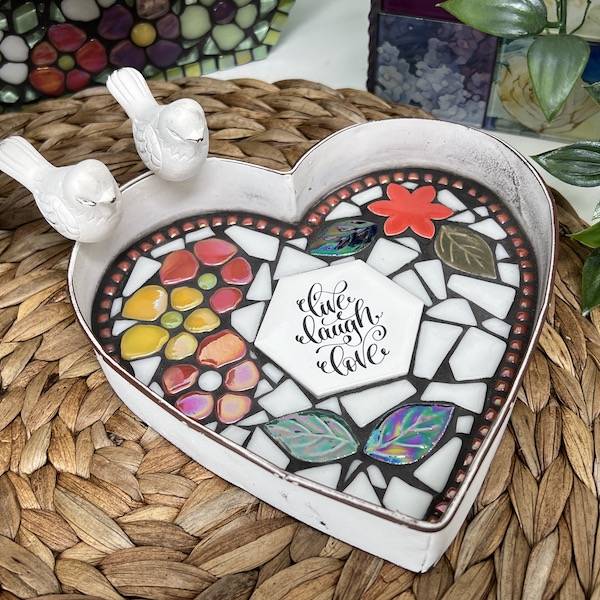
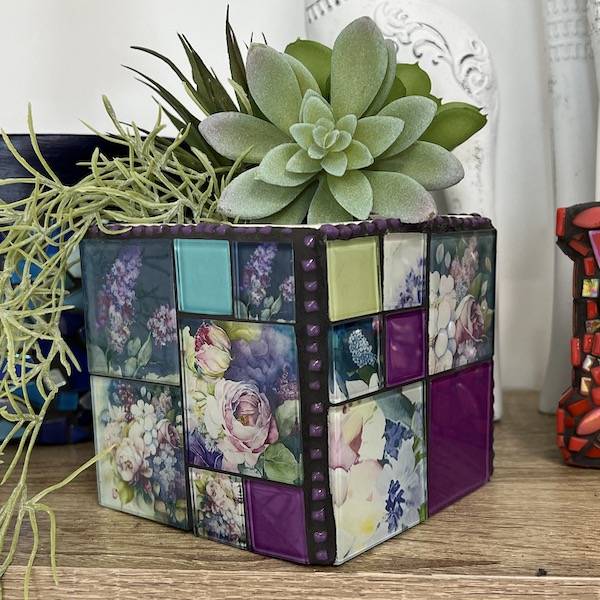
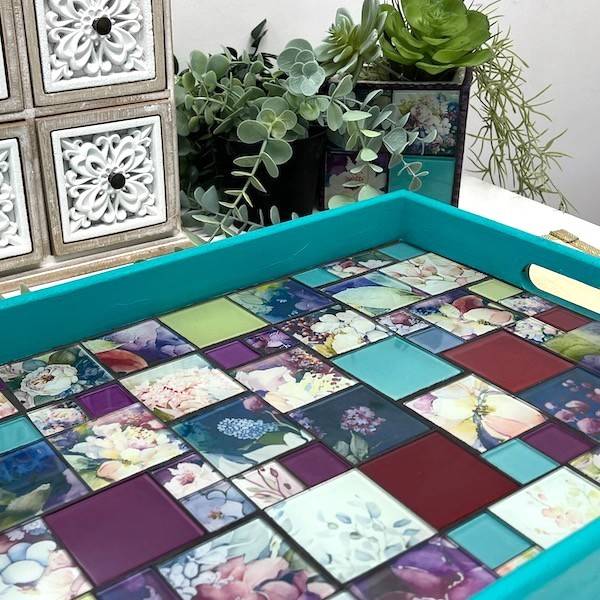
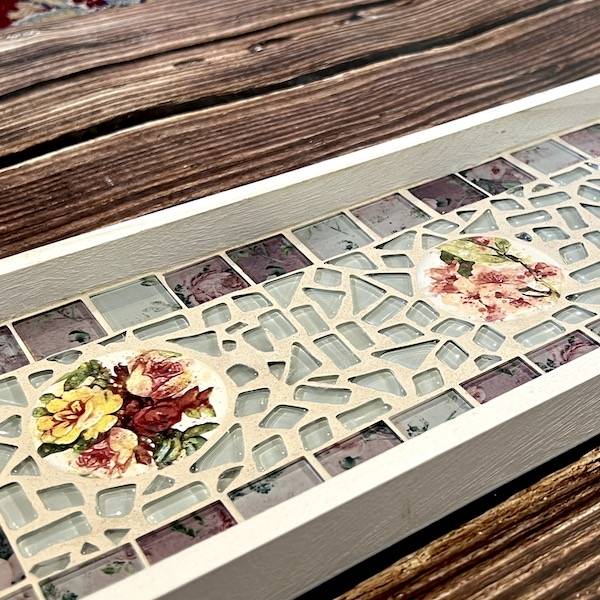
This project has been made using a combination of patterned tiles and transparent tiles which are used to create the photo tiles.


INSTRUCTIONS 


How To Glue The Paper Images To Your Tiles


  • Use a clear drying PVA adhesive, like Weldbond or Sullivans.
  • Brush the adhesive onto the paper, ensuring that you cover an area the size of the tile. Apply the paper to the back of the transparent glass tile.
  • Work the excess glue from under the tile. You could use a small ruler or squeegee to do this by gently rubbing it over the tile.
  • Leave it to dry completely, then cut the excess paper from around the tile using a pair of sharp scissors.
  • Once you've adhered the paper to the tile, don't change the placement, as you could wreck the tile.


Making The Mosaic


1. Plan your Design


Lay your tiles on the base to work out the design you like best.


2. Adhering the tiles

Your adhesive can be applied either directly to the base or painted individually onto the back of the tiles. The quickest method is to paint the adhesive onto the base. Apply the adhesive to small sections at a time to avoid the adhesive drying out. Allow the adhesive to dry for 24 hours before applying the grout.

Once you've adhered the paper to the tile, don't change the placement, as you could wreck the tile.


3. Grouting time


  • Before grouting the placemat & tray, run painters or masking tape around the edges of the exposed plywood to protect them.
  • Mix your powdered grout with water to create a thick paste. This is to reduce the amount of water for the paper backed tiles. If they are exposed to too much water, it will creep under the tiles creating watermarks. Mix the grout to a smooth paste with no lumps. Keep some of your grout aside just in case you need to thicken the grout later.
  • Spread the grout all over the top of the tiles and sides, making sure to work it into the gaps.
  • Once you have applied the grout, you will need to wipe it off straight away; we recommend using wet ones as they contain just the right amount of moisture. If you use a sponge, you will have too much water.
  • Once you have wiped away the excess grout, allow it to dry for 20 minutes, use a soft cloth, and wipe the mosaic clean.

Allow 24 hours for the grout to cure.


4. Paint the edges


To finish the coasters and/or placemats, paint the edges with acrylic paint.


A grout sealer can be applied once the grout is dry to keep the grout clean and protected (optional).


Grouting Tips:
· Safety first – use protective eyewear when nipping glass
· Never dispose of grout down the drain
· Mix grout in a disposable container for an easy cleanup


Keepsake mosaic project

NEW ARRIVALS

VIEW ALL
img

Iridised Purple Glass Rounds 1cm

$4.75
VIEW ALL
img

Royal Blue Iridised Glass Tiles 2.5cm

$7.95
VIEW ALL
img

Christmas Bauble Mosaic Kit - Design No. 1

$14.50
VIEW ALL
img

Christmas Bauble Mosaic Kit - Design No. 3

$14.50
VIEW ALL