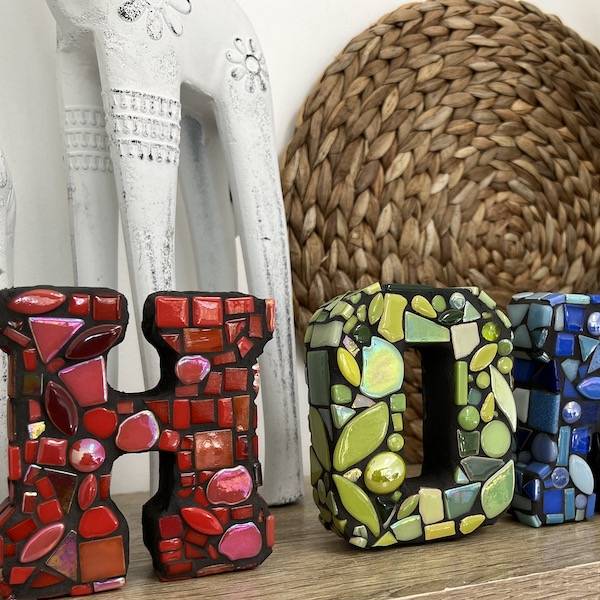
I made this house number using the mesh method as it was originally going to be installed vertically straight onto the letterbox. That decision was later changed, so I adhered the meshed piece to a cement sheet (with holes for screws cut out). I then grouted the piece, and once the grout was dry, the entire work was screwed to the brick letterbox.
Materials used:
- White cardboard for making the template
- Sturdy cardboard or plywood to use as a working base
- Sheet of clear plastic (I used some heavy plastic wrapping from a big dog bed)
- Sticky tape
- Mosaic Mesh
- Prep Multi adhesive
-
Cement Based Adhesive - Dunlop Tile All adhesive
-
Grout – Dunlop Midnight
- Davco 4 in 1 Grout Additive
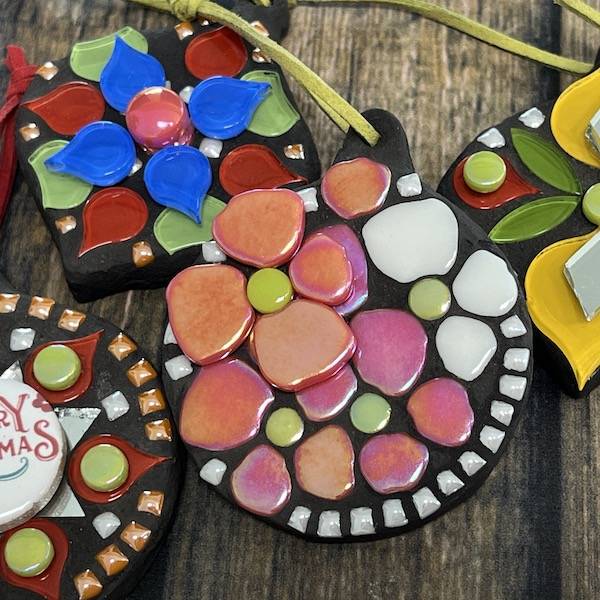
- Ceramic Petals
- Glass puzzle pieces
- Glass tiles
- Ceramic pool tiles
- Cement Sheet cut to the size of the letterbox
- 2 x Cement pavers from Bunnings (600x600 – be careful - they’re heavy!)
Steps involved:
- Firstly, I worked out the size of the design I needed by measuring the letterbox.
- I then downloaded a number 4 shape (just google it) and enlarged it on a copier until it was the right size for the letterbox, allowing for a border around the number.
- I traced the number onto a piece of white cardboard (template) which was cut to the exact size of the letterbox (see step 1).
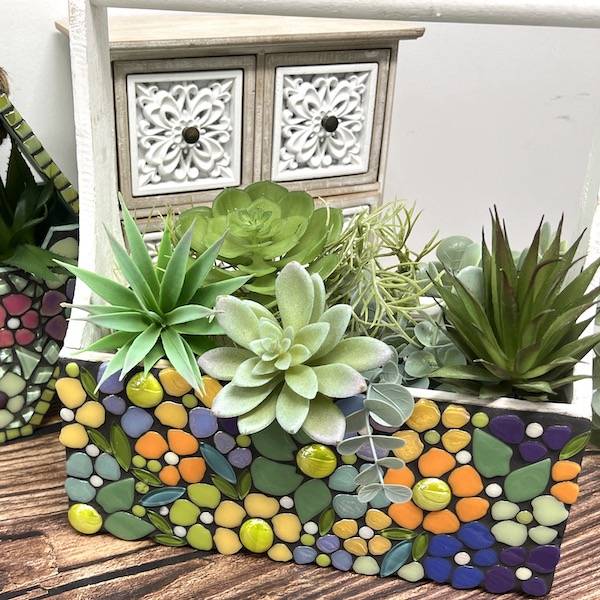
- Sketch in your design – mine was flowers inside the number 4.
- Lay the template over the cardboard or plywood you’re using as a base.
- Use sticky tape (sparingly) to hold it in place.
- Lay the clear plastic over the template and stick it down as well.
- Start laying out your tiles according to the design on the template but don’t start gluing yet! Don’t be afraid to change it as you go – just think of the template as a guide.
- I chose to do the ‘framed’ edge first and the black background as that allowed me to really clearly define the edges of the number 4, which made it easier to fill in the centre. I glued the edge and the black background and then waited 24 hours for them to dry before starting in the centre so I didn’t accidentally move any pieces while I was doing the centre.
- Don’t start gluing in the centre until you’re happy with your design. I started in one corner of the 4 and worked out from there. It’s much easier to work this way as you can infill/overlap/integrate your flowers as you go, without leaving any big gaps which then need to be filled in later on.
- When gluing the tiles onto the mesh, just use a ‘dab’ of glue – not enough and they won’t stick, too much and they’ll be impossible to get off the plastic once the glue is dry. I used Prep Multi as my glue as it’s great for both indoors and outdoors and dries clear.
- Once everything is glued on and the glue is dry (wait 24 hours), VERY carefully peel the mosaic and mesh off the plastic backing. This is where you’ll find out if you used too much glue or not! :)
- I then mixed Dunlop Tile All according to the instructions and spread it onto the cement sheet (leaving a small border at the top and bottom where the screw holes were) and laid the meshed piece onto it.
- Press down gently on the whole mosaic to ensure the back of the mesh is in contact with the Dunlop Tile All but not so firmly that it squishes up between your tiles (if this happens you’ll need to scrape the excess out before it sets to allow space for grout).
- Leave for 24 hours.
- I grouted using Dunlop Midnight grout with Davco 4 in 1 added to it for strength.
- Once the grout was dry, I polished the tiles and screwed the entire piece to the letterbox. I use the dry method of cleaning grout as I don’t like the mess with the wet method.
- I then painted the letterbox to match the roof of the house, and it really made the floral number pop out.
In hindsight, the only thing I’d change is the black flower at the top as I think it’s a bit lost in amongst the rest of the flowers. I wish I’d used a brighter colour there instead.
Stepping stones
I then created 2 stepping stones to walk on to get to the rear of the letterbox. I used the same method (on mesh) except I used 600x600 cement pavers from Bunnings for the substrates. Once grouted, they were then set into a sand base to keep them level. This was a really fun project and I feel proud and happy every time I drive into my driveway. Everyone knows when they’ve arrived at my house for the first time that they’re at the right place!
About Me - Julie Gannon
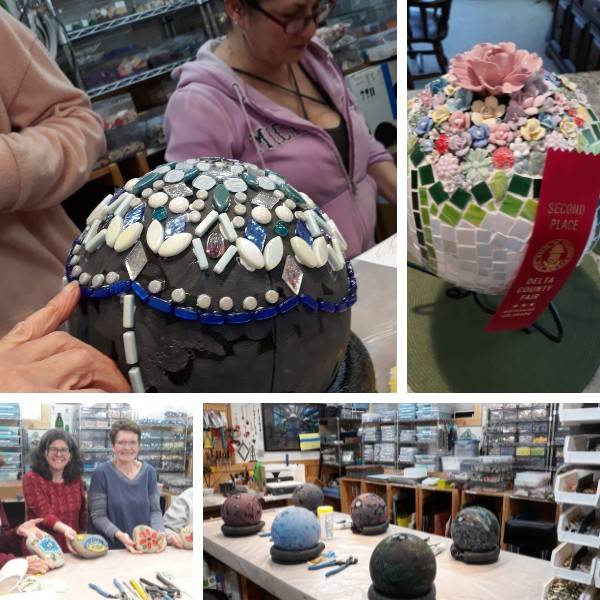
I only started mosaics during COVID, so I’m fairly new to it. :)
My inspiration to begin was seeing a piece of the amazing Solange Piffer’s work, which I totally fell in love with and thought to myself, “I HAVE to learn how to do that”! I went to a couple of classes, joined lots of mosaic groups on Facebook and subscribed to numerous YouTube channels to improve my knowledge. I’ve been amazed at the generosity of the mosaic community, especially in the support and sharing of ideas and techniques to help others out. It’s not anything I’ve come across previously.
I’m also VERY excited to be booked in for Solange’s workshops next year in Melbourne…
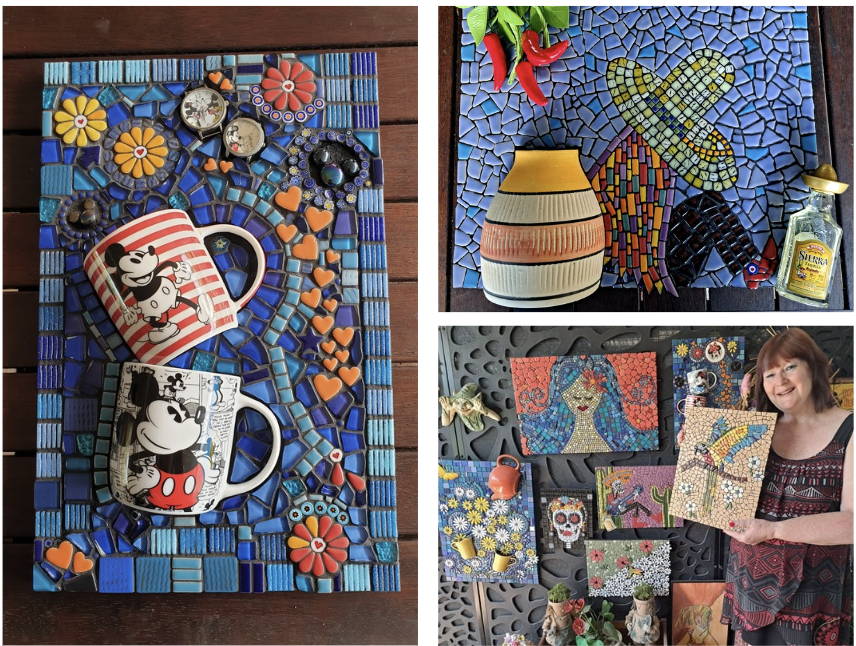
I started out making mosaics mostly for myself, family, and friends, but last year I started running workshops to teach others how to do it as that’s where my real passion lies. I love seeing people come into a beginners' class thinking that they can’t do it, are not artistic, or have no ideas, and then seeing them SO happy at the end of the workshop with a gorgeous individual piece they’ve created.
Sometimes I do markets with my pieces, but that’s more to spread the word and get people interested in classes rather than to sell my work. I find that if I’m trying too hard to just ‘churn out’ pieces to sell, I lose my enjoyment of the art and it doesn’t make me happy.
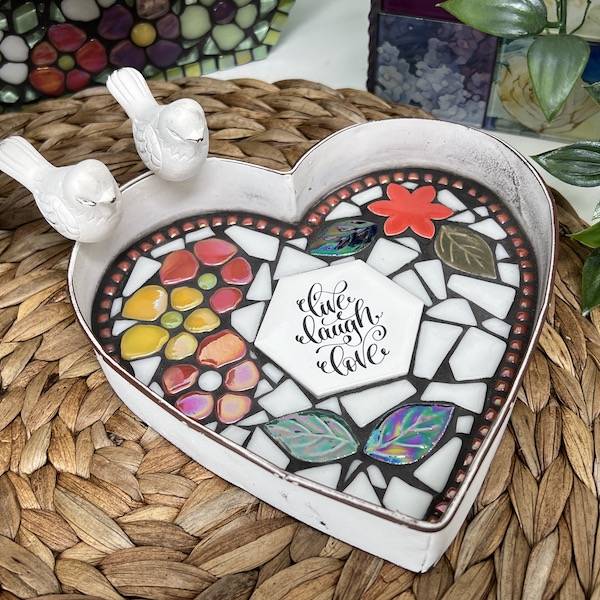
My favourite piece is probably the heart I made for a newly married couple. I bought 100 pretty dinner plates from them which they had collected in Op Shops over a year or so and then used at their home wedding. I decided to make an outdoor piece for them to place in the ‘Serenity Garden’ they were constructing, using two of the plates which were their favourites. They were so touched and loved the piece I did, and I love that there is a story behind it for them, and each time they look at it they’ll remember their wedding. I’ve attached a photo of the finished heart.
 1300 320 392