1300 320 392


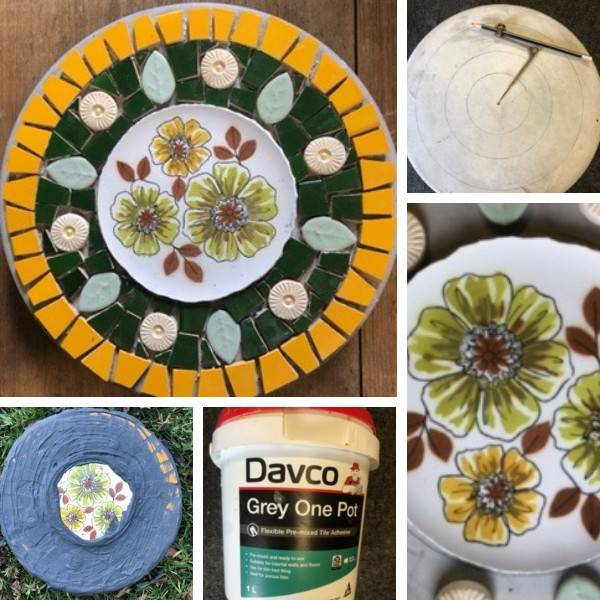
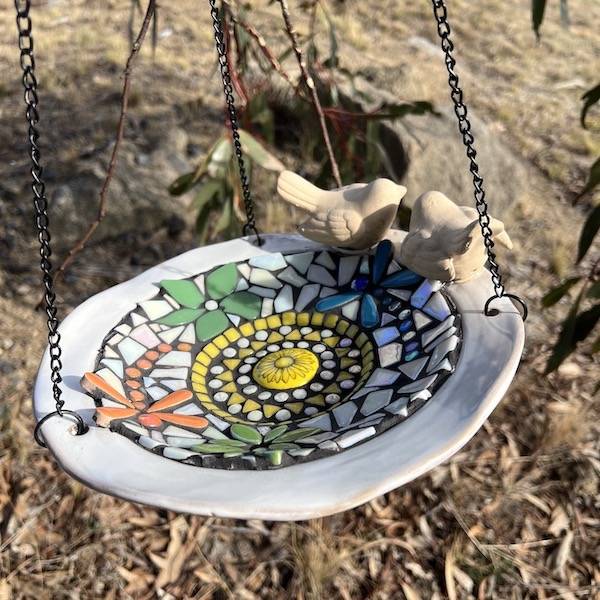
In this blog post, Kerian Greenaway shares how she made her beautiful mosaic garden bowl. Kerian takes us through each step of the process, from selecting the right materials to applying the finishing touches. She guides you step-by-step, making it easy for anyone to try creating their own.
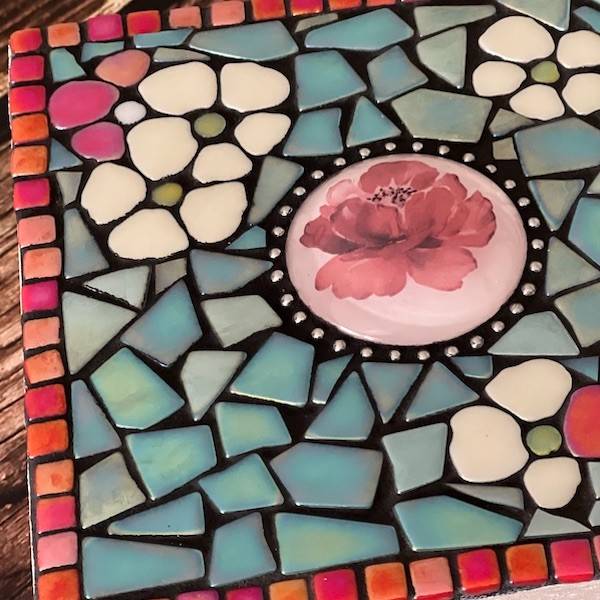
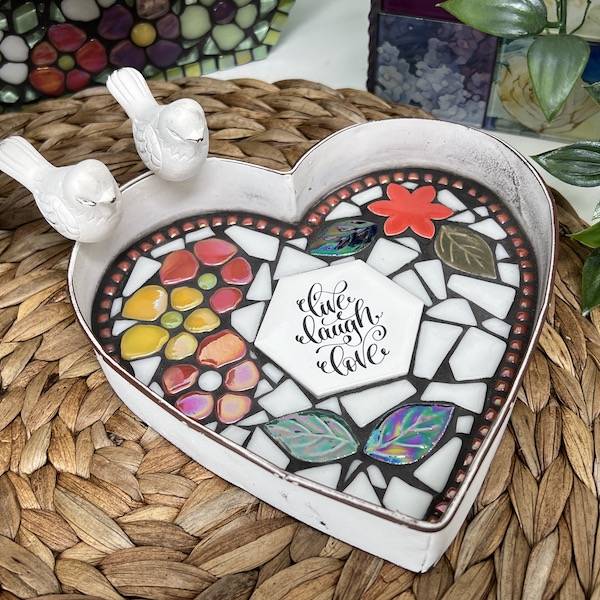
Kerian's project showcases her talent and attention to detail. She explains how she selects her tiles, lays out her colour palette, and carefully applies each piece to achieve a balanced and attractive design. The combination of colours and shapes makes her mosaic stand out.
Thank you, Kerian, for sharing your mosaic creations with us and providing such a helpful guide. Your work brings inspiration to those who want to add a personal touch to their gardens.
Tools:
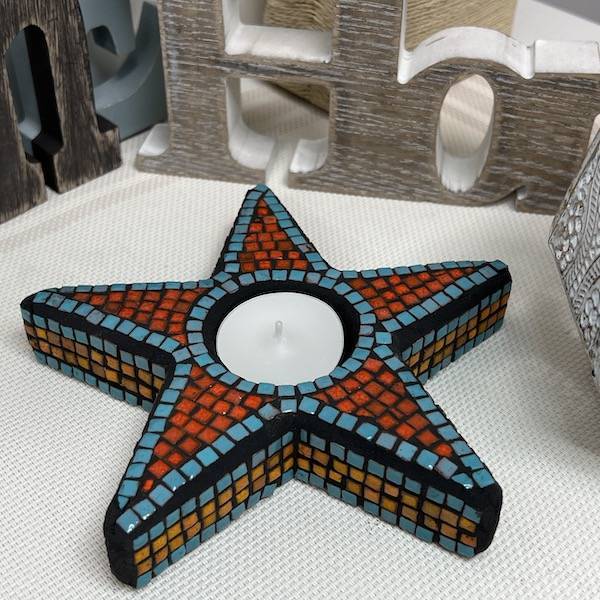
- Northcote Bird Bowl (Bunnings) 48cm width | 11cm depth
- Silicone Roof & Gutter Mini and Mini Caulking Gun (Bunnings)
- Dunlop Grout – Midnight
- Davco Tile and Grout Sealer (Bunnings)
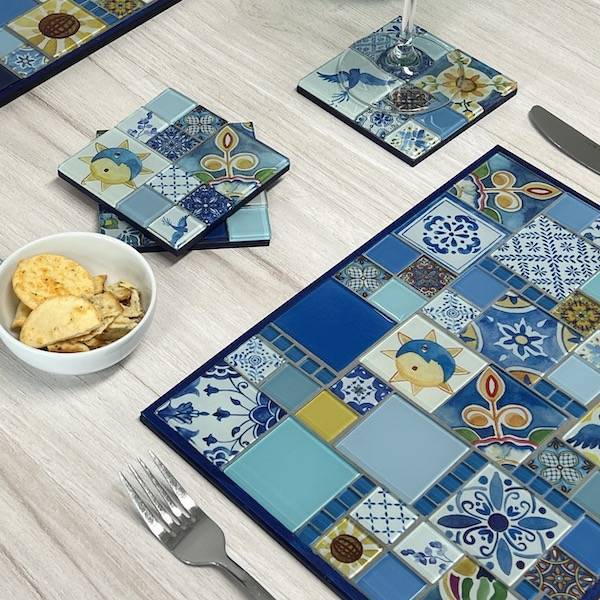
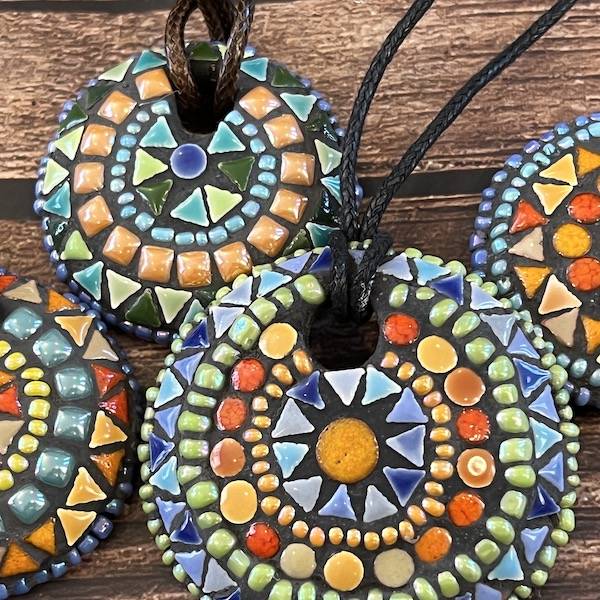
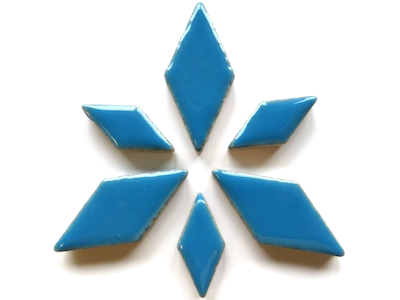
- Tiles (mostly The Mosaic Store) including:
- Craft Blades (box set with interchangeable blades) (Red Dot)
- Tweezers
What I do:
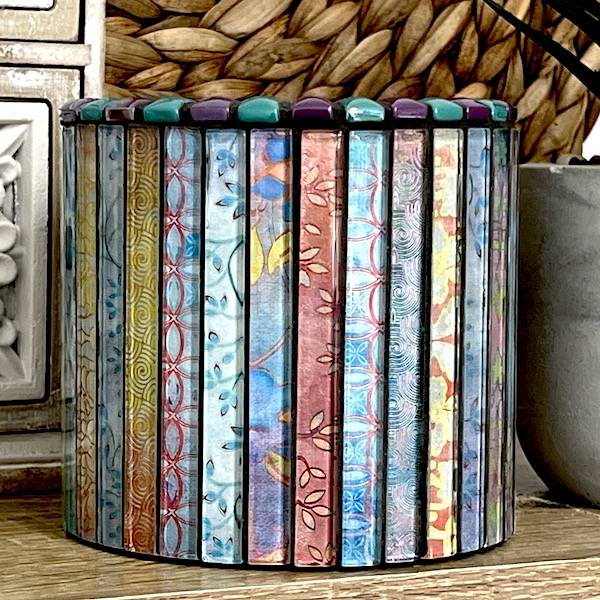
On a bowl that’s 47cm wide, it uses 56-57 tiles on the top rim. I lay out my colour selection on the table first so that I get the balance of colours – staggered and definitely not uniform! I usually have about 4 different colours – in this example, they are tones of green.
I use a mini caulking gun and silicone to apply all my tiles. I try and work as cleanly as possible with as little silicone on the front of the tiles. I start from the rim of the bowl first – applying the silicone directly to the bowl in small sections and then placing the 2.5cm tiles. Silicone allows some flexibility so you have time to ensure they are placed evenly around the rim. I like to have another two rows of the 2.5cm tiles on the inside bowl and break them up using different tiles – in this case, I’ve used red, orange, yellow and green sticks – randomly laid out and again applying the silicone directly to the bowl.