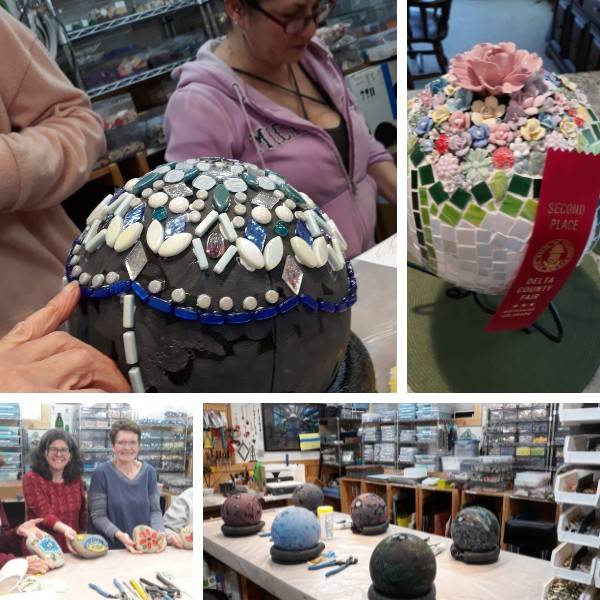
I played with clay as a child when my mother had a kiln and kick wheel in our shed. However, I started working with mosaics much later in life and have only begun to combine clay and mosaicking in the last 10 years, calling it Claysoics. I have taught many lessons on clay and mosaics as a Primary School Art Teacher.
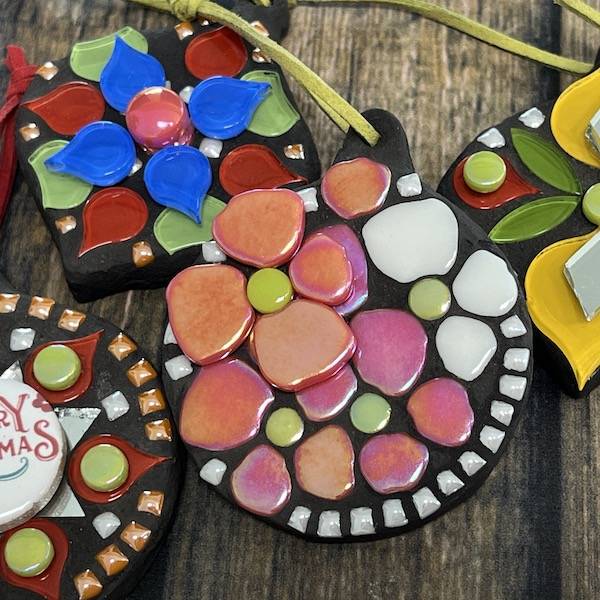
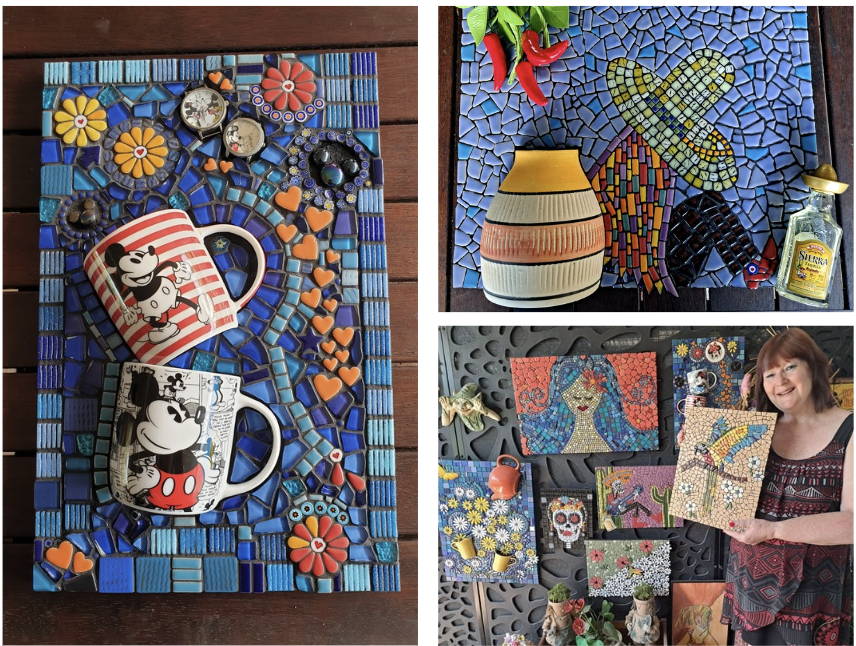
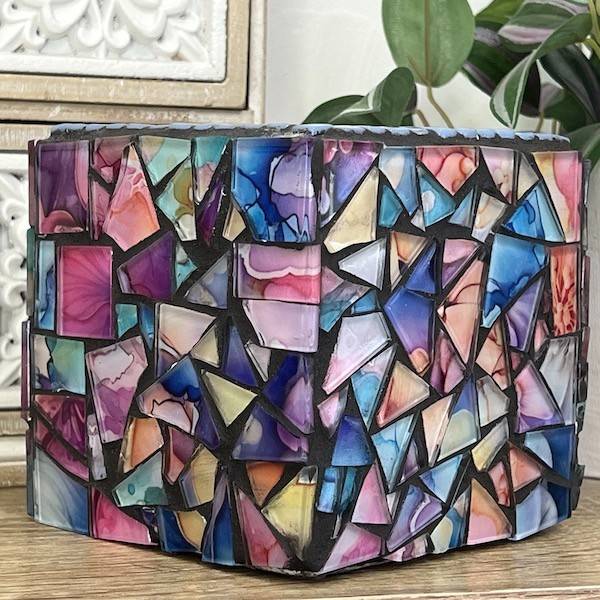
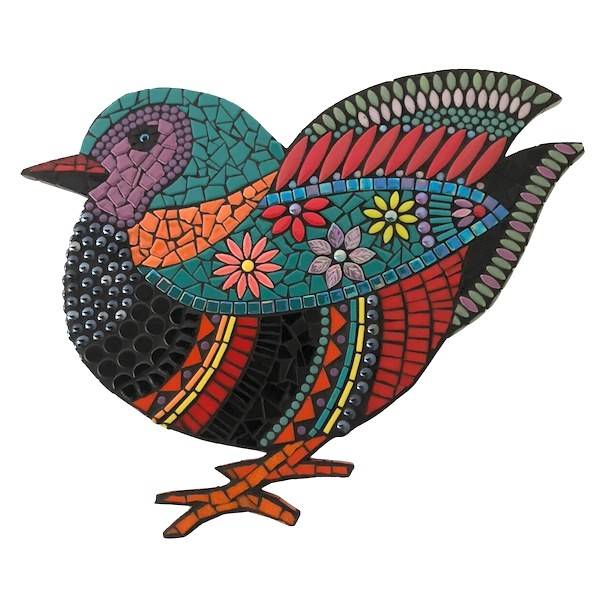
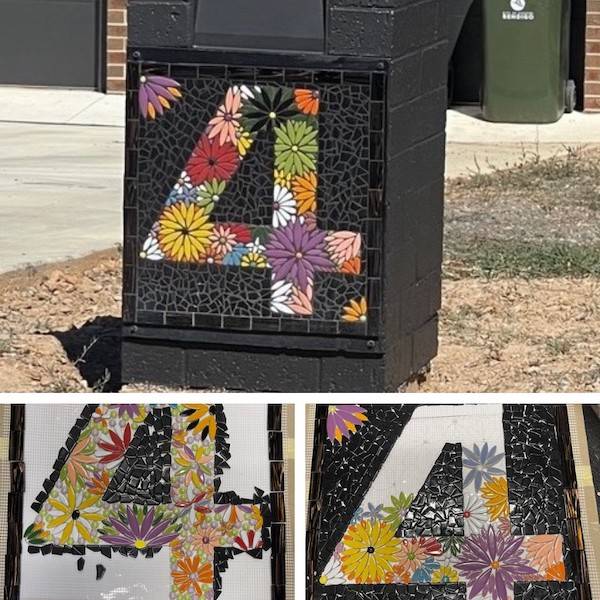
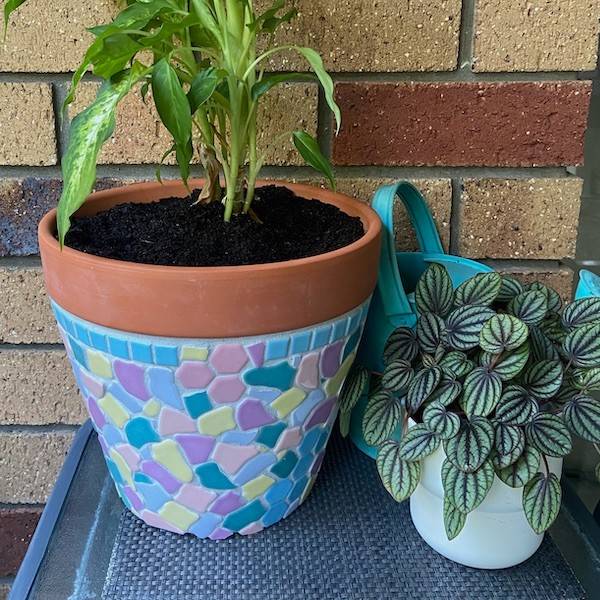
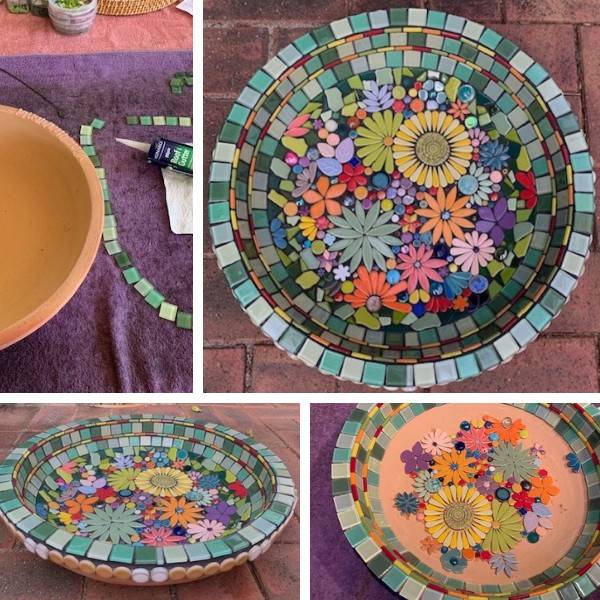
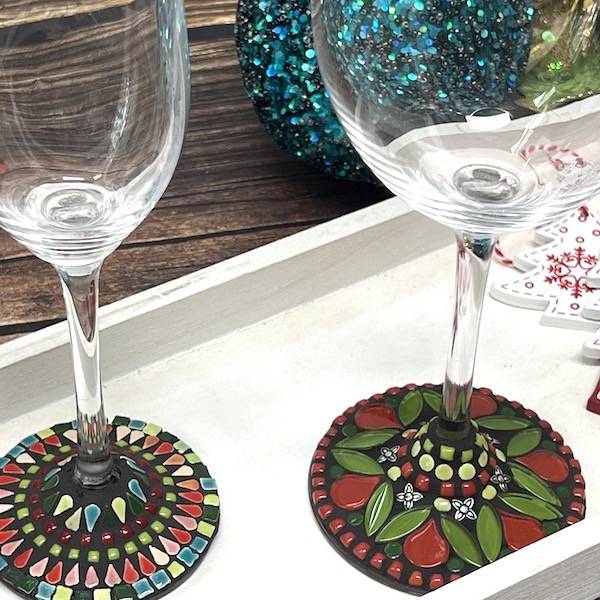
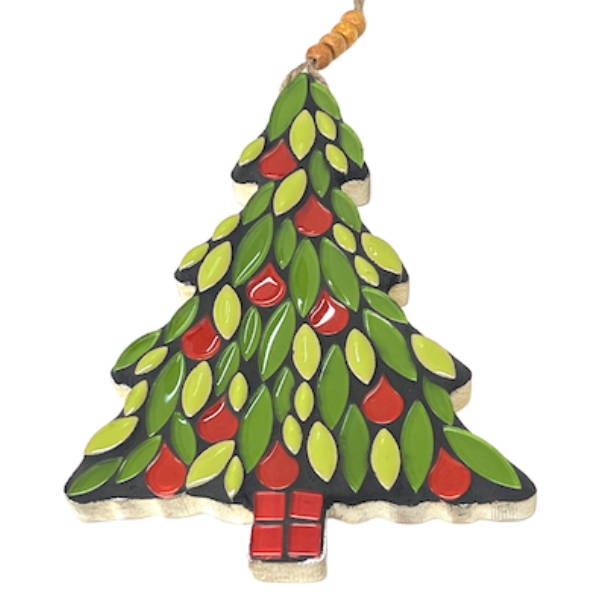
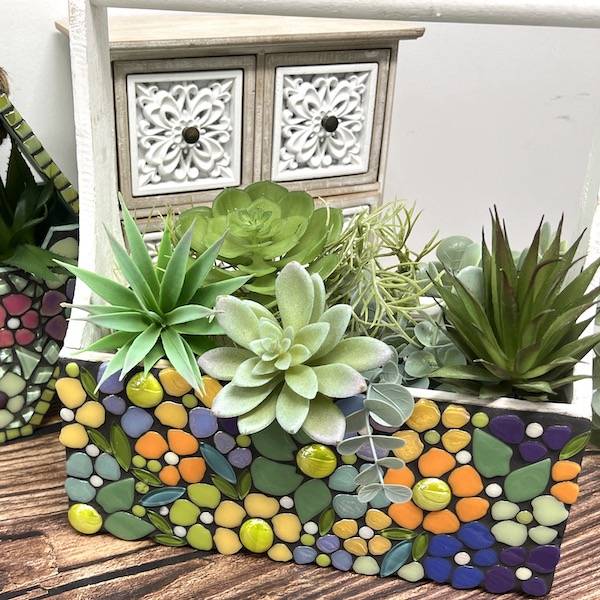
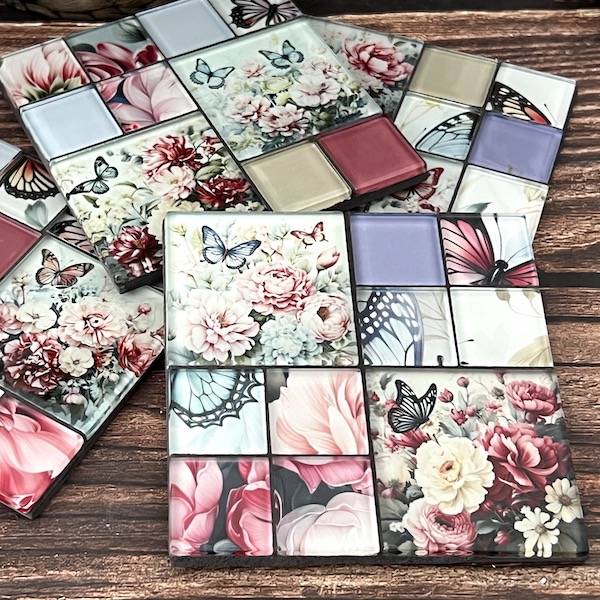
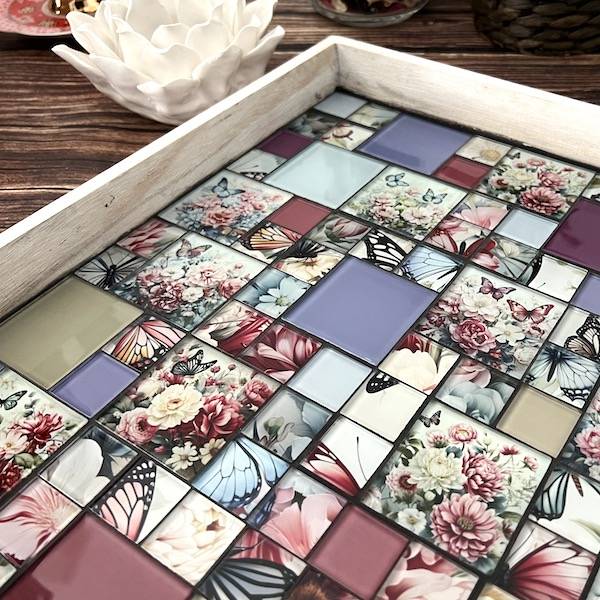
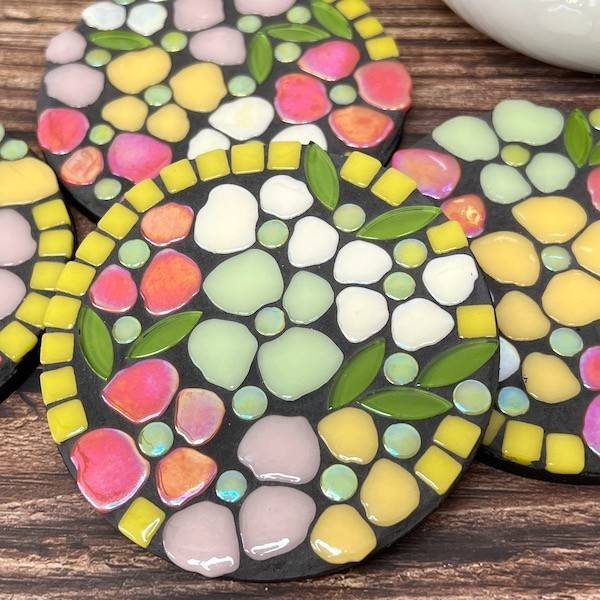
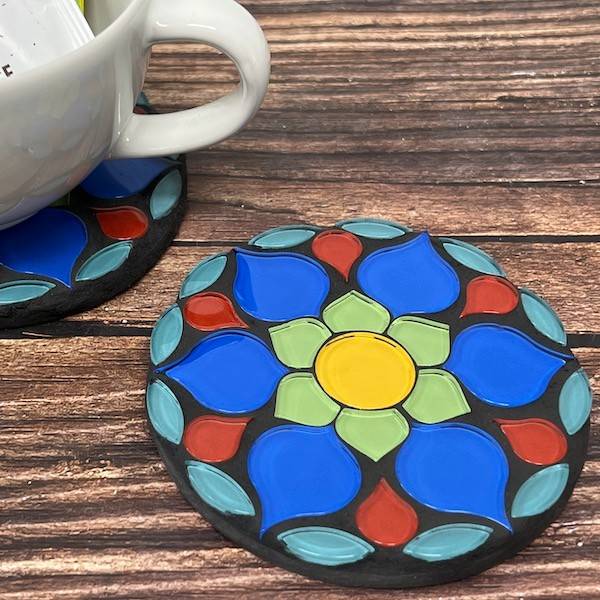
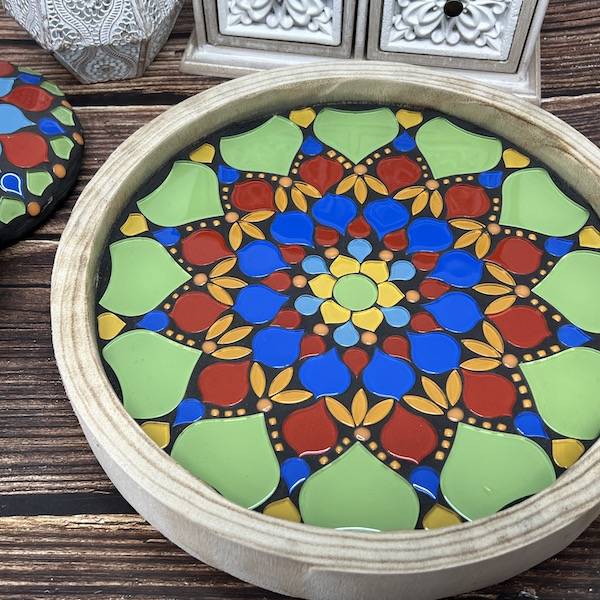
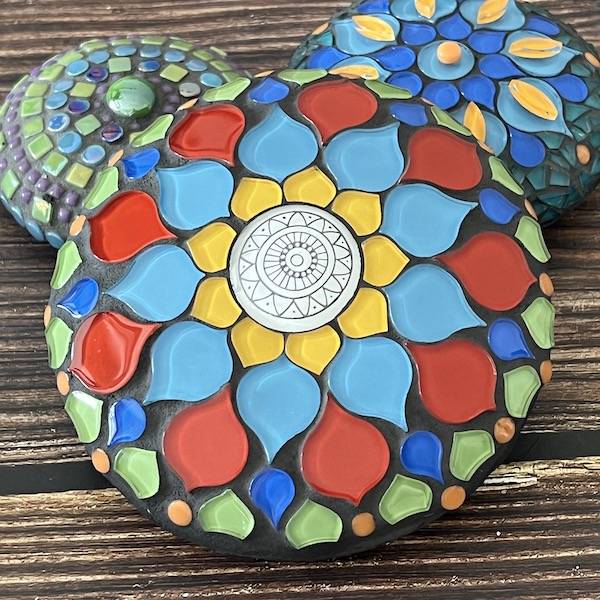
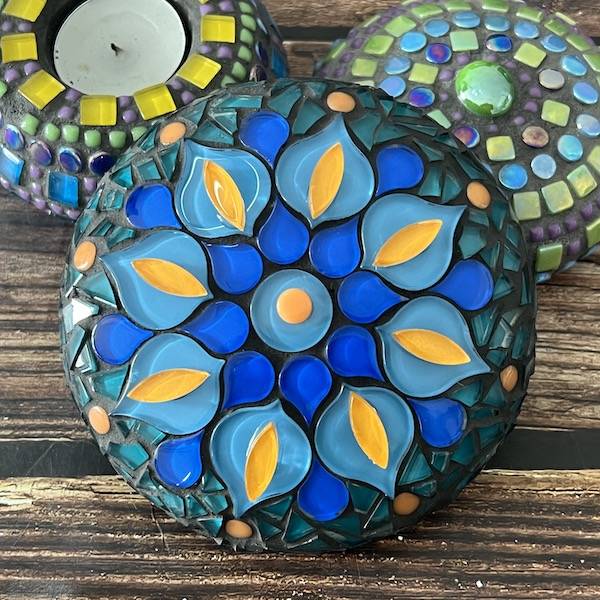
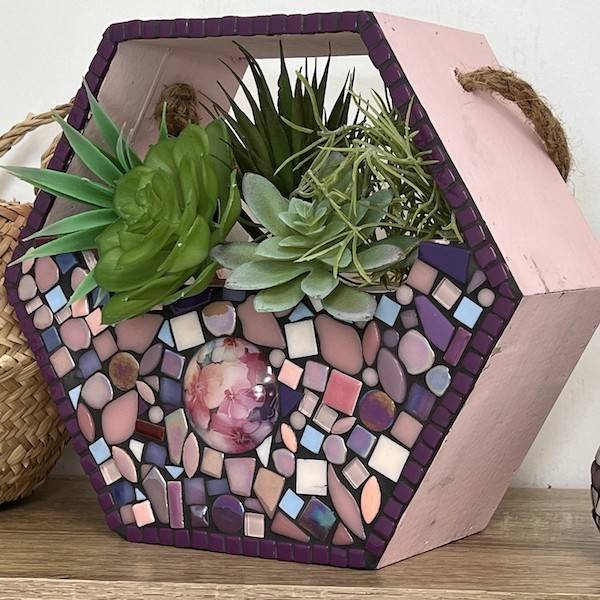
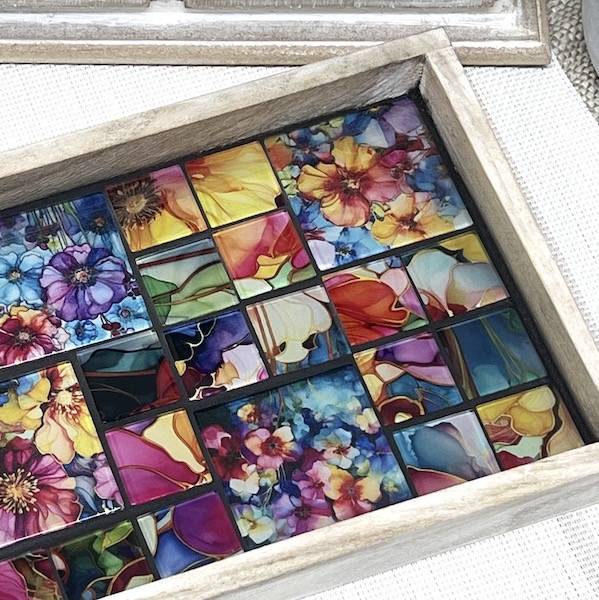
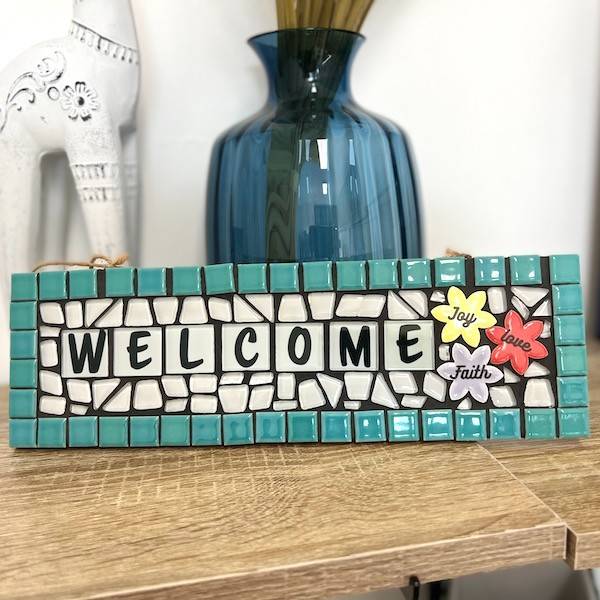
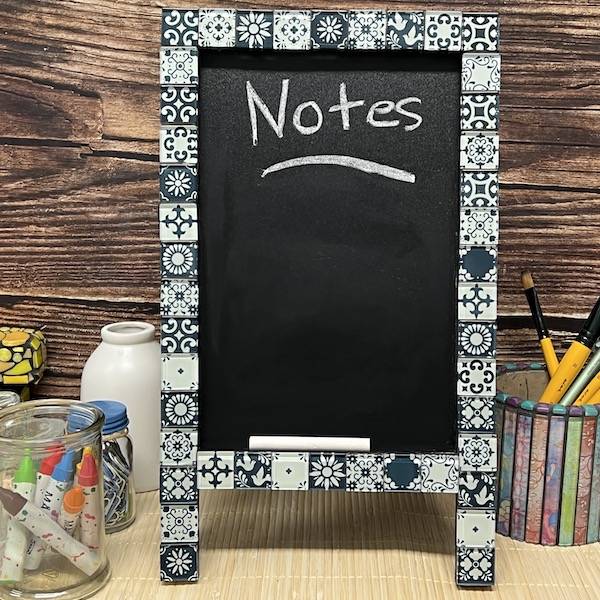
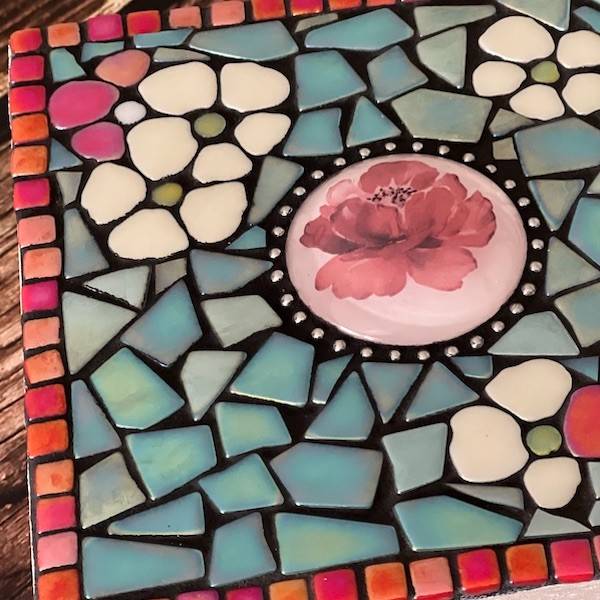
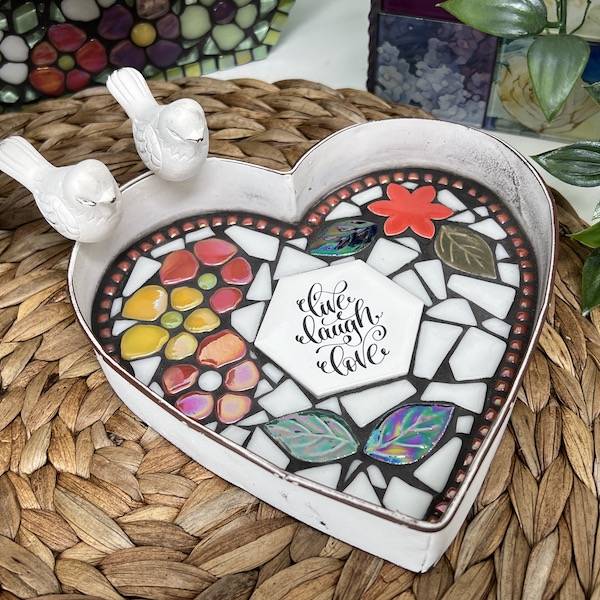
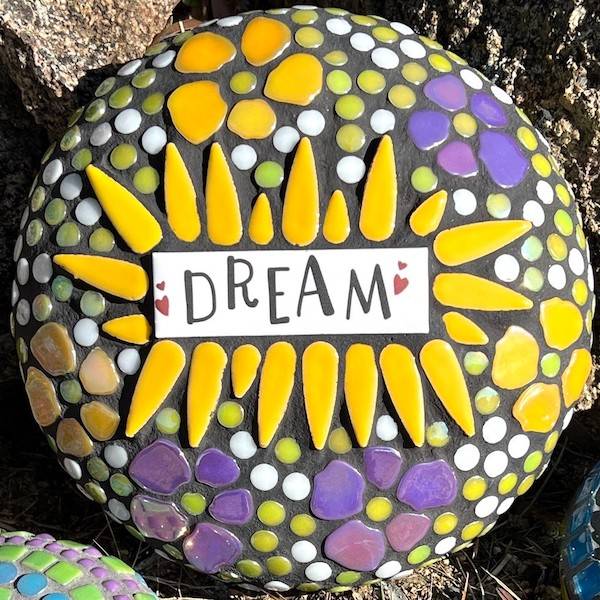
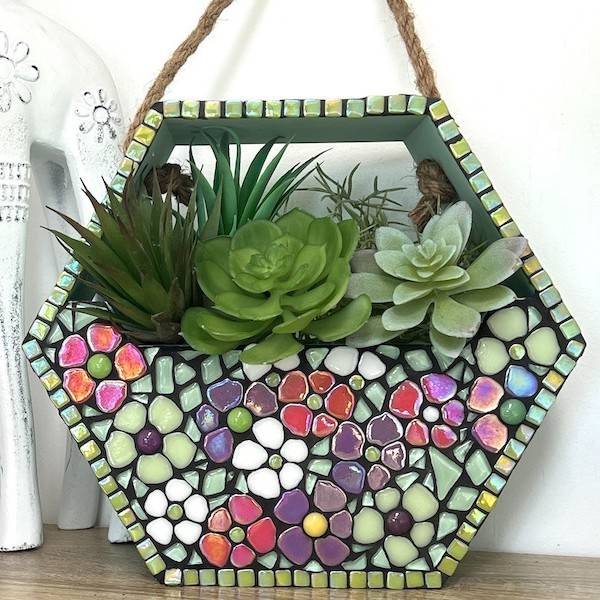
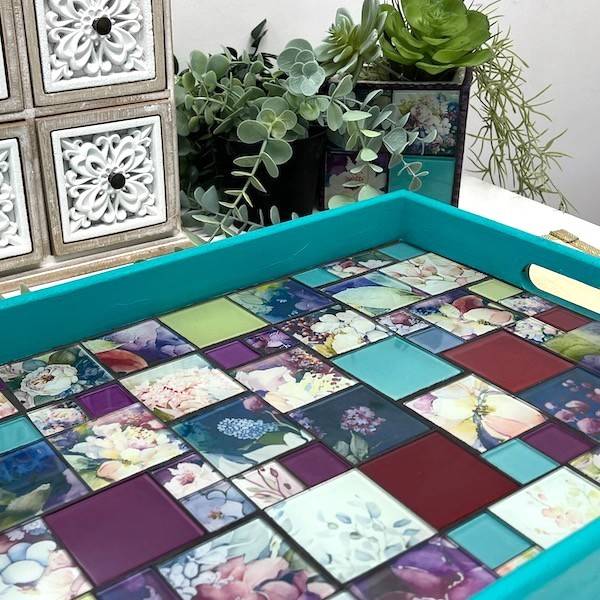
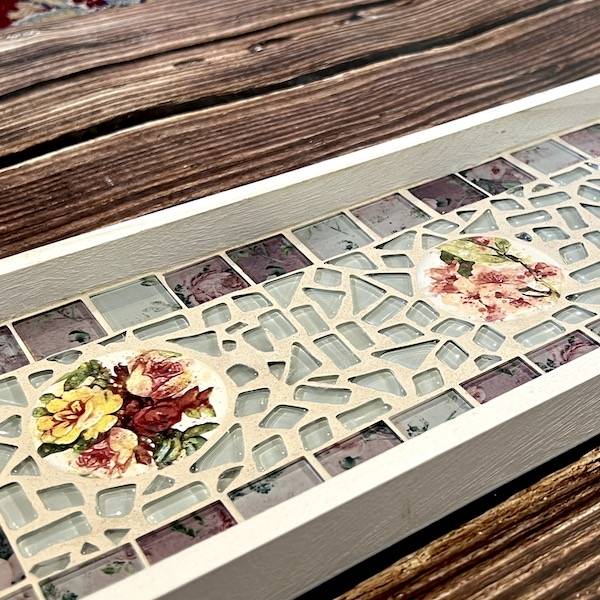
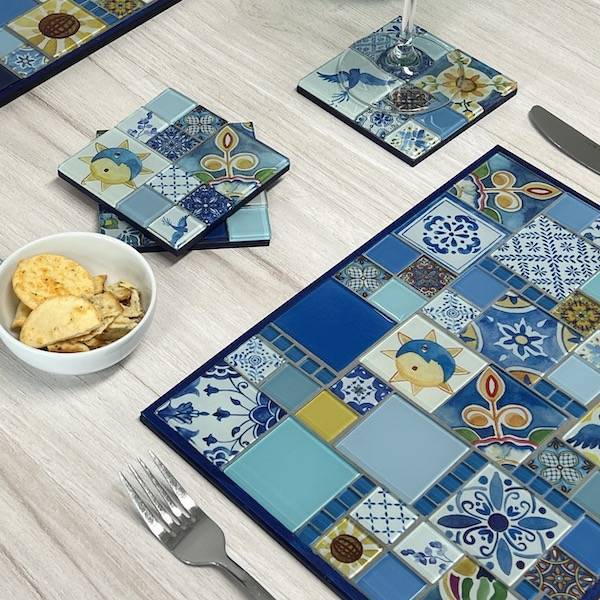
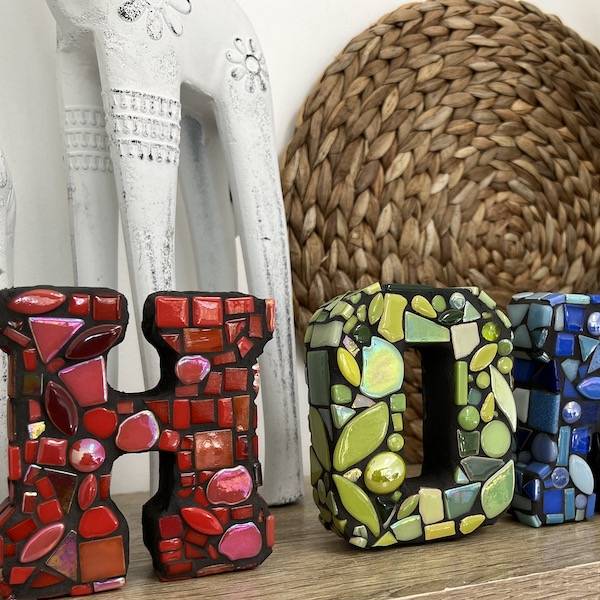
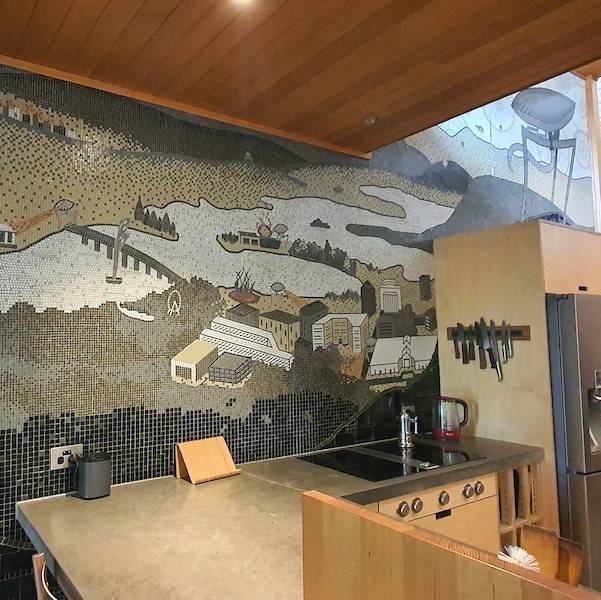
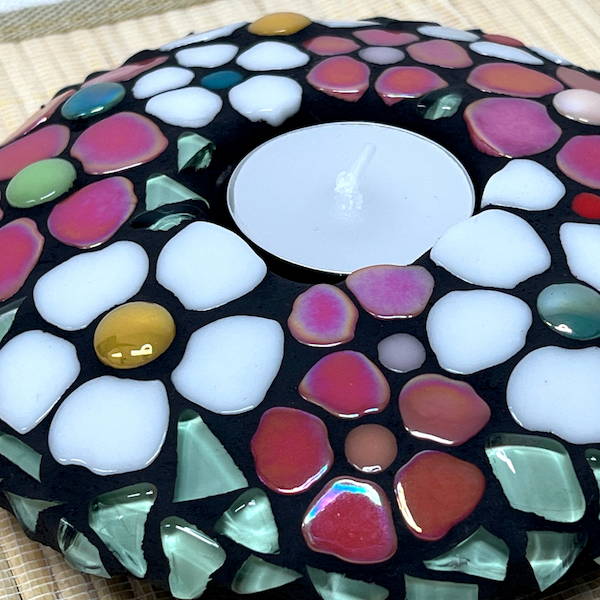
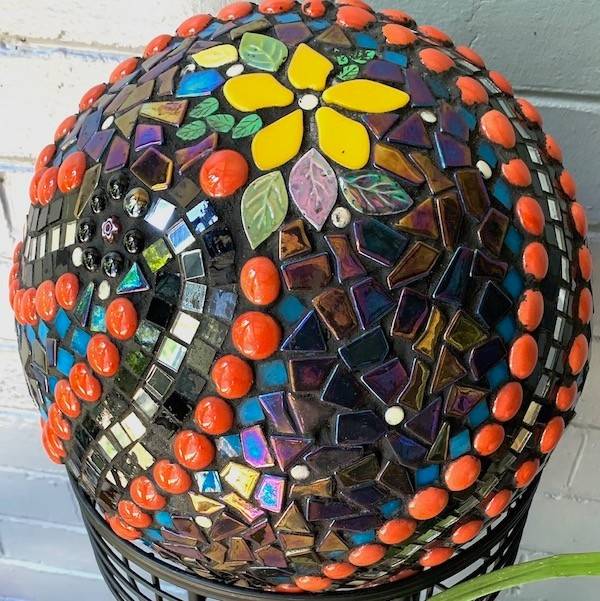
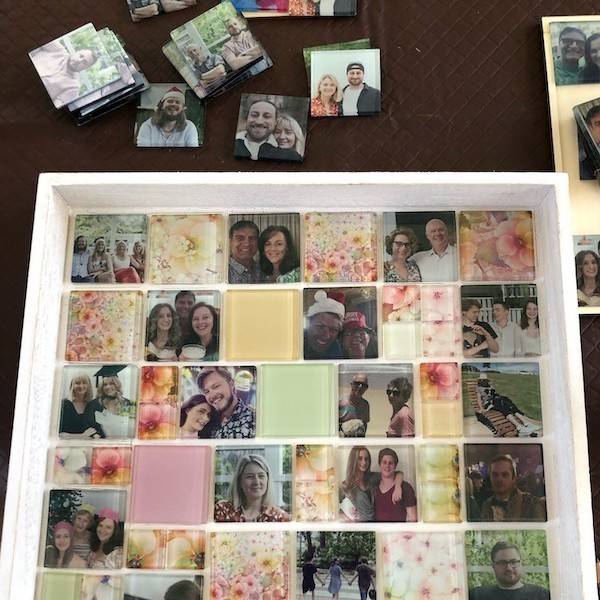
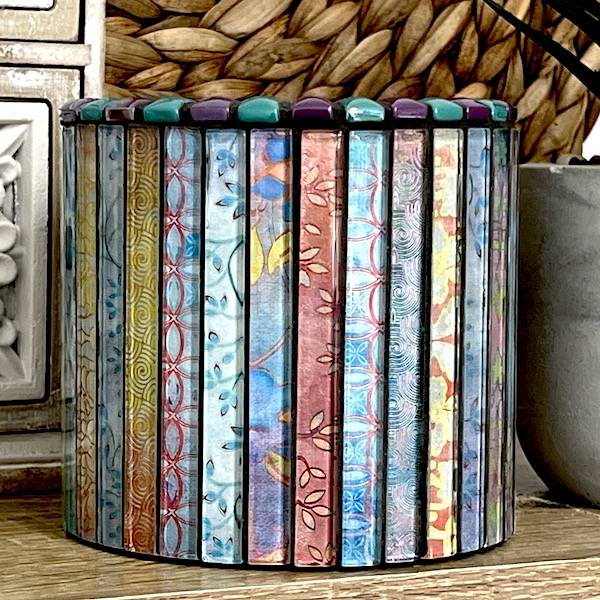
I put a lot of thought into what I create, with careful selection of material. I generally use opus palladianum, which is a fancy name for crazy paving or laying tesserae of all different shapes and sizes in pretty much any way you like. It is deceptively difficult to do as you need to keep the spaces between the tiles regular and ensure that the tesserae maintain a relationship with each other. I begin by holding my art form, thinking about it and playing around with different coloured and textured tiles, sometimes for hours, even days. Pieces are added and subtracted, sometimes in a trial and error method until something begins to click. I am drawn to the colours, textures, and patterns in tiles.
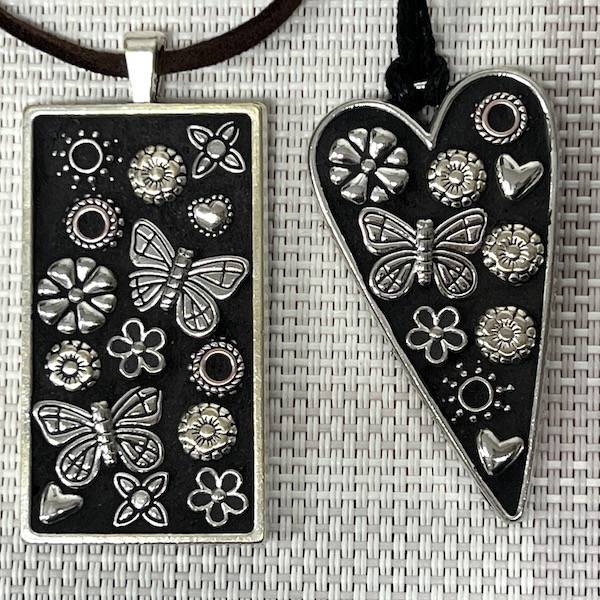
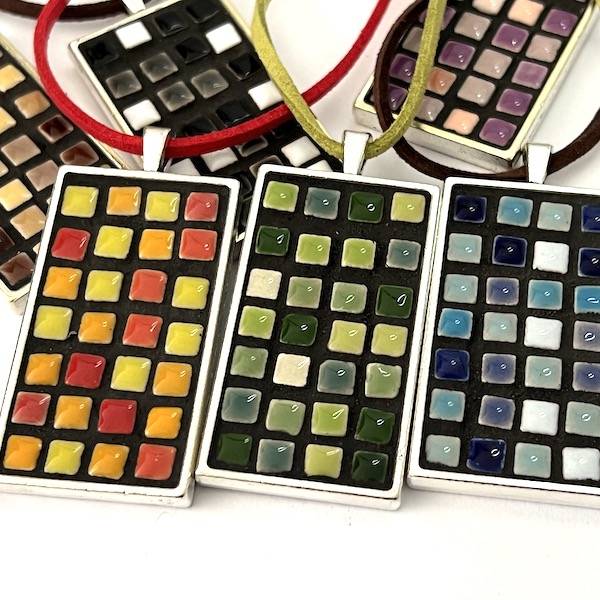
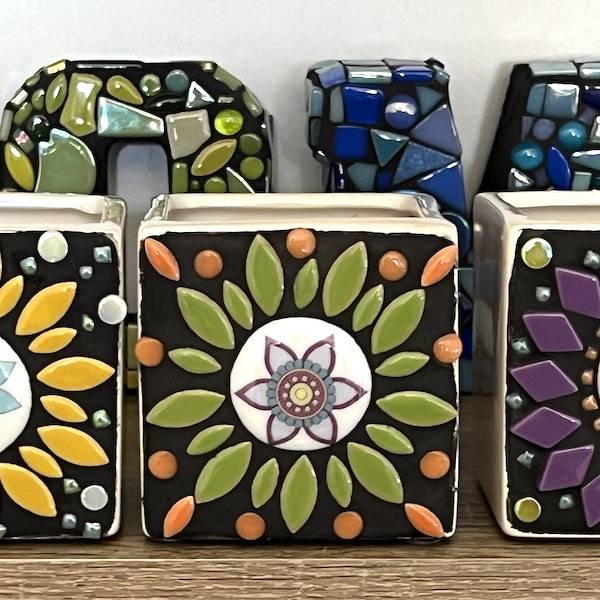
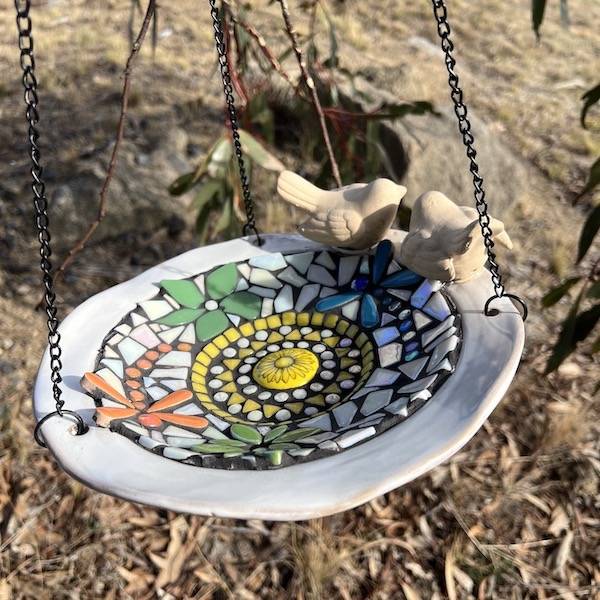
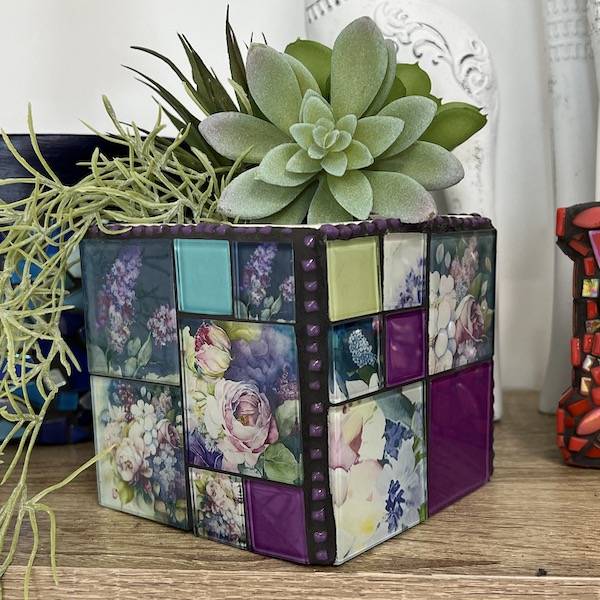
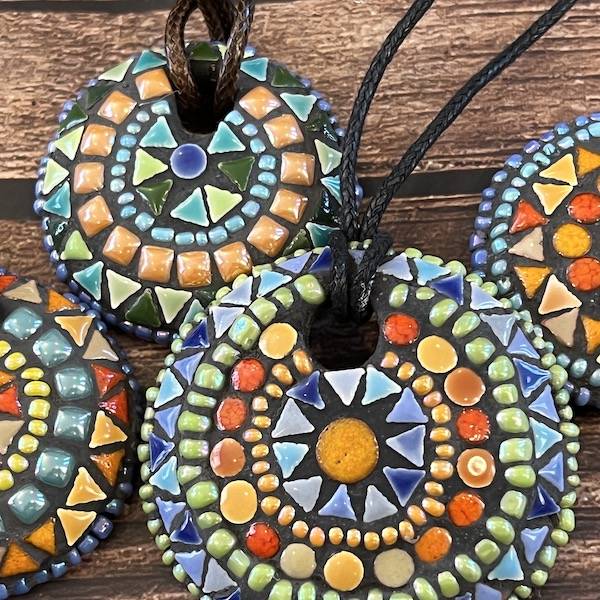
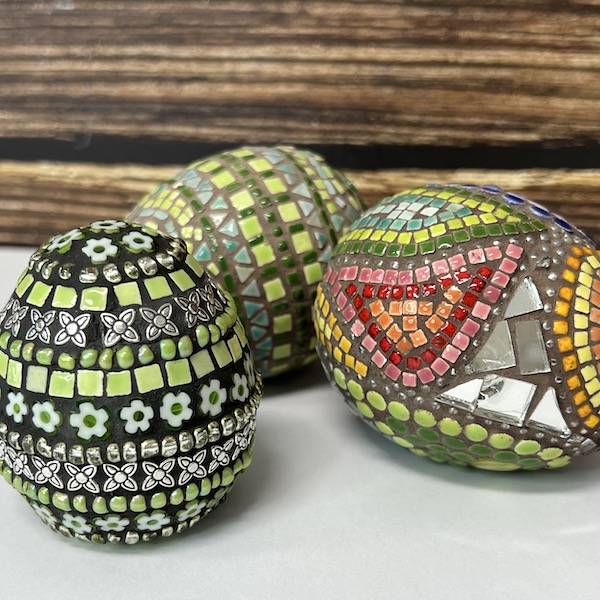
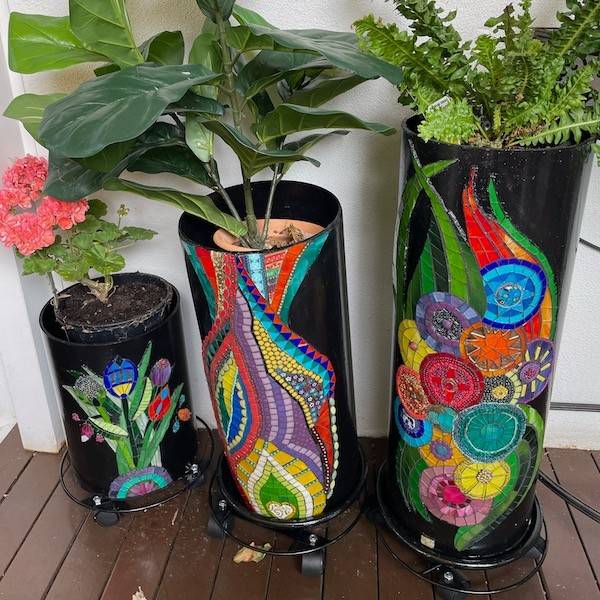
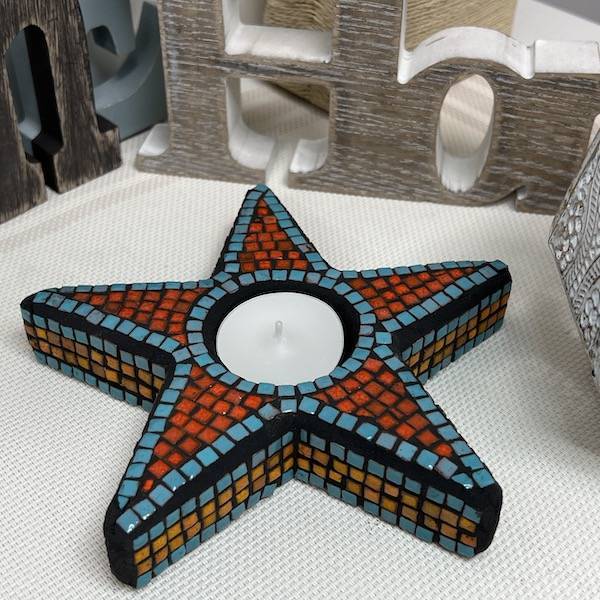
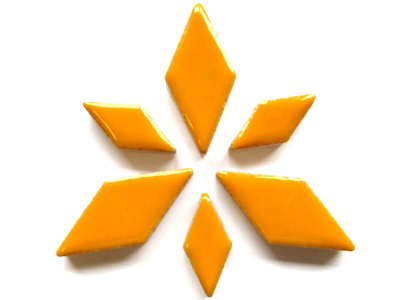
I create my own ceramic tiles and forms using sprig moulds that I make from Indian wood blocks, old buttons, and clay forms. I also create textured tiles using textured rollers. I love to incorporate clay in my work and texture in other forms such as cup handles or ceramic chopstick holders. As a mosaic artist, I can’t mix colours the way a painter does, and this finite colour palette limitation often forces me to be more creative with my colour choices.
When the thought process and preparation are complete and the mosaic pieces are in hand, I begin to work intuitively, responding to the materials and how they come together. In these moments, the world falls away, and I am immersed in the joy of creating.
Instagram @claysoics
 1300 320 392